DIY Tile Installation: Key Points, Dos, and Don’ts

DIY Tile Installation: Key Points, Dos, and Don’ts
Tiling is a rewarding DIY project that can transform the look of any space. However, it requires careful planning and execution to achieve professional-quality results. Whether you’re tackling a kitchen backsplash, bathroom floor, or accent wall, understanding the dos and don’ts of tile installation is essential. This guide provides practical tips and key considerations for a successful DIY tile installation.
Planning and Preparation
Do:
-
Measure Twice, Cut Once: Accurately measure the area to determine how much tile you need. Purchase extra tiles (10-15% more) to account for cuts and mistakes.
-
Prepare the Surface: Ensure the surface is clean, dry, and level before starting. Use a backer board for wet areas to prevent water damage.
-
Choose the Right Tile: Select tiles appropriate for the project, such as slip-resistant tiles for floors and lightweight tiles for walls.
Don’t:
-
Rush the Prep Work: Skipping surface preparation can lead to uneven tiles and poor adhesion.
-
Ignore Tile Grading: Different tiles are suited for specific applications. Check the PEI rating for durability and use.
Tools and Materials
Do:
-
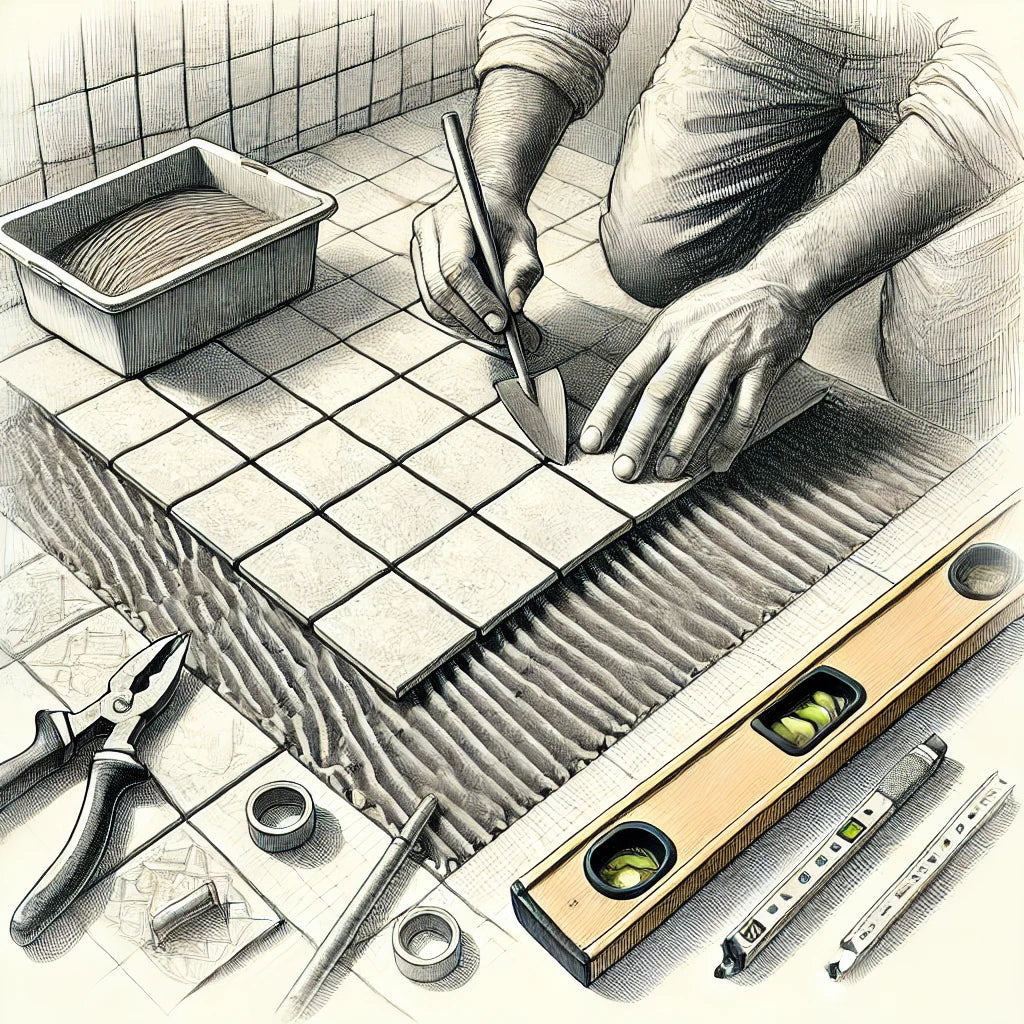
Invest in Quality Tools: A tile cutter, trowel, spirit level, and spacers are essential for precision.
-
Use the Right Adhesive: Match the adhesive to the tile material and surface type. For example, use thin-set mortar for ceramic tiles on floors.
Don’t:
-
Skimp on Tools: Using subpar tools can lead to imprecise cuts and uneven installation.
-
Forget Safety Gear: Wear gloves, goggles, and a mask to protect yourself from dust and sharp edges.
Tile Layout and Spacing
Do:
-
Plan the Layout: Dry-lay the tiles to visualize the pattern and determine the best starting point.
-
Use Spacers: Maintain consistent gaps between tiles for even grout lines.
Don’t:
-
Start Without a Plan: Improvising the layout can result in awkward cuts and misaligned tiles.
-
Skip the Level Check: Failing to level tiles as you go can create an uneven surface.
Cutting and Installing Tiles
Do:
-
Cut Carefully: Use a wet saw or tile cutter for clean, precise cuts. Measure twice before cutting.
-
Apply Adhesive Evenly: Use a notched trowel to spread adhesive evenly on the surface.
-
Press Tiles Firmly: Apply gentle pressure to ensure good adhesion and prevent air pockets.
Don’t:
-
Rush the Cutting Process: Hasty cuts can lead to breakage and wasted tiles.
-
Apply Too Much Adhesive: Excess adhesive can seep into grout lines and create a messy finish.
Grouting and Finishing
Do:
-
Let Adhesive Cure: Allow the adhesive to set for 24-48 hours before grouting.
-
Use the Right Grout: Choose grout suitable for the tile size and application (e.g., sanded grout for larger gaps).
-
Seal the Grout: Protect grout lines from stains and moisture by applying a sealant.
Don’t:
-
Skip Cleaning: Wipe excess grout with a damp sponge before it hardens.
-
Ignore Curing Times: Rushing the process can compromise the durability of the installation.
Maintenance Tips
-
Regular Cleaning: Use a pH-neutral cleaner to maintain tiles and grout.
-
Inspect and Repair: Address cracks or loose tiles promptly to prevent further damage.
-
Reapply Sealant: For areas exposed to water, reseal grout periodically to maintain protection.
FAQs: DIY Tile Installation
1. Can I install tiles over existing tiles?
Yes, but only if the existing tiles are firmly attached, clean, and level. Use a bonding agent to improve adhesion.
2. How do I prevent tiles from cracking during installation?
Ensure the surface is stable and level, and avoid excessive pressure when pressing tiles into adhesive.
3. What’s the best way to cut tiles?
Use a wet saw for intricate cuts and a manual tile cutter for straight cuts. Always wear safety gear.
4. How do I avoid uneven grout lines?
Use spacers consistently and remove them before grouting.
5. Can I install tiles in cold or humid conditions?
Extreme temperatures and humidity can affect adhesive curing. Work in a controlled environment for the best results.
Tackling a tile project on your own can be both satisfying and cost-effective if done correctly. By following these dos and don’ts, you can achieve professional-looking results while avoiding common pitfalls. For high-quality tiles and tools, check out our tile collections and installation guides.


Comments on this post (2)
Great tips for DIY tile installation! Proper surface prep, careful layout planning, and using the right materials make all the difference. Taking your time, checking levels, and following curing times ensures a professional-looking finish, while avoiding shortcuts like skipping waterproofing or ignoring spacers keeps your project long-lasting and flawless.
— Salem Tile Setters
Great tips for DIY tile installation! Planning your layout, using the right tools, and prepping the surface properly can make all the difference. Don’t rush the process or skip important steps like using spacers and sealing porous tiles. A little patience goes a long way for a pro-looking finish!
— Tile Installers Portland Oregon