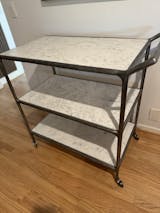
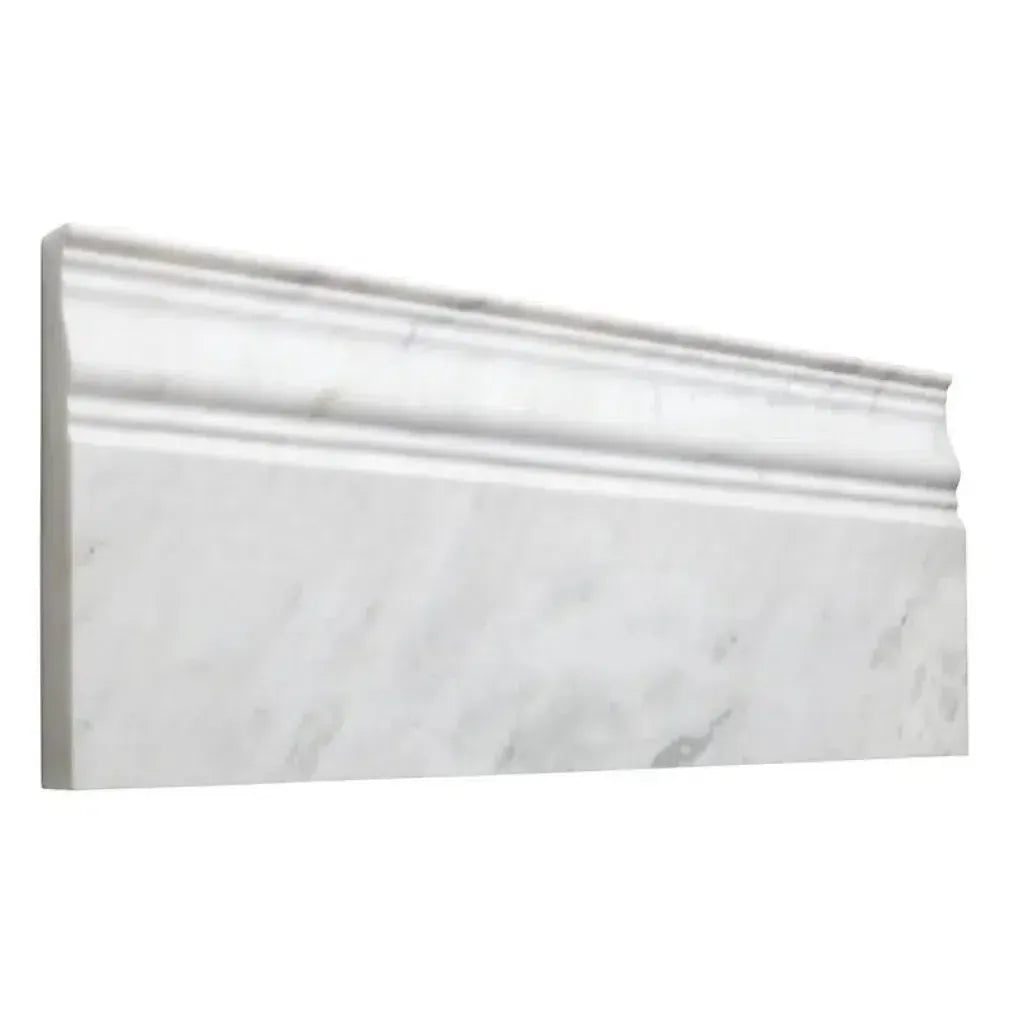
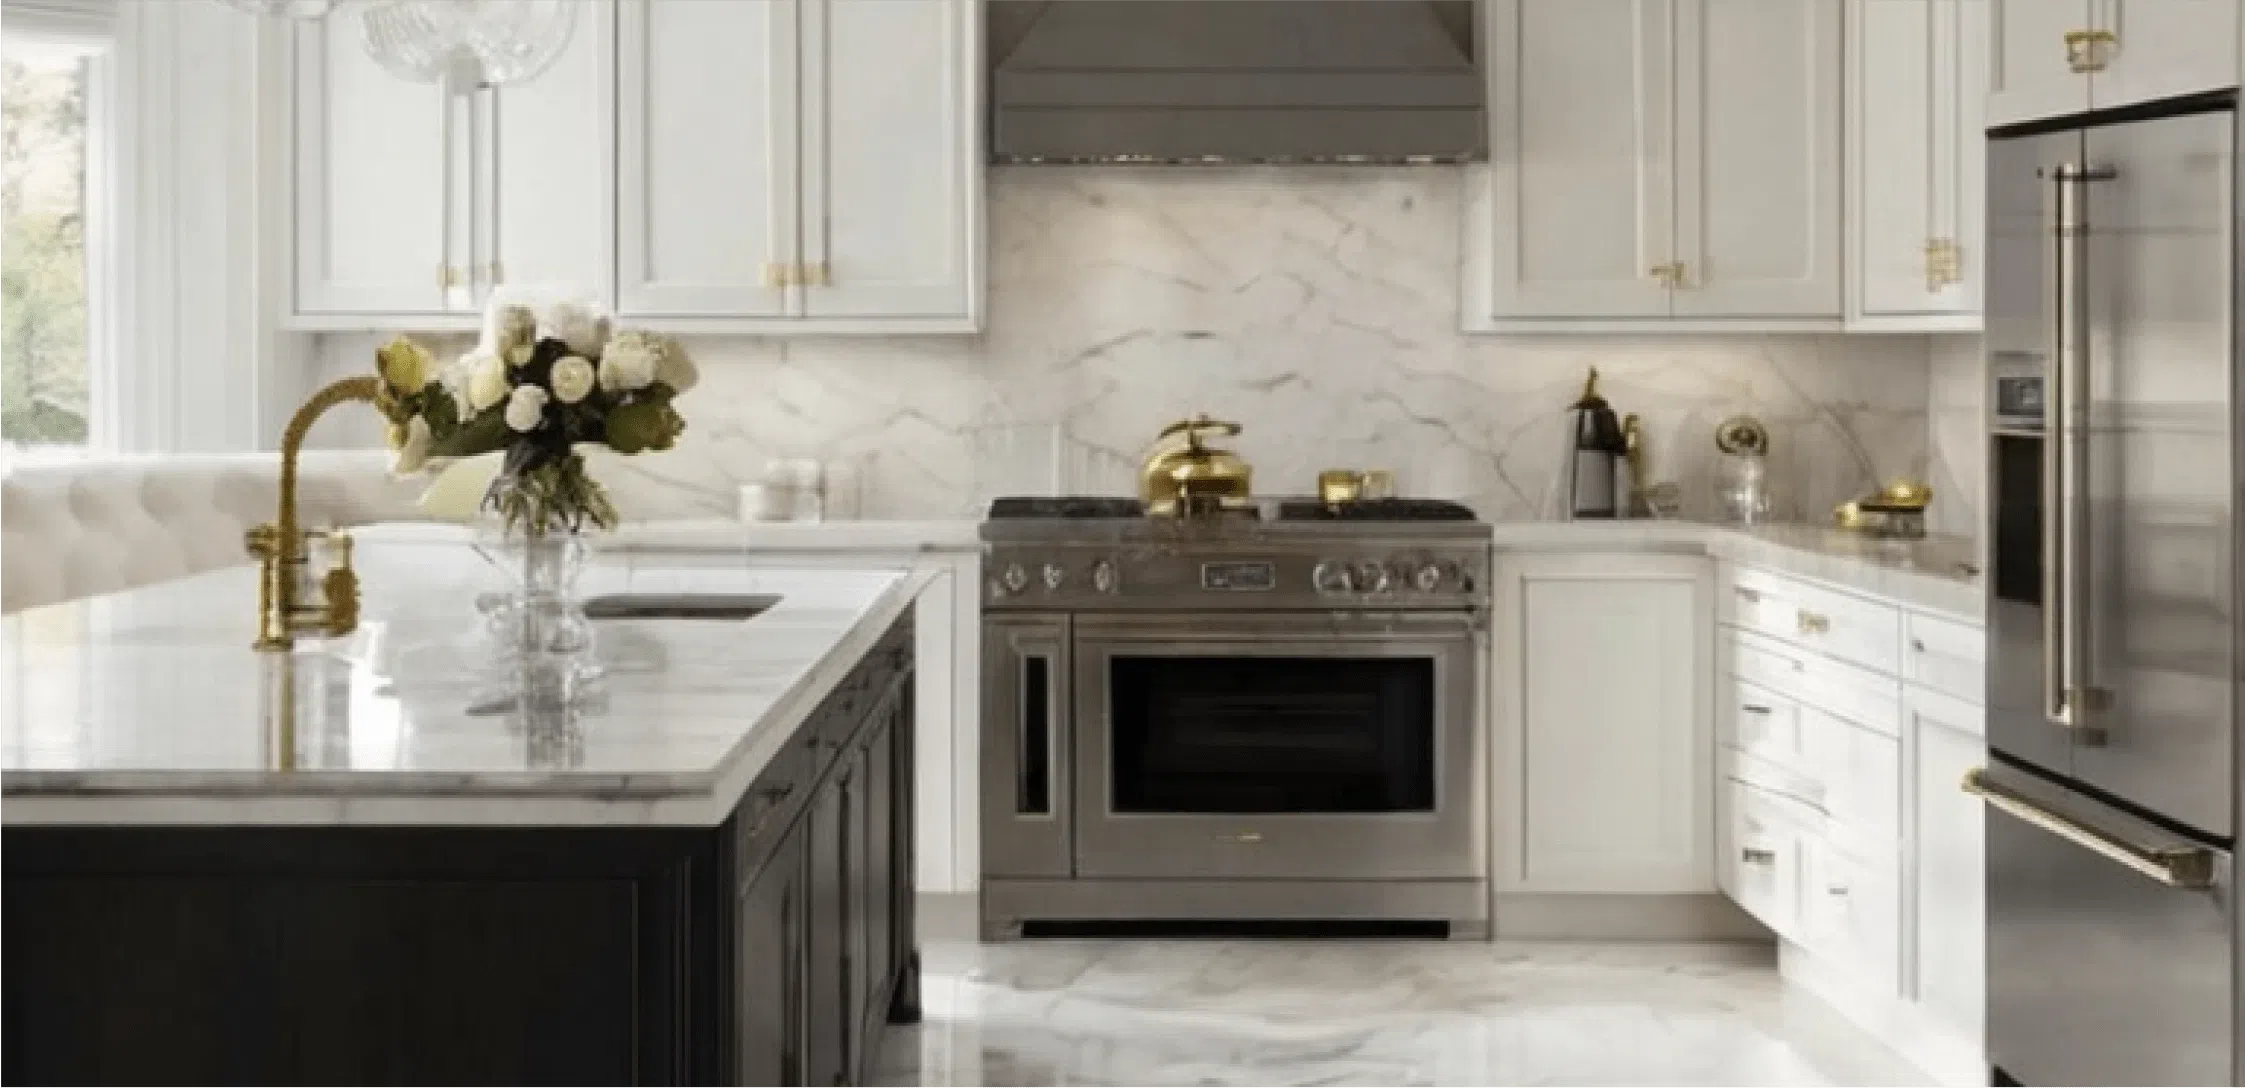
Introducing the exquisite Carrara White Marble 6X12, where timeless beauty meets unparalleled sophistication. This stunning marble, known for its lustrous surface and elegant appeal, offers a unique opportunity to elevate your home or commercial space. The Carrara White Marble features a pristine white canvas adorned with subtle gray veining, making each tile a one-of-a-kind masterpiece. Ideal for diverse applications, from luxurious bathrooms to chic kitchens, this marble is the perfect choice for enhancing any environment.
The versatility of our Carrara Marble allows it to seamlessly integrate into various design styles, whether you're aiming for a sleek modern aesthetic or a classic, refined look. Available in both polished and honed finishes, it caters to your specific design preferences, helping you achieve your desired atmosphere effortlessly. This marble tile not only beautifies your spaces but also ensures durability, making it an investment for years to come.
Sourced directly from the celebrated quarries of Carrara, Italy, our Carrara White Marble exemplifies superior craftsmanship and authenticity. Surfaces Galore is committed to offering the highest quality materials at competitive prices, ensuring that luxury is accessible to all. Elevate your design vision with the sophistication that only genuine Carrara Marble provides, and transform your space into a luxurious retreat.
Product Size : Carrara White Italian Premium Marble 6X12 Polished-Honed
Product Thickness : 3/8"
Product Coverage : (sq.ft./pcs) 1 sqft/2 pcs
Material : Marble
Color : White, Gray
Finish : Polished, Honed
Edge : Micro-Beveled
Origin : Italy
All Size-Dimensions Are Nominal
Material Inspection and Installation Guidelines
Material Inspection
Before installation, carefully inspect all goods for any damage or defects such as chipped edges or broken pieces. Natural stone surfaces, including marble and travertine, will have naturally occurring variations in color, pattern, texture, and veining that may differ from what was pictured. No adjustments or services can be provided once installation has begun.
Substrate Preparation
To ensure a proper installation, follow these substrate guidelines:
• Surface Condition: The substrate must be clean, flat, and free of contaminants, including curing compounds. It should also be free of cracks.
• Waterproofing: In wet areas, waterproof the substrate following the manufacturer's recommendation for a waterproofing and crack prevention membrane compatible with your setting material.
• Expansion Joints: Install expansion joints at all changes in plane in the tile work and where tile abuts restraining surfaces. Use silicone caulking sealant instead of grout in all corner joints.
Installation
Dry-Fitting
• Pattern Planning: Dry-fit your pattern before starting installation. Visualize the installation and plan the placement of pieces, especially with tiles that have a lot of variation.
Mortar Application
• Thin-Set Mortar: Use white thin-set mortar to avoid affecting the tile color. For faster installation, use a rapid curing thin-set mortar.
• Application:
◦ Apply adhesive to an area that can be covered within 10-15 minutes.
◦ Grout joints should be a minimum of 1/16” and not butt set.
◦ Smooth down the ridges using the flat side of the trowel before fixing the tiles in the mortar bed.
◦ For our ceramic material, use a 3/16" or 1/4" square notch trowel. For other tiles, a 9" trowel with a 1/8" square notch is recommended.
Grouting
• Non-Sanded Grout: Use non-sanded grout for ceramic tiles to prevent scratching. Test a small area before grouting to ensure the stone surface does not scratch.
• Packing Grout Joints: Pack grout joints fully, avoiding pits or voids. Clean excess grout as you work, and do not let it harden completely.
• Cleaning: Never use acids to clean grout haze. Use a damp sponge for final cleaning and smoothing grout joints.
• Grout Release: Apply grout release before grouting to facilitate cleaning and protect against staining from contrasting color grouts.
Cutting
• Tools: Use a wet-saw with a new, continuous rim diamond blade designed for cutting ceramic tile for the best results.
Cleaning
General Cleaning
• Porcelain Tile: Clean with a damp sponge mop and a solution of 1/4 cup white vinegar to every 2 gallons of water. Sweep or vacuum regularly.
Unpolished Surfaces
• Sweeping: Use a soft-bristle broom and sweep in two directions: along the grain and diagonally to dislodge dust and debris.
• Cleaning Solution: Saturate the tile with a neutral cleaning solution like vinegar and hot water, let it sit for 5–10 minutes, then scrub with a brush using the two-direction method.
• Rinsing: Rinse with clean water to remove the cleaning solution.
High Traffic Areas
• Clean at least once per day and wet mop regularly.
Reminders
• Avoid Certain Cleaners: Do not use ammonia, bleach, or acid-based cleaners, as they may alter grout color. Avoid wax, oil-based, abrasive cleaners, sealants, and agents with dyes or colors.
• Steel Wool: Do not use steel wool pads, as leftover particles may rust.
• Entrance Rugs: Place rugs at entrances to minimize dirt and grit from being tracked onto the tile flooring from outdoors.
By following these guidelines, you will ensure the successful and lasting installation of your natural stone surfaces.
The Waste Factor
How Much Do I Need to Order?
The best practice is to order at least 10-30% more than your project requirements to account for potential issues, waste due to cutting material, and other potential breakage during installation.
When installing natural stone, understanding the waste factor is crucial. The waste factor refers to the amount of stone that will be cut, trimmed, or otherwise discarded during the installation process. The waste factor varies depending on how tightly the stones are fitted; tighter joints require more trimming and thus produce more waste.
Waste Factor Considerations
• Project Size: Larger projects might have a slightly lower percentage of waste due to more efficient use of materials.
• Joint Tightness: Tighter joints increase the waste factor due to more precise trimming.
• Stone Variations: Natural stones have variations in color and texture, necessitating extra materials to ensure consistency across the installation.
Example Calculation
For a project area of 1,000 square feet with an expected waste factor of 10% to 30%, you would need to purchase between 1,100 and 1,300 square feet of stone.
Tips for Managing Waste
1. Mock-Up: Create a small mock-up to better estimate your specific waste factor before ordering materials.
2. Order Extra: Always order extra materials for future repairs or additions, as natural stone batches can vary.
3. Efficient Cutting: Plan cuts carefully to minimize waste and use off-cuts in less visible areas.
By accurately calculating the waste factor and ordering extra material, you can ensure a smoother installation process and a consistent appearance of your natural stone veneer.
Installation Tips
Installing natural stone flooring can be a rewarding project, giving your home a luxurious and timeless look. Here's a step-by-step guide to help you through the process:
Materials and Tools Needed:
• Natural stone tiles (marble, granite, slate, etc.)
• Tile adhesive (thin-set mortar)
• Grout
• Tile spacers
• Notched trowel
• Level
• Tape measure
• Tile cutter or wet saw
• Rubber mallet
• Sponge and bucket
• Grout float
• Sealer (specific to your type of stone)
• Safety equipment (gloves, goggles, knee pads)
Step-by-Step Guide:
1. Preparation:
• Measure the Area: Calculate the square footage of the area where you plan to install the tiles.
• Prepare the Subfloor: Ensure that the subfloor is clean, dry, and level. If necessary, apply a self-leveling compound.
• Acclimate the Tiles: Let the stone tiles sit in the installation area for a couple of days to acclimate to the room temperature and humidity.
2. Layout Planning:
• Dry Lay the Tiles: Lay out the tiles without adhesive to plan the pattern and placement. Start from the center and work your way out to ensure an even layout.
• Mark Guidelines: Use a chalk line to mark the center of the room and create reference lines for laying the tiles.
3. Applying Adhesive:
• Mix the Thin-set Mortar: Follow the manufacturer's instructions to mix the mortar.
• Spread the Mortar: Using the notched trowel, spread the thin-set mortar on a small section of the subfloor. Hold the trowel at a 45-degree angle to create ridges in the mortar.
4. Laying the Tiles:
• Place the Tiles: Press the tiles into the mortar, twisting them slightly to ensure a good bond. Use tile spacers to maintain consistent gaps between the tiles.
• Check for Level: Regularly check that the tiles are level and adjust as necessary using the rubber mallet.
5. Cutting Tiles:
• Measure and Mark: Measure the tiles that need to be cut to fit along the edges and mark them.
• Cut the Tiles: Use a tile cutter or wet saw to cut the tiles to the required size.
6. Grouting:
• Allow Adhesive to Cure: Let the adhesive dry for at least 24 hours or as recommended by the manufacturer.
• Mix the Grout: Mix the grout according to the instructions.
• Apply the Grout: Using a grout float, apply the grout diagonally across the tiles to fill the gaps. Remove excess grout with the float.
• Clean the Tiles: Use a damp sponge to wipe off excess grout from the tile surfaces. Rinse the sponge frequently and be careful not to remove grout from the joints.
7. Sealing:
• Allow Grout to Cure: Let the grout cure for the recommended time, usually 48-72 hours.
• Seal the Tiles: Apply a stone sealer to protect the tiles from stains and moisture. Follow the manufacturer's instructions for application and curing times.
8. Final Touches:
• Clean the Floor: After the sealer has dried, give the floor a final cleaning to remove any residue.
• Inspect the Installation: Check the tiles and grout lines for any imperfections and make any necessary repairs.
Tips:
• Always wear safety equipment when cutting tiles.
• Follow the manufacturer's instructions for all materials used.
• Work in small sections to prevent the adhesive from drying out before the tiles are laid.
• Regularly clean your tools to prevent the mortar and grout from hardening on them.
This guide should help you install natural stone flooring successfully. If you have any specific questions or encounter any issues during the installation, feel free to ask!
California Proposition 65
WARNING: Products sold at Surfaces Galore contain chemicals, including stone dust, which are known to the State of California to cause cancer, birth defects or other reproductive harm.
Disclaimer: Surfaces Galore provides information to give customers an overview of the process from choosing to installation of our natural stone surfaces. However, we are not responsible for any mistakes, problems, or issues that may arise. All responsibility for the selection, installation, and any associated outcomes rests solely with the customers.
 Best Selling Marble Collections
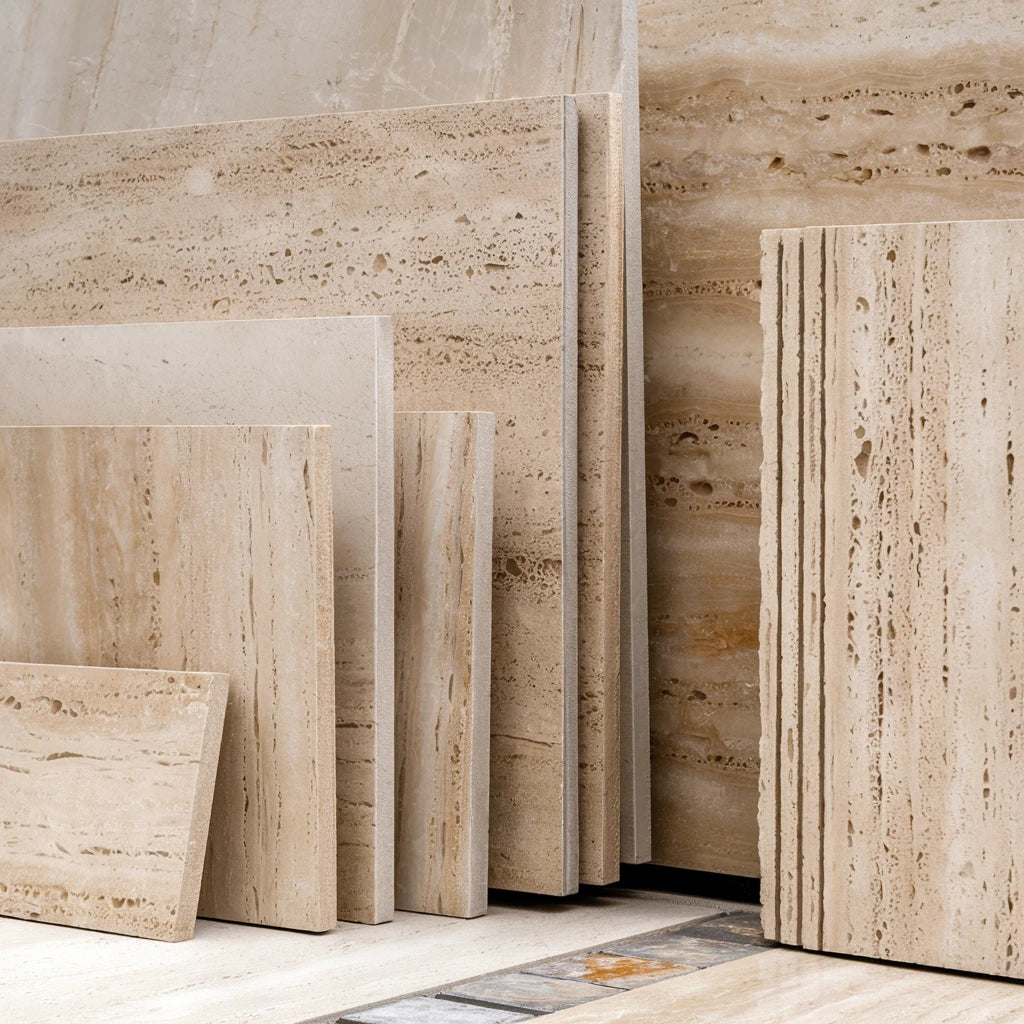 Best Selling Travertine Collections
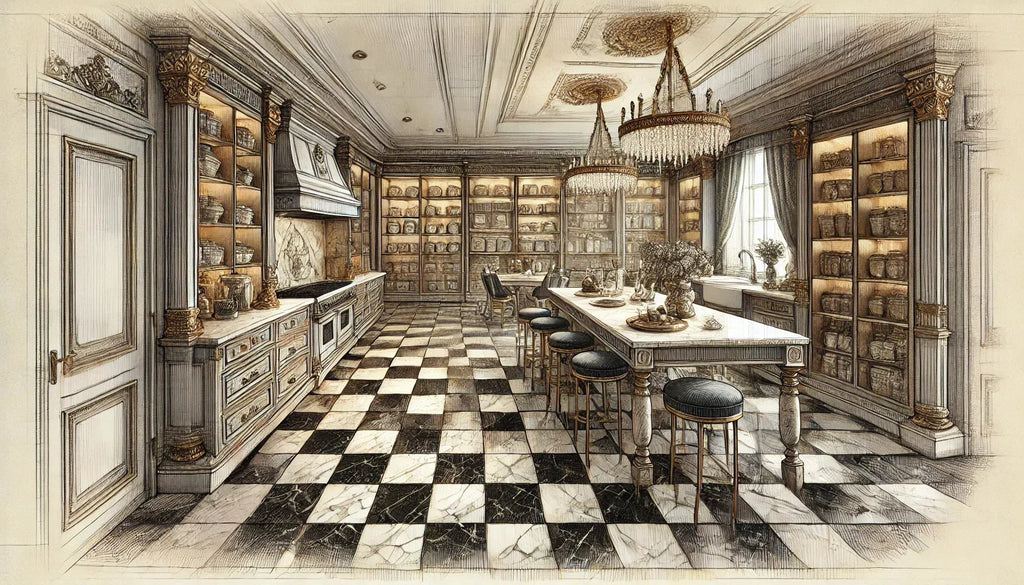 Checkerboard
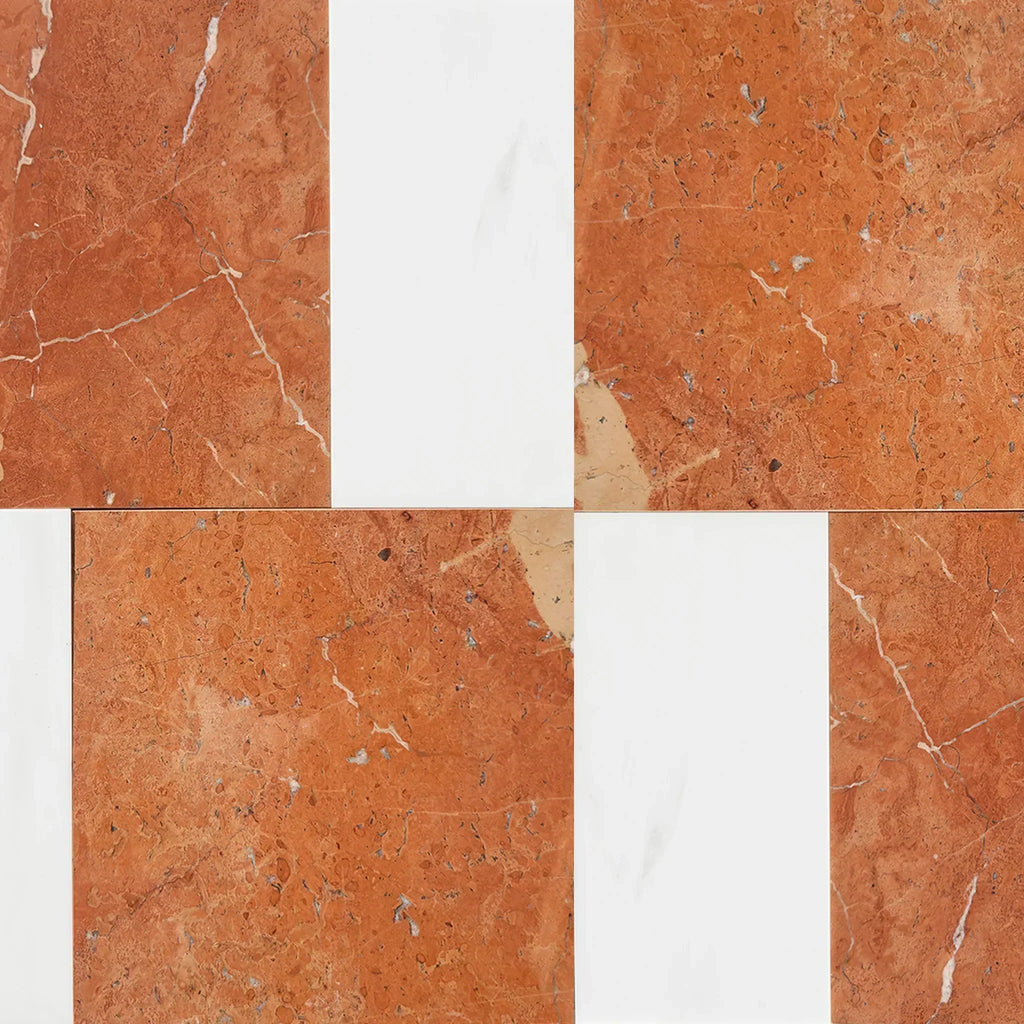 Patterned Tile
 Shop By Material
 Shop By Name
 Absolute Black Granite
 Arabescato (Italian) Marble
 Atlantic Gray Marble
 Antico Onyx Travertine
 Bardiglio (Italian) Marble
 Bianco Congelato Dolomite
 Bianco Dolomite (White Dolomite) Marble
 Bianco Venatino (Bianco Mare) Marble
 Calacatta Gold Marble
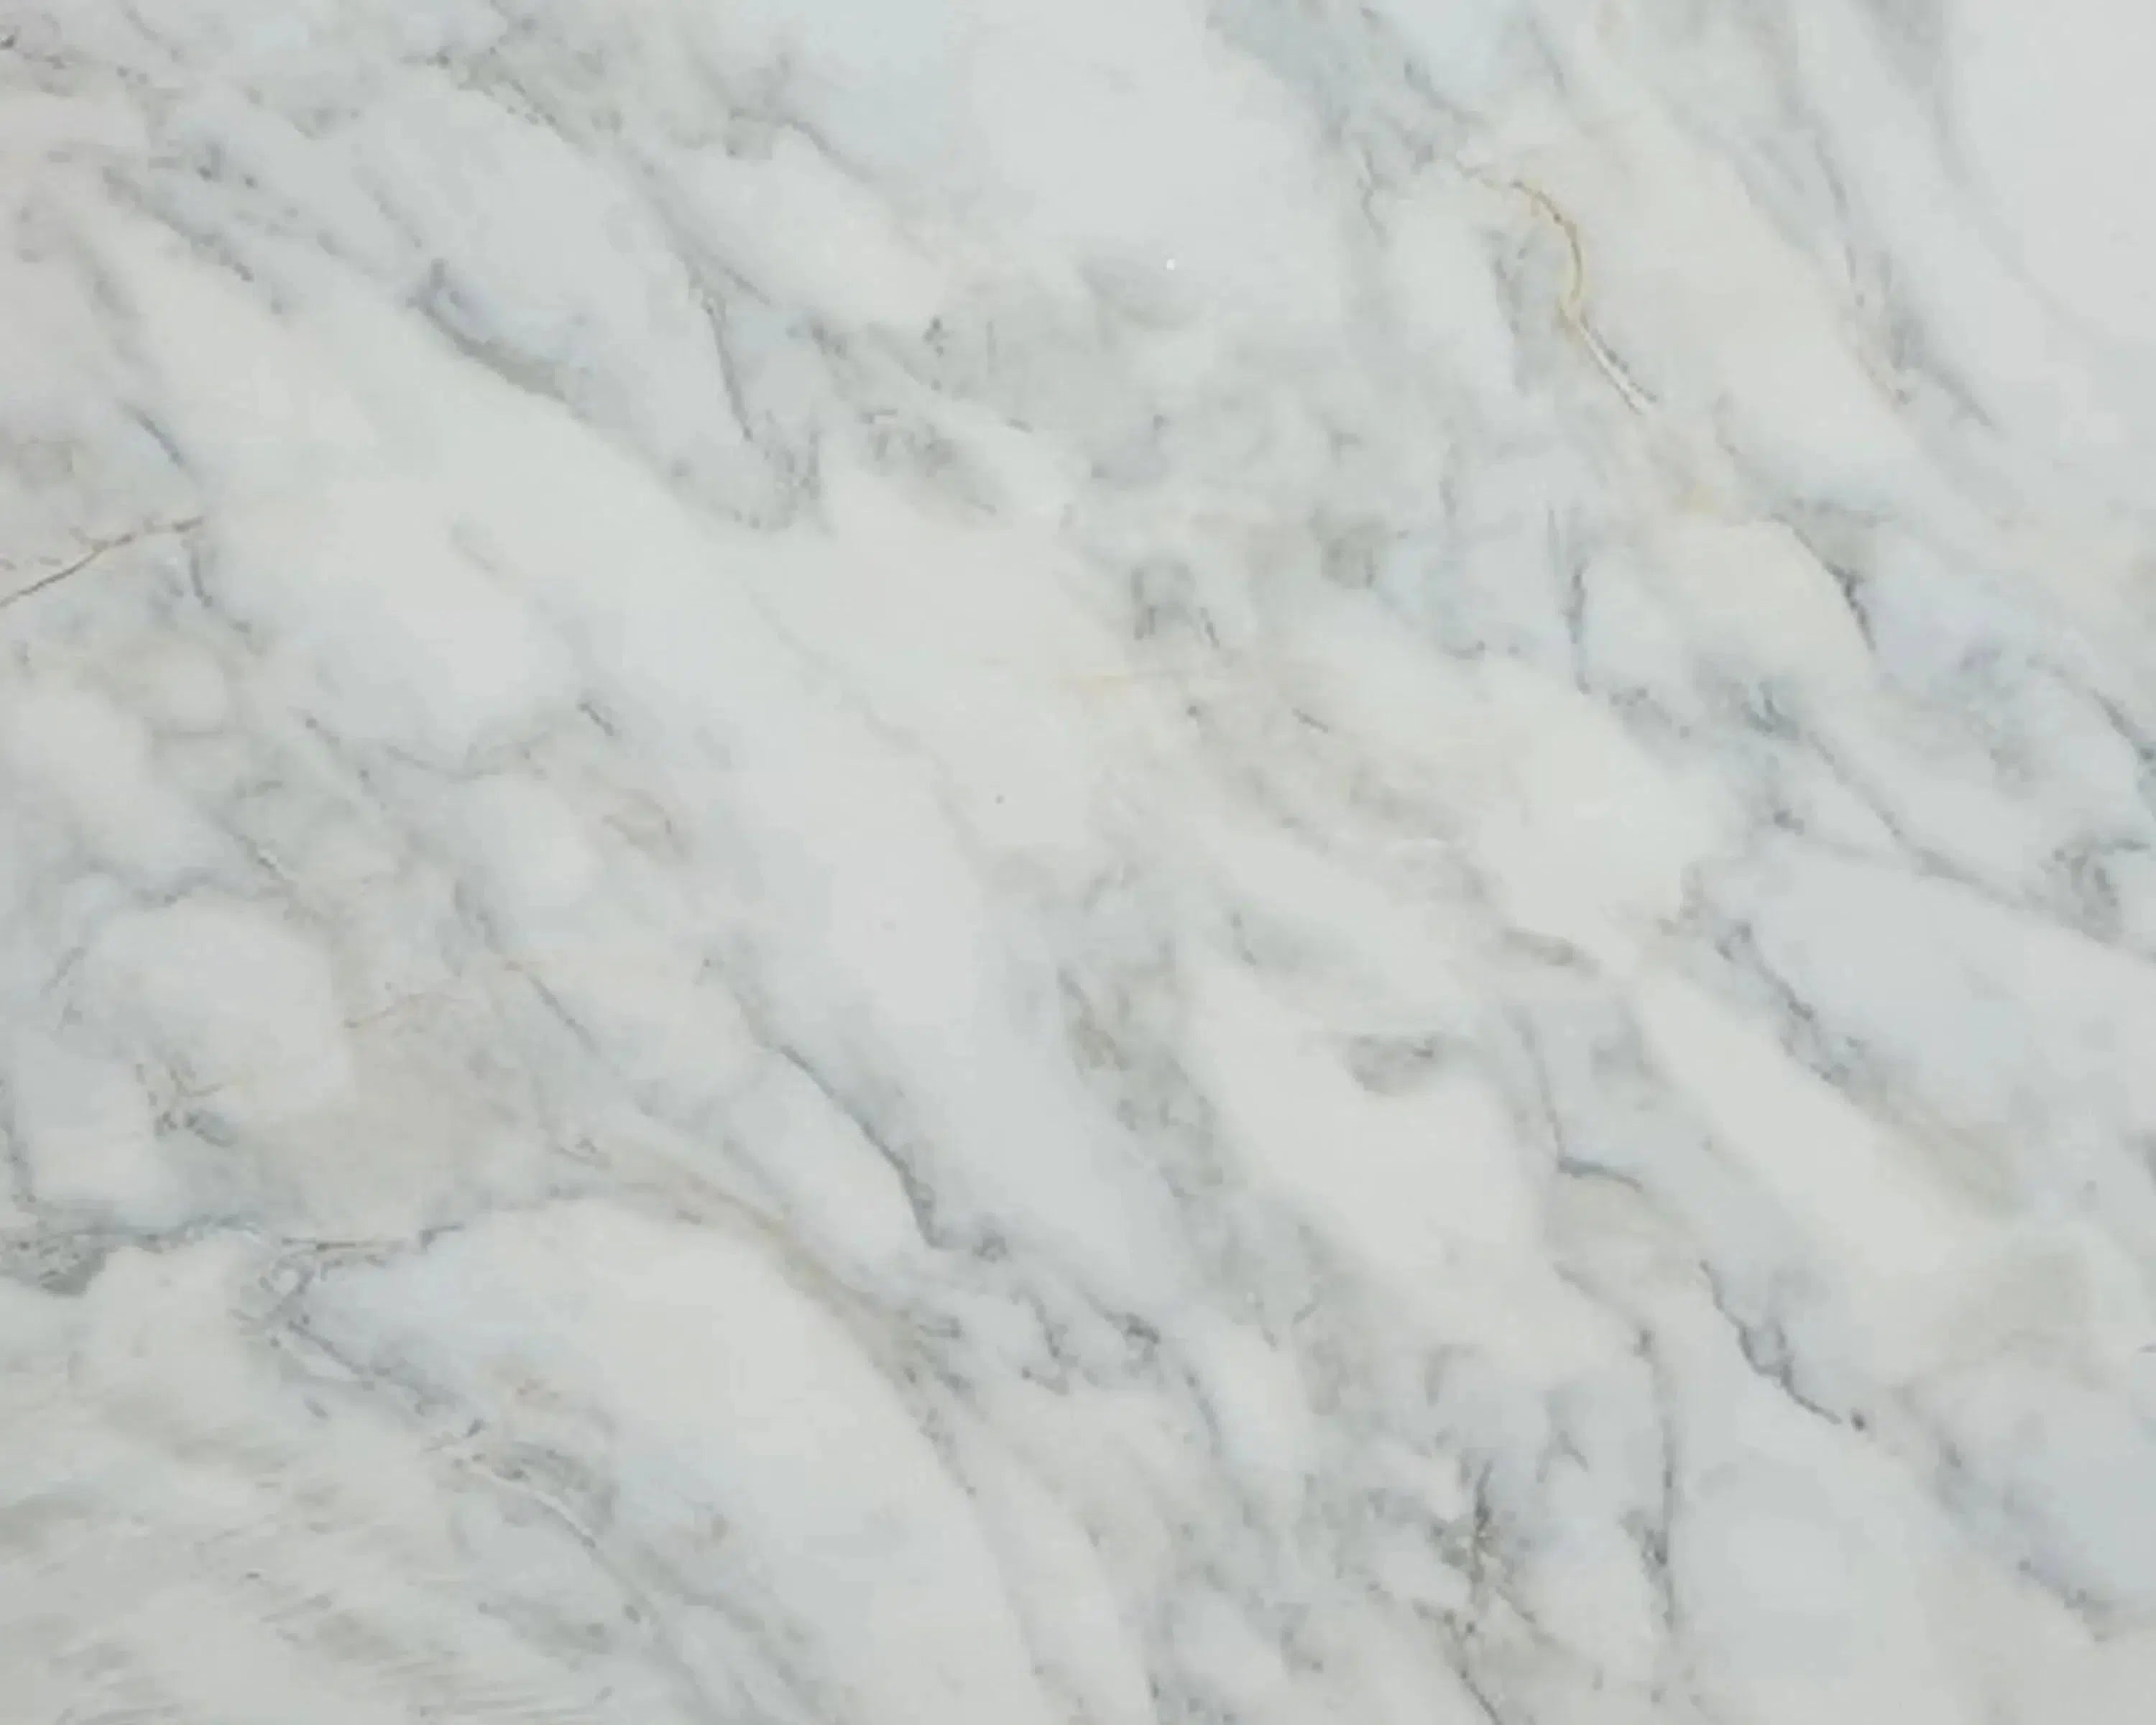 Calacatta Oliva Marble
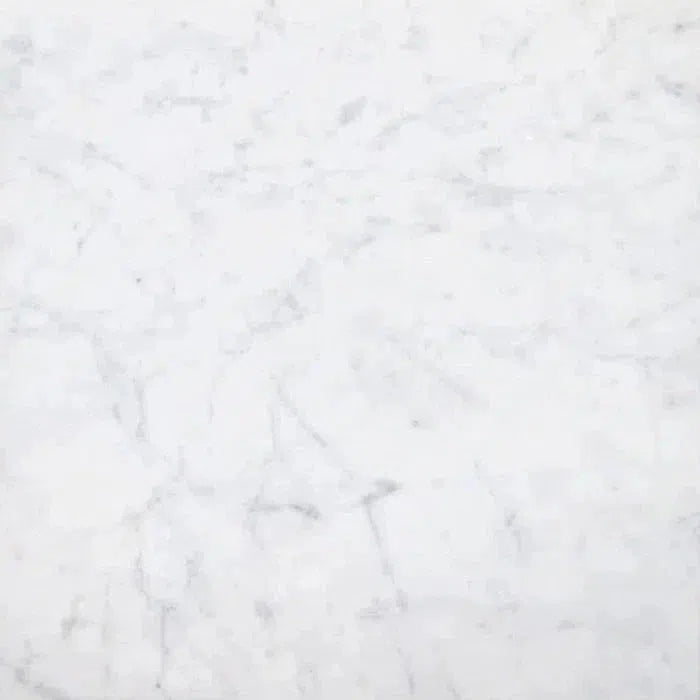 Carrara White Marble
 Crema Marfil Marble
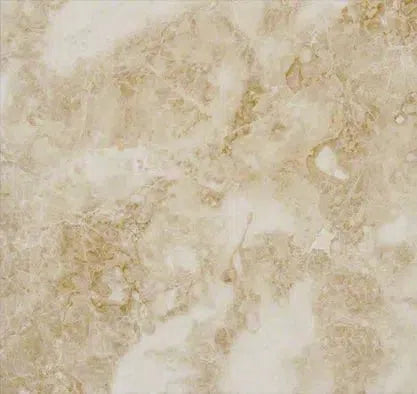 Cappuccino Marble
 Custom-Made Mosaic
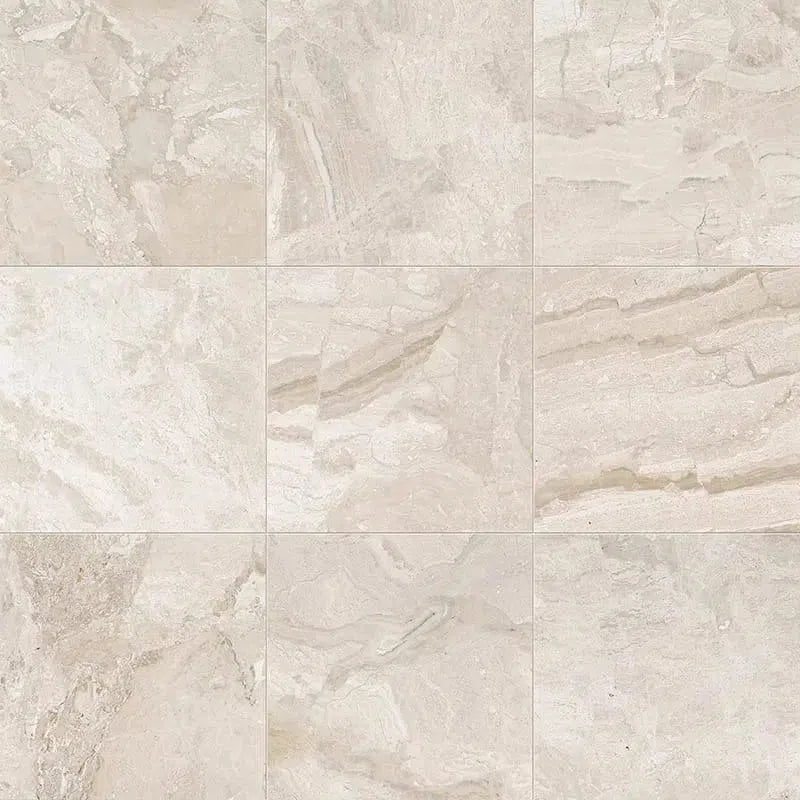 Diano Royal (Queen Beige) Marble
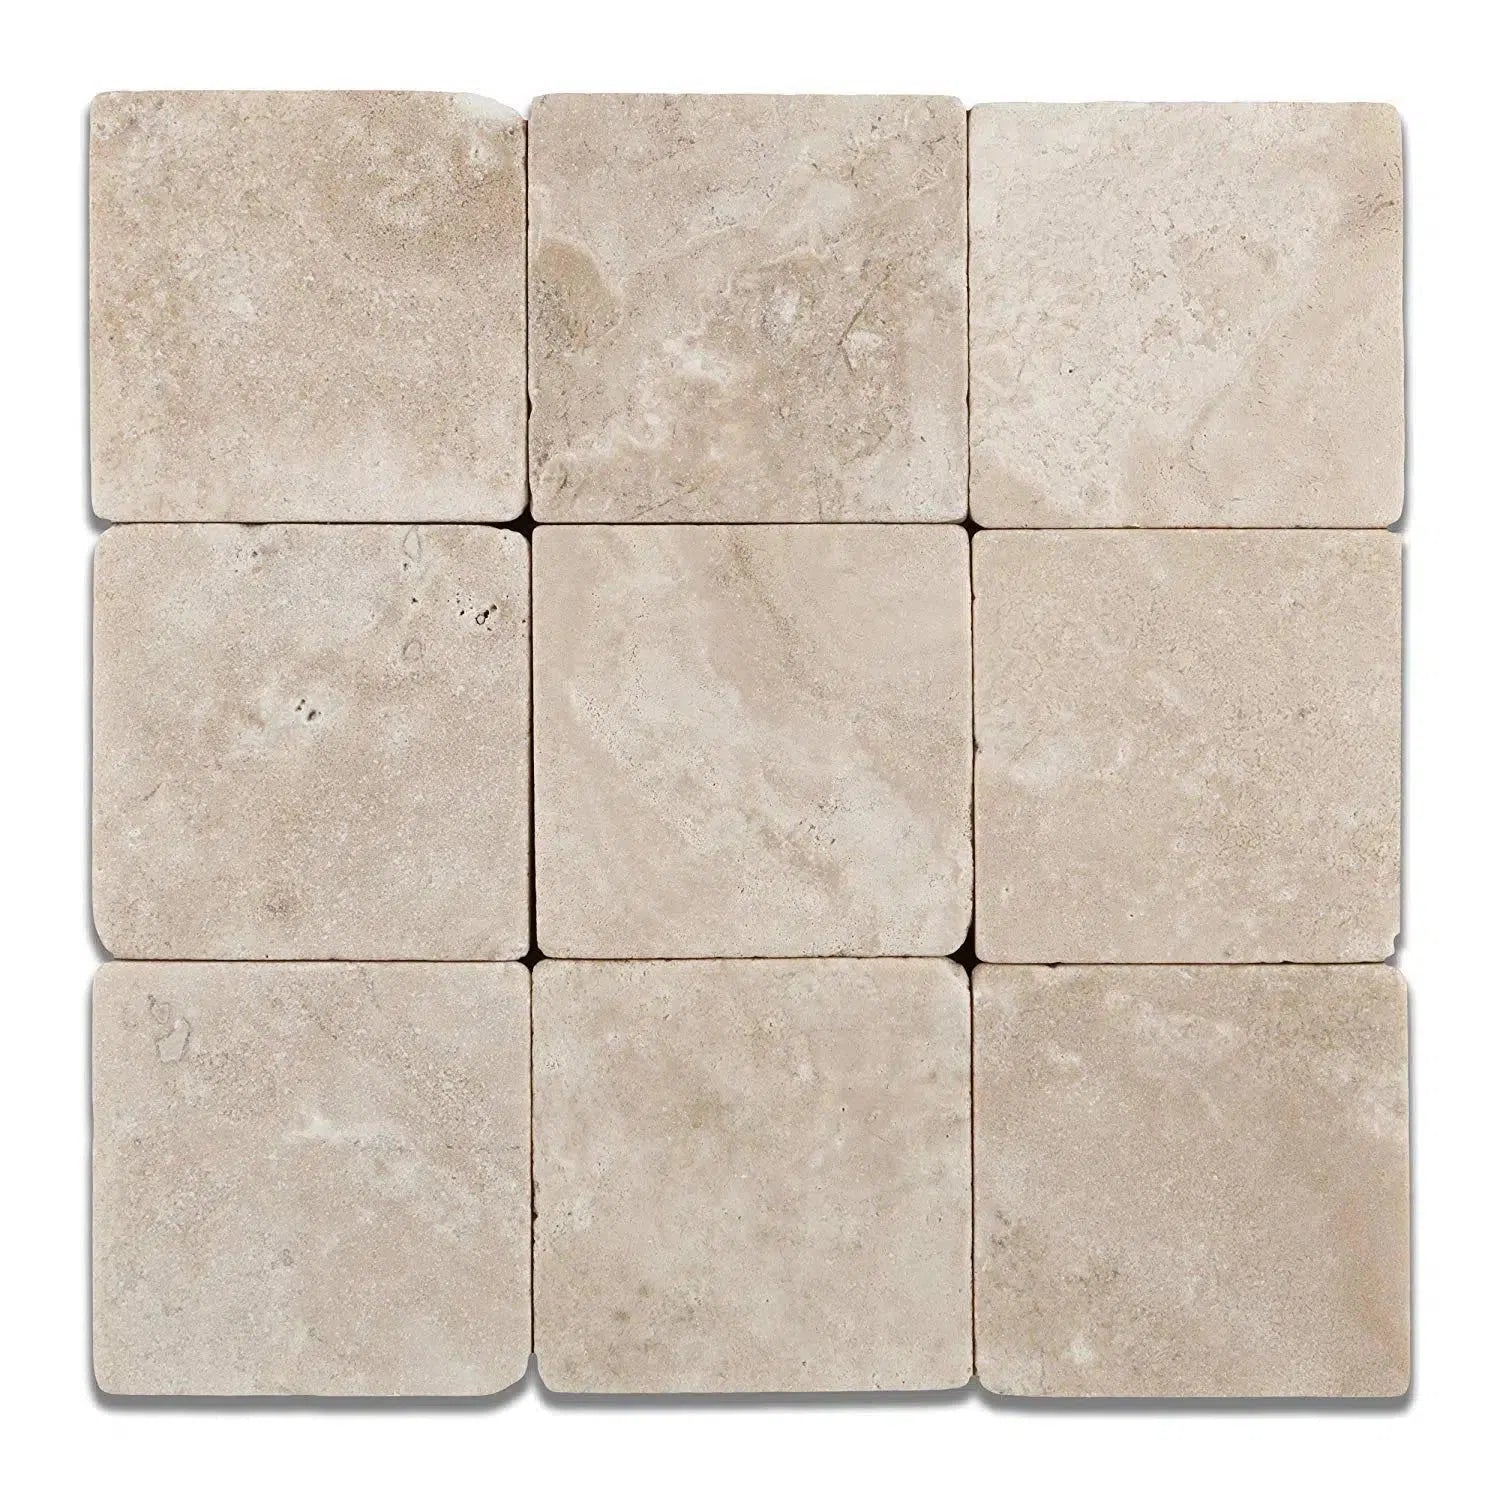 Durango Cream Traverine
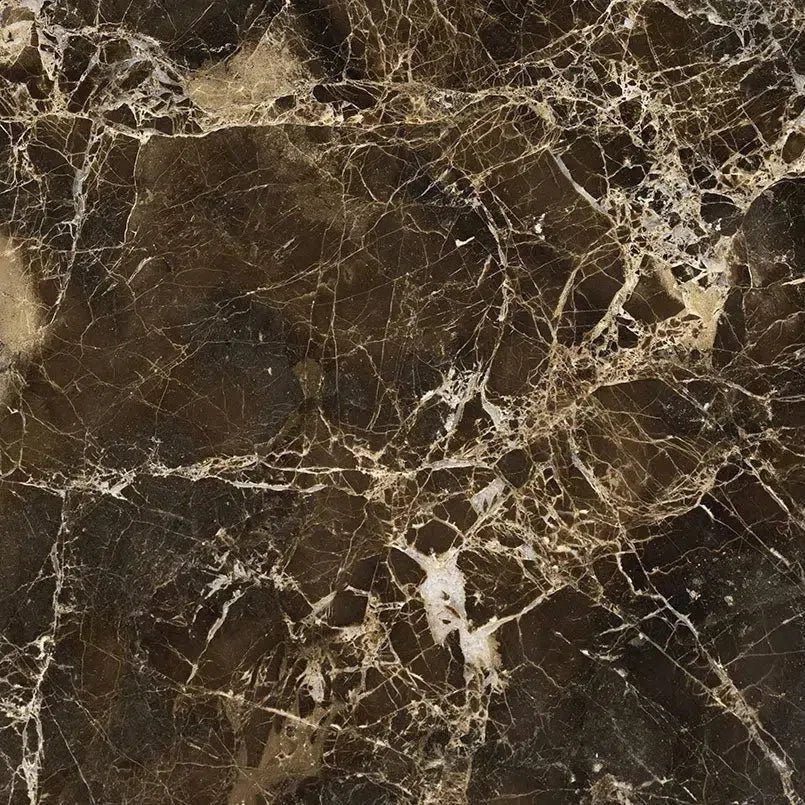 Emperador Dark Marble
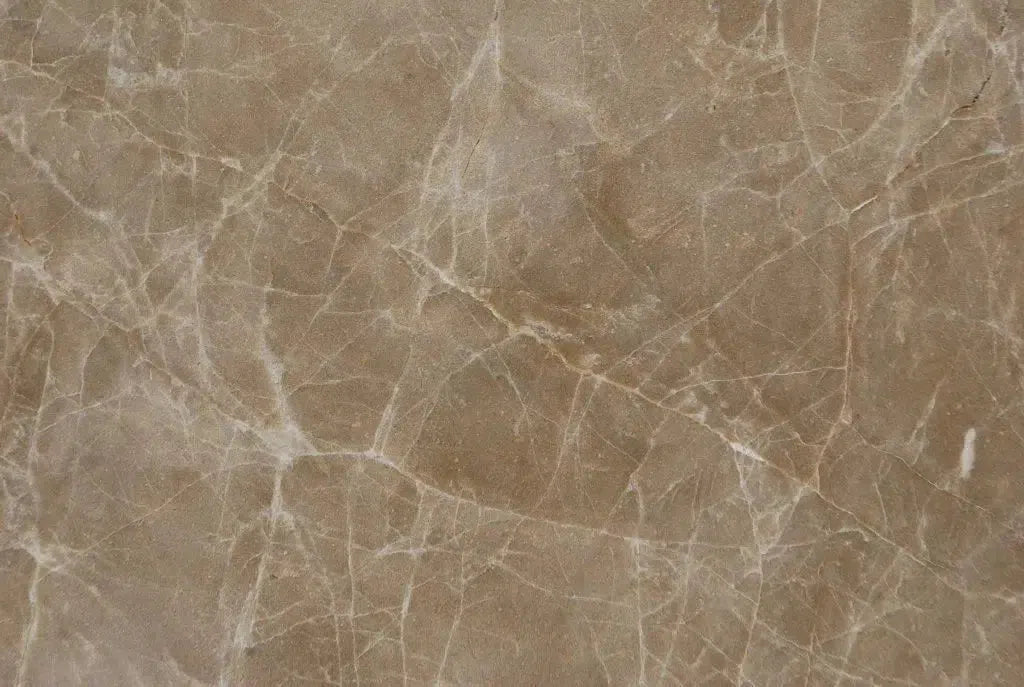 Emperador Light Marble
 Empress Green Marble
 Exotic Vein-Cut Travertine
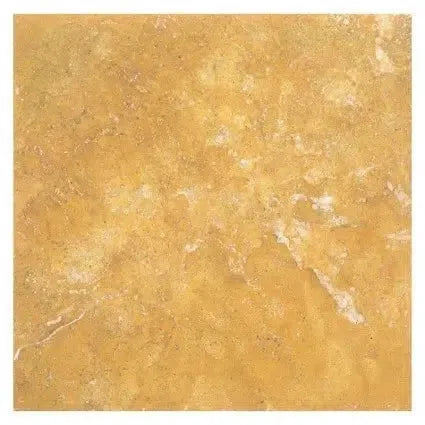 Gold/Yellow Travertine
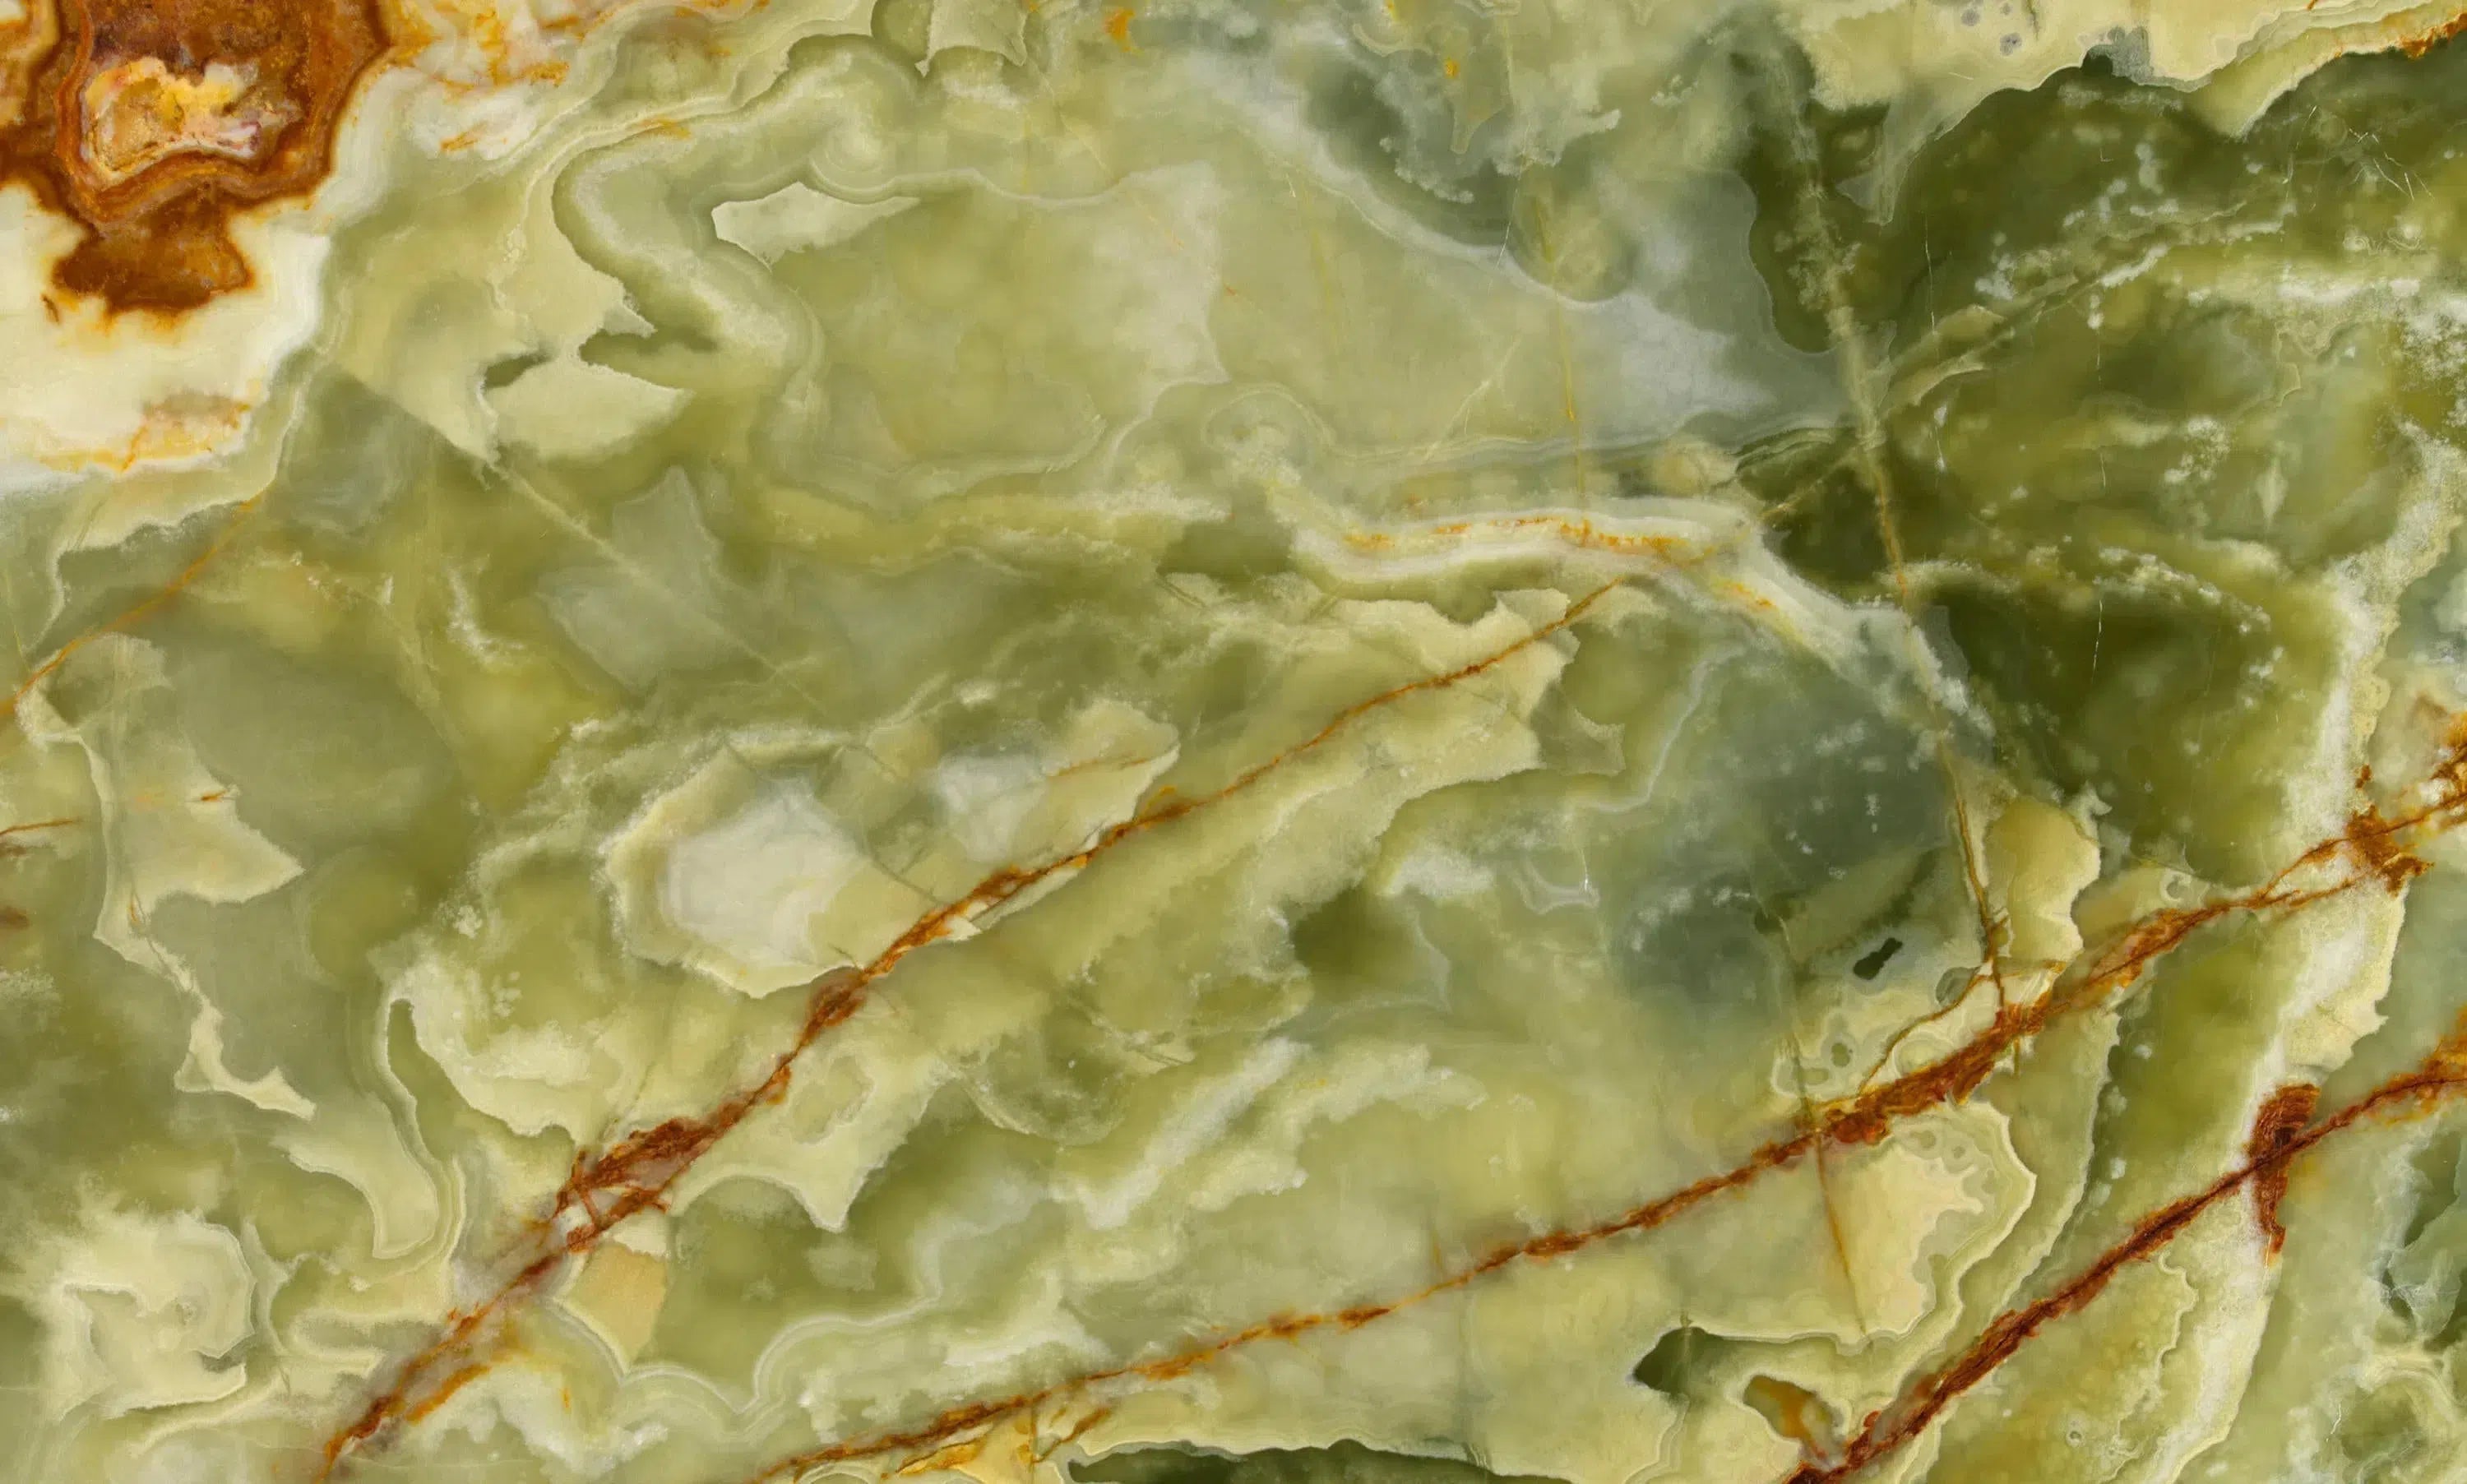 Green Onyx Marble
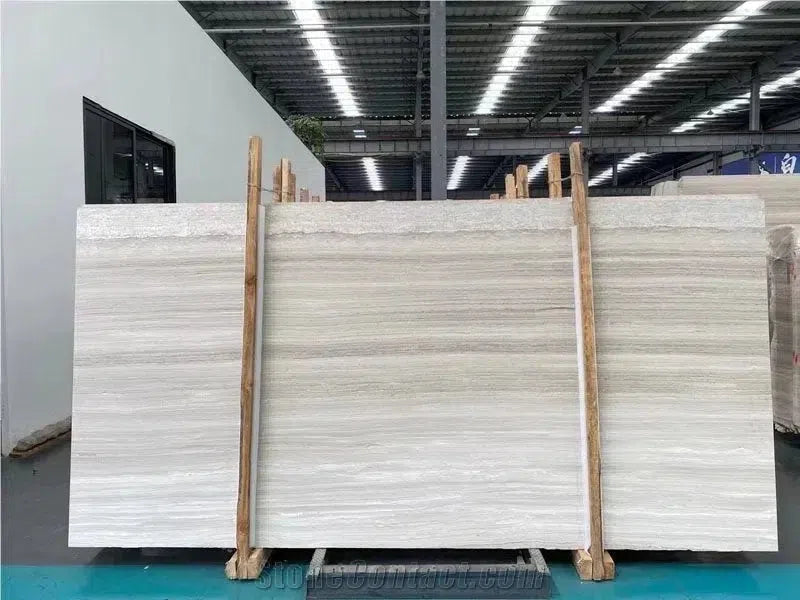 Haisa Light (White Wood) Limestone
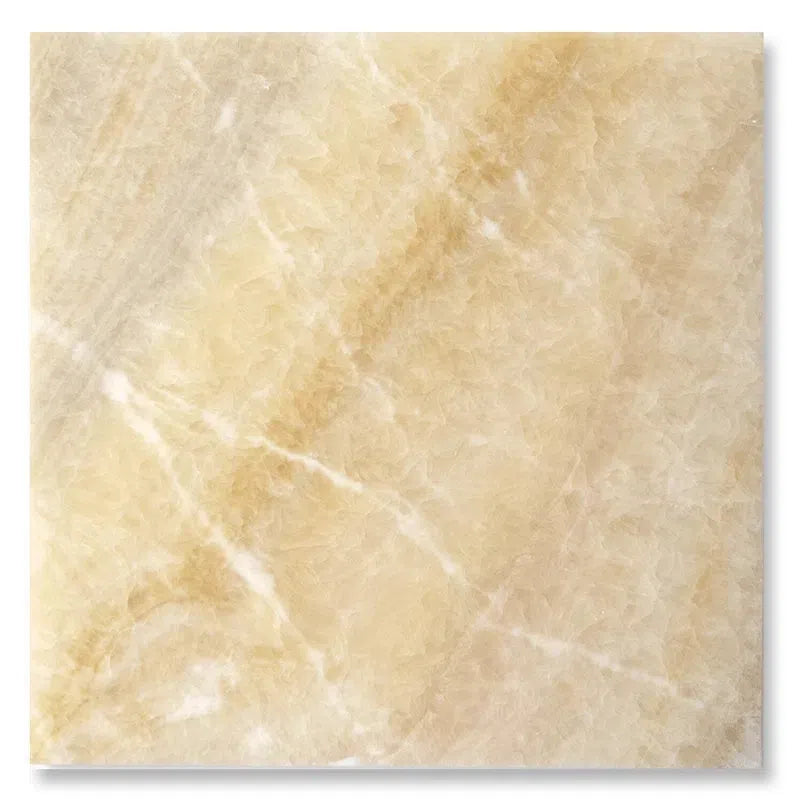 Honey Onyx Marble
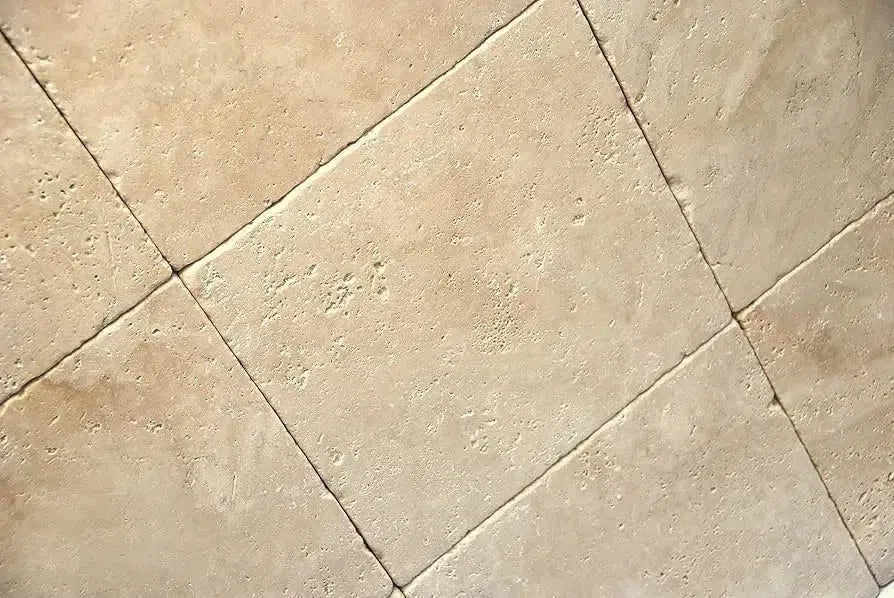 Ivory (Light) Travertine
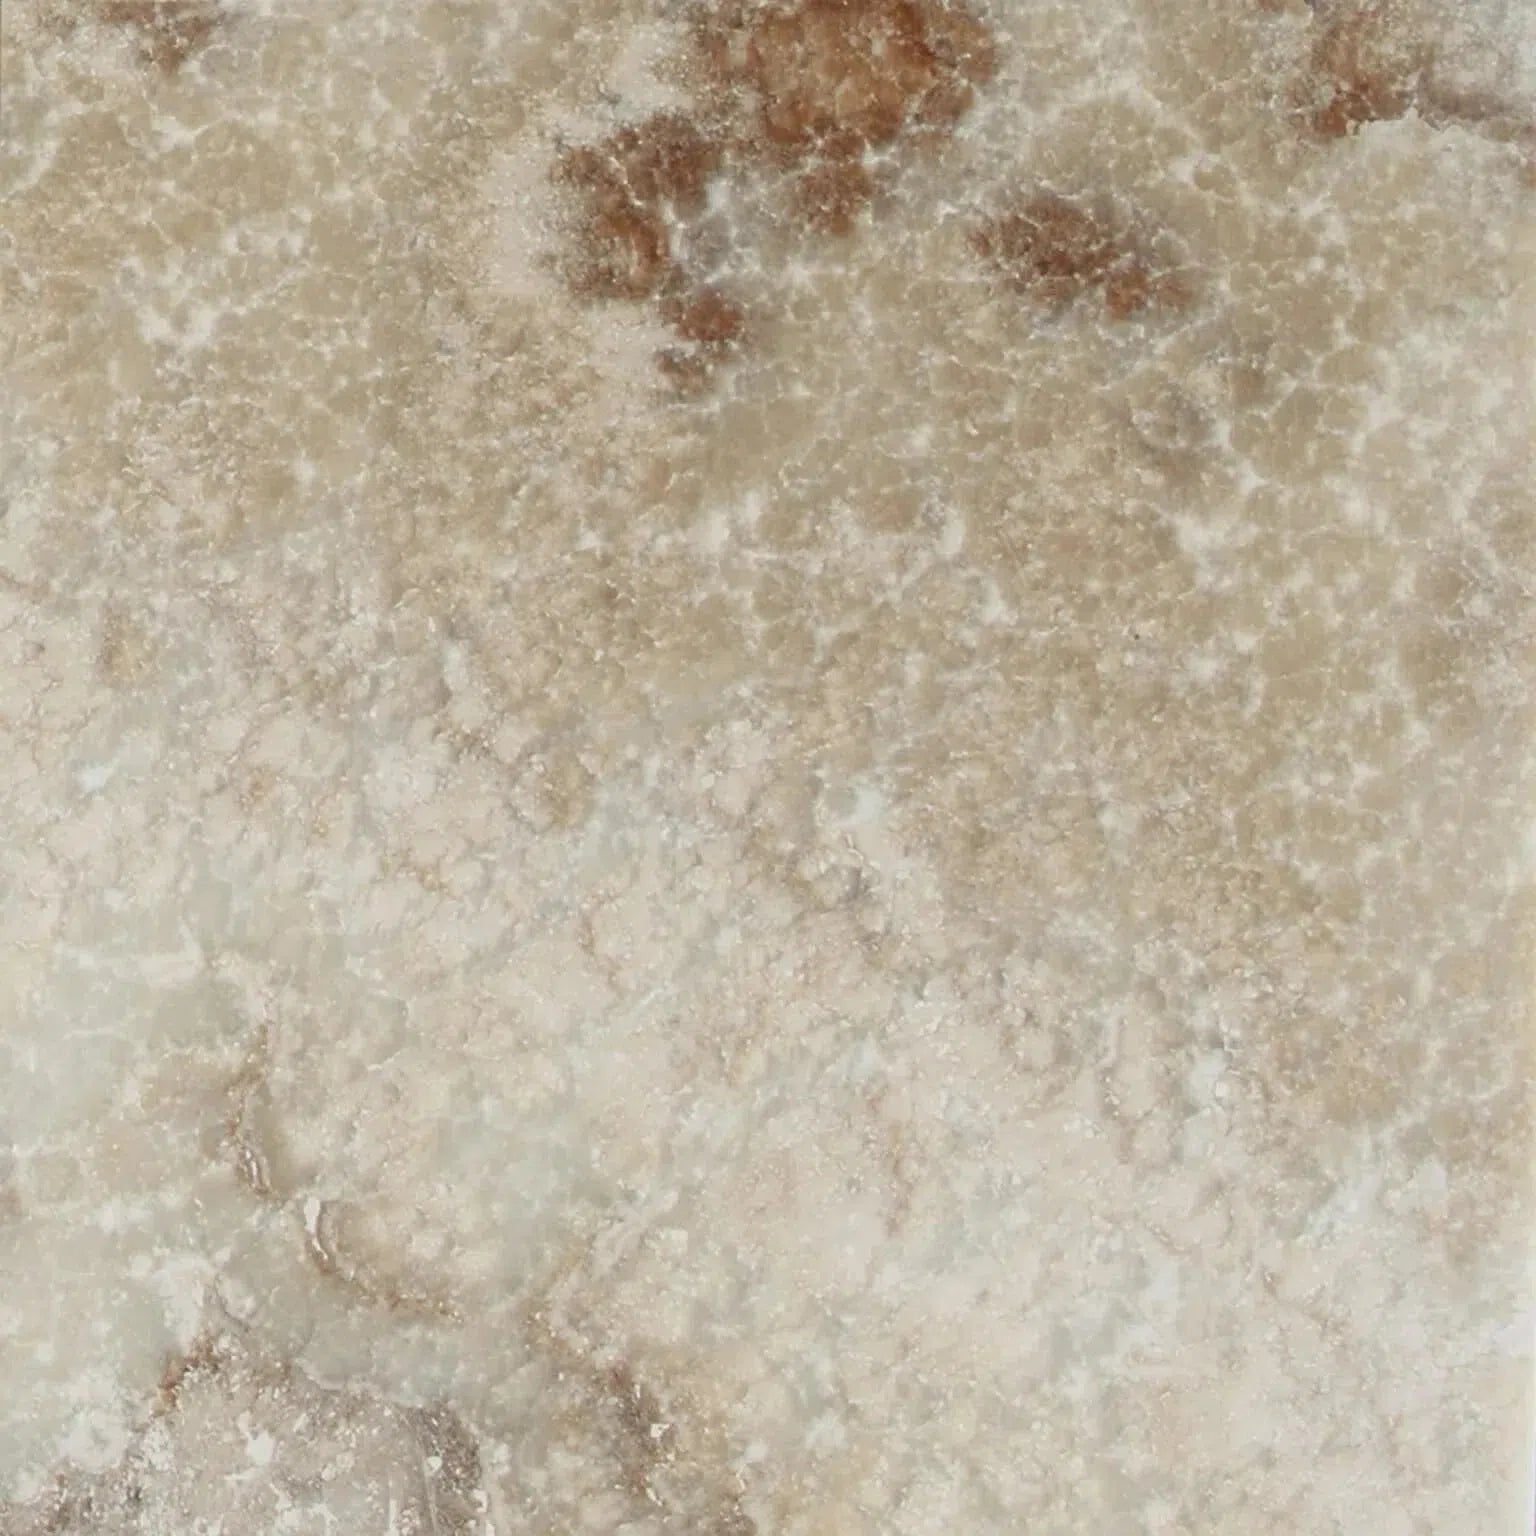 La Travonya Travertine
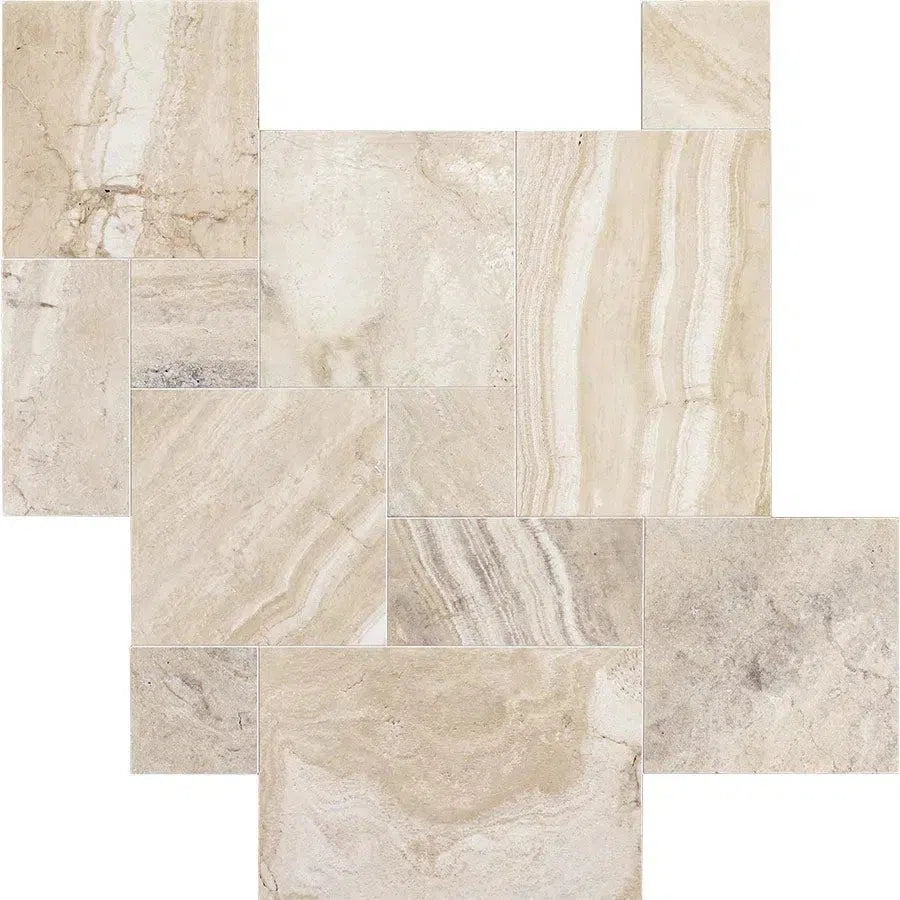 Malibu Travertine
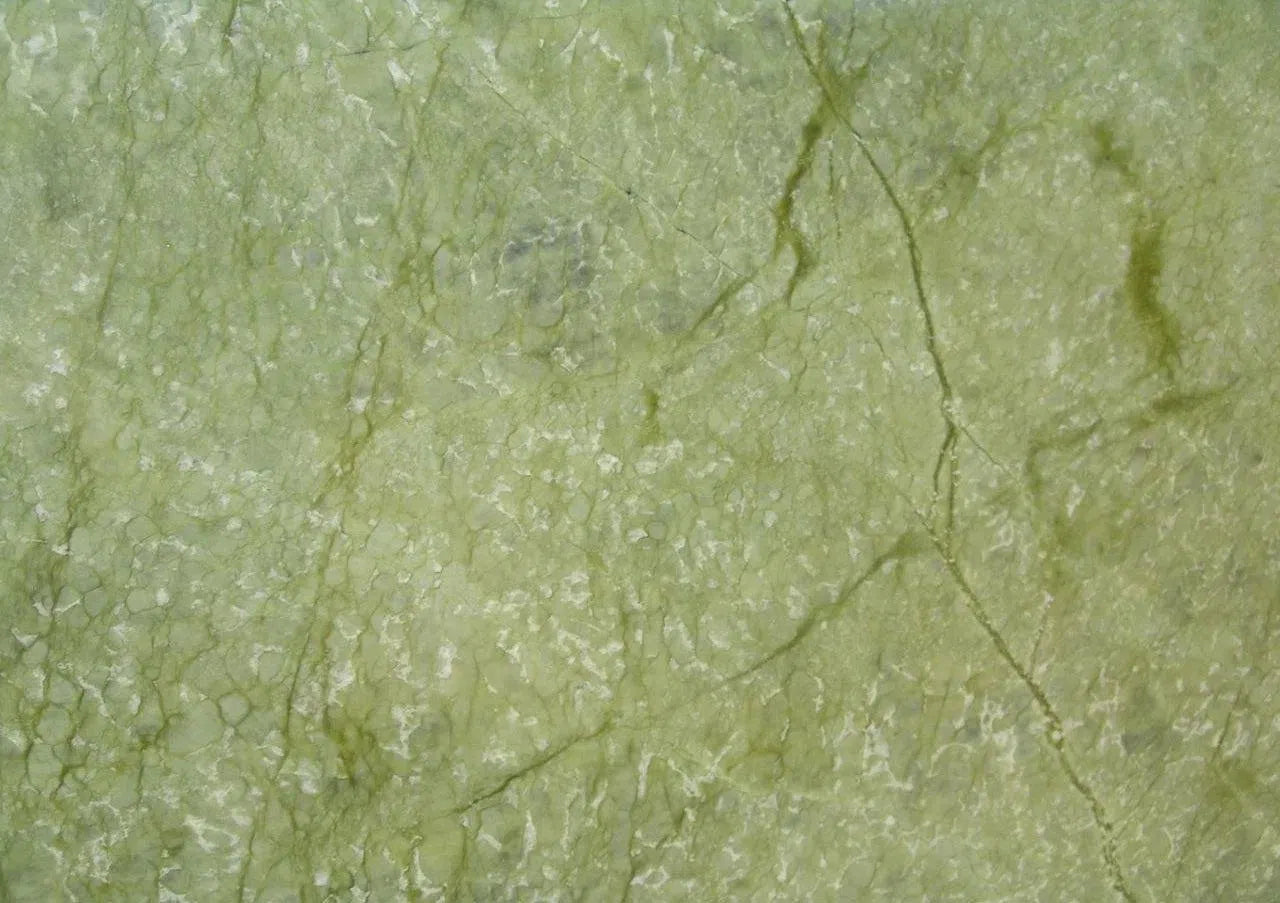 Ming Green Marble
 Mink (Equator) Marble
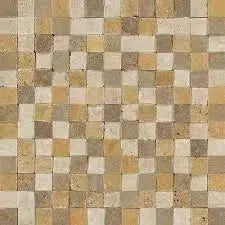 Mixed (Ivory-Noce-Gold) Travertine
 Nero Marquina/Black Marble
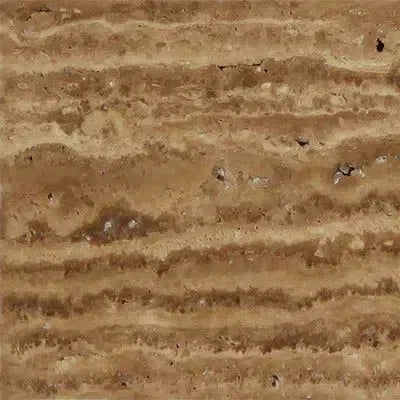 Noce Exotic (Vein Cut) Travertine
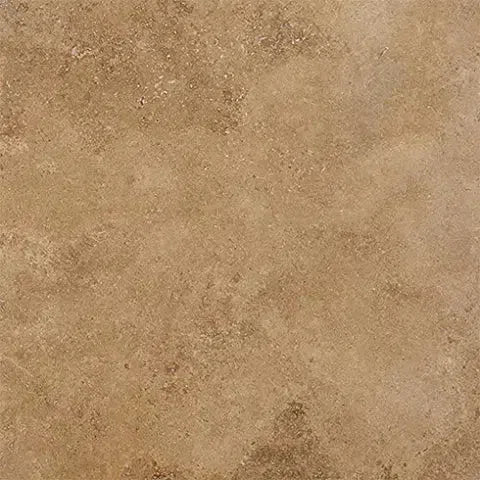 Noce Travertine
 Oriental White Marble
 Pierre Bleue (Pierre Blue) Marble
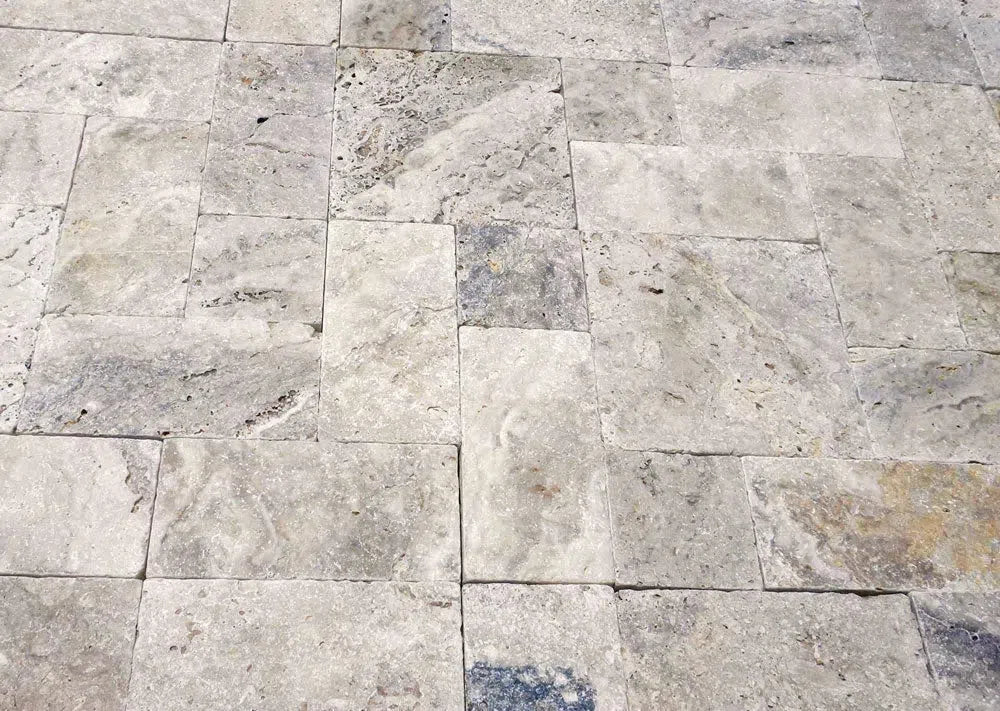 Philadelphia Travertine
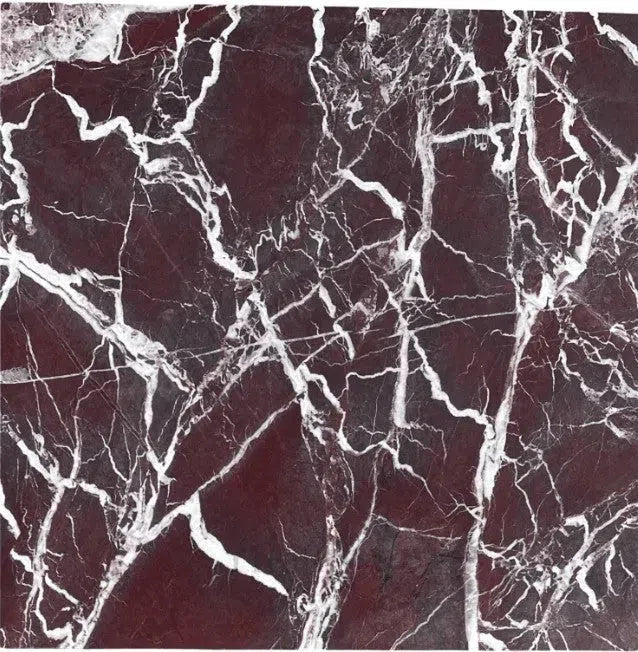 Rosso Levanto Marble
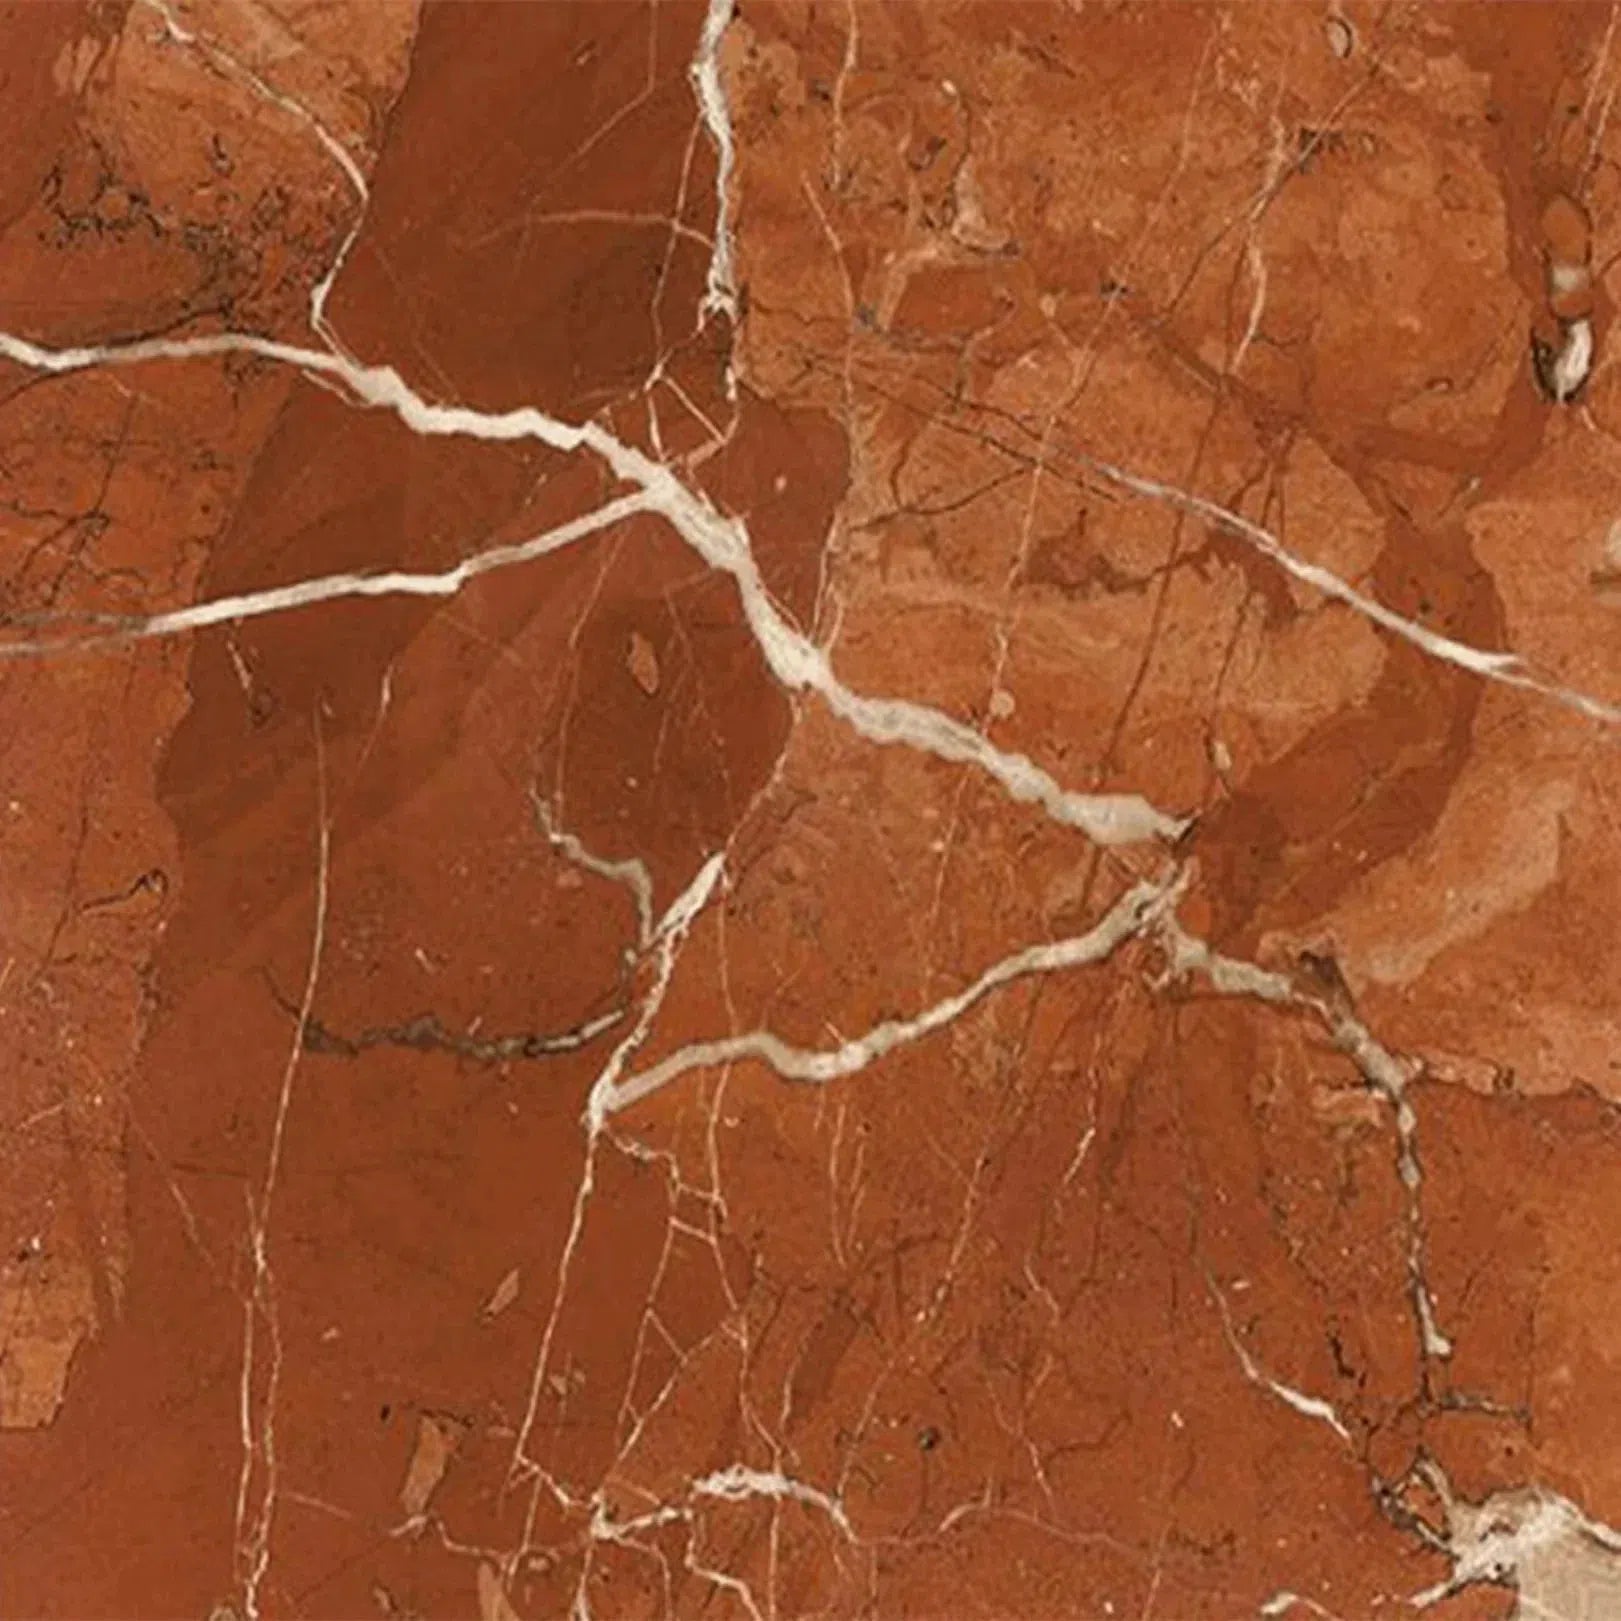 Rojo Alicante Marble
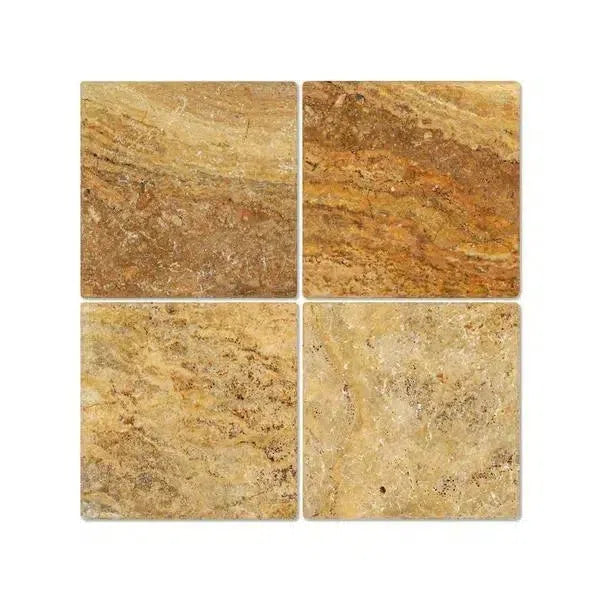 Scabos Travertine
 Sky Blue | Azul Cielo Marble
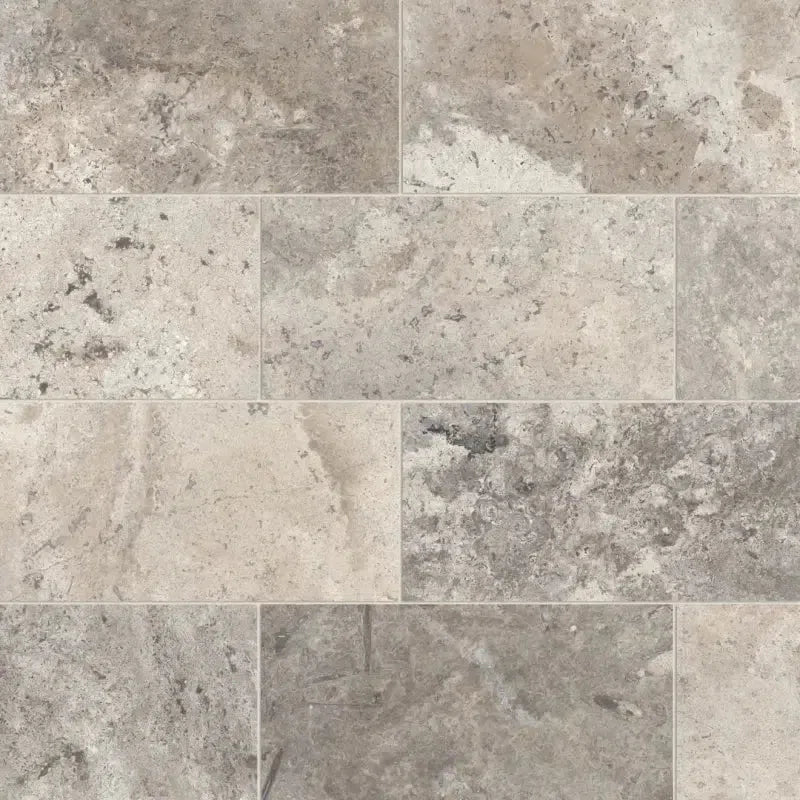 Silver Travertine
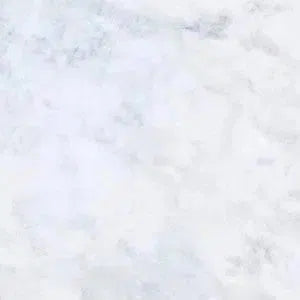 Snow White (Afyon White) Marble
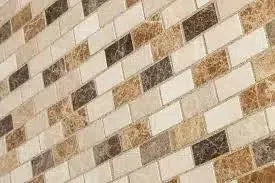 Spanish Mix Marble
 Statuary - Statuario White (Italian) Marble
 Thassos White (Greek) Marble
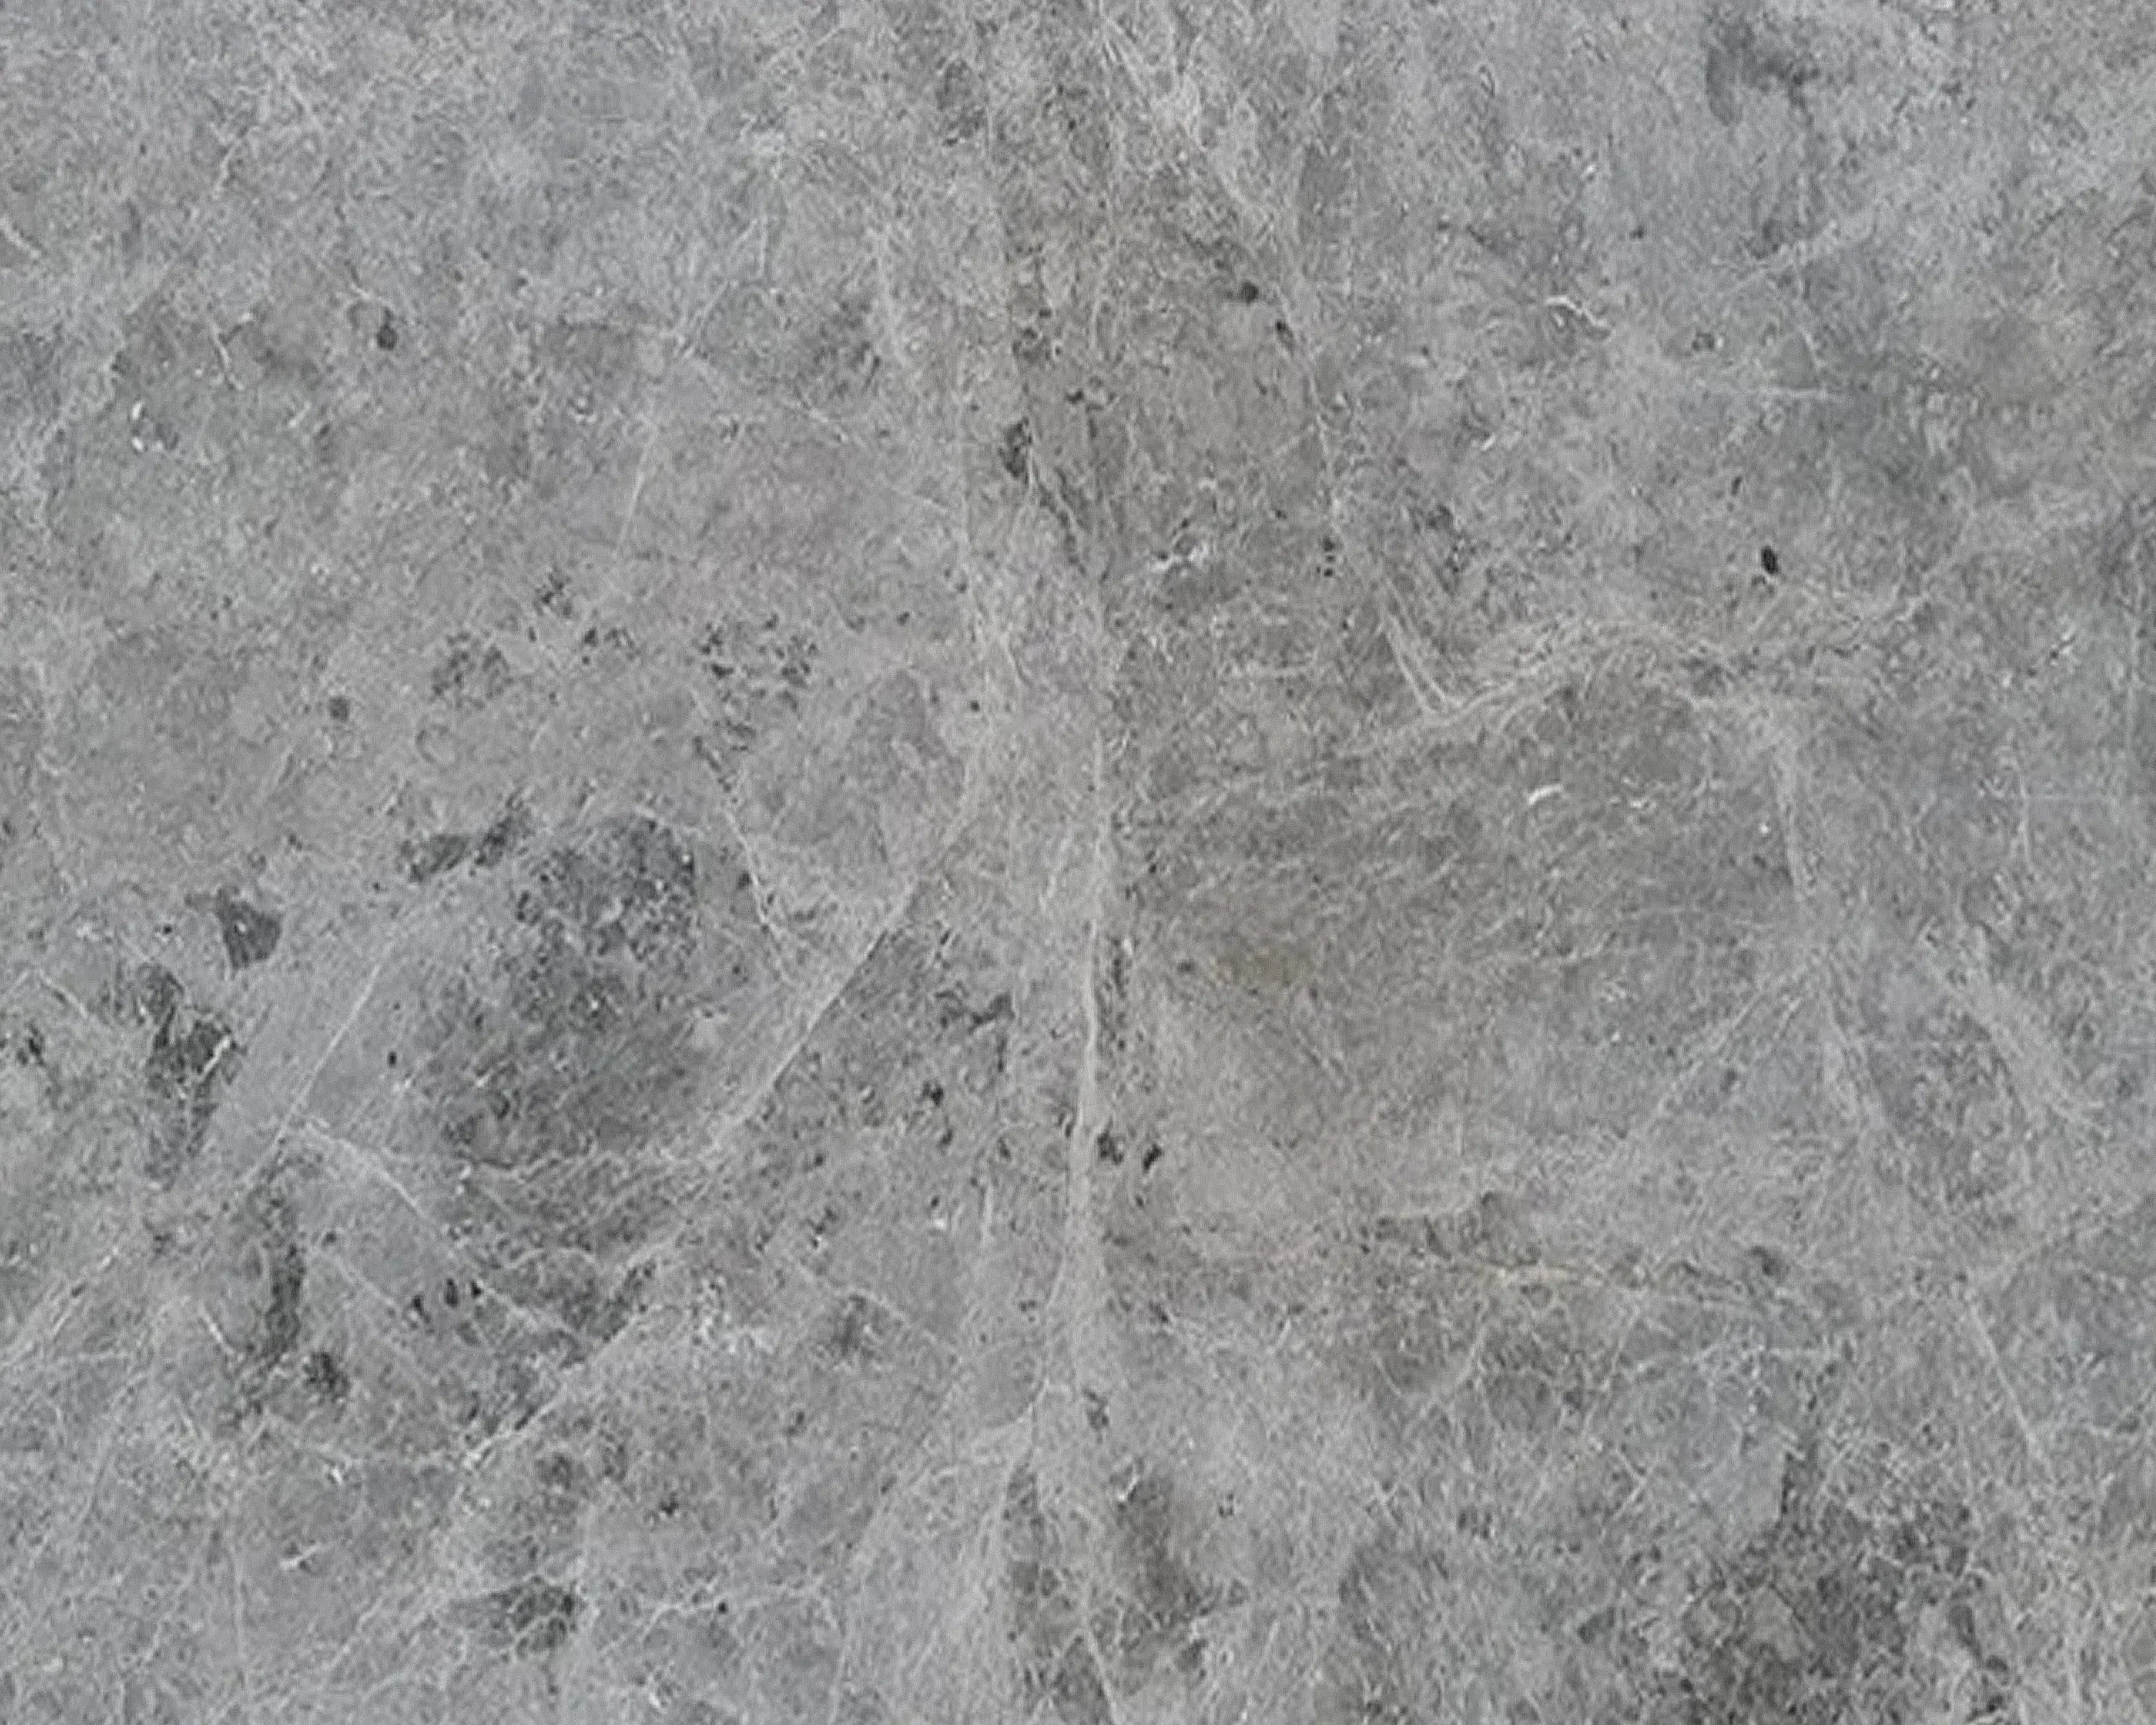 Tundra Gray (Atlantic Gray) Marble
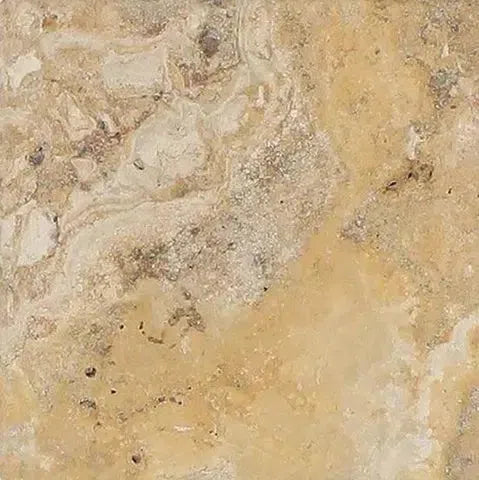 Valencia Travertine
 Valerenga Travertine
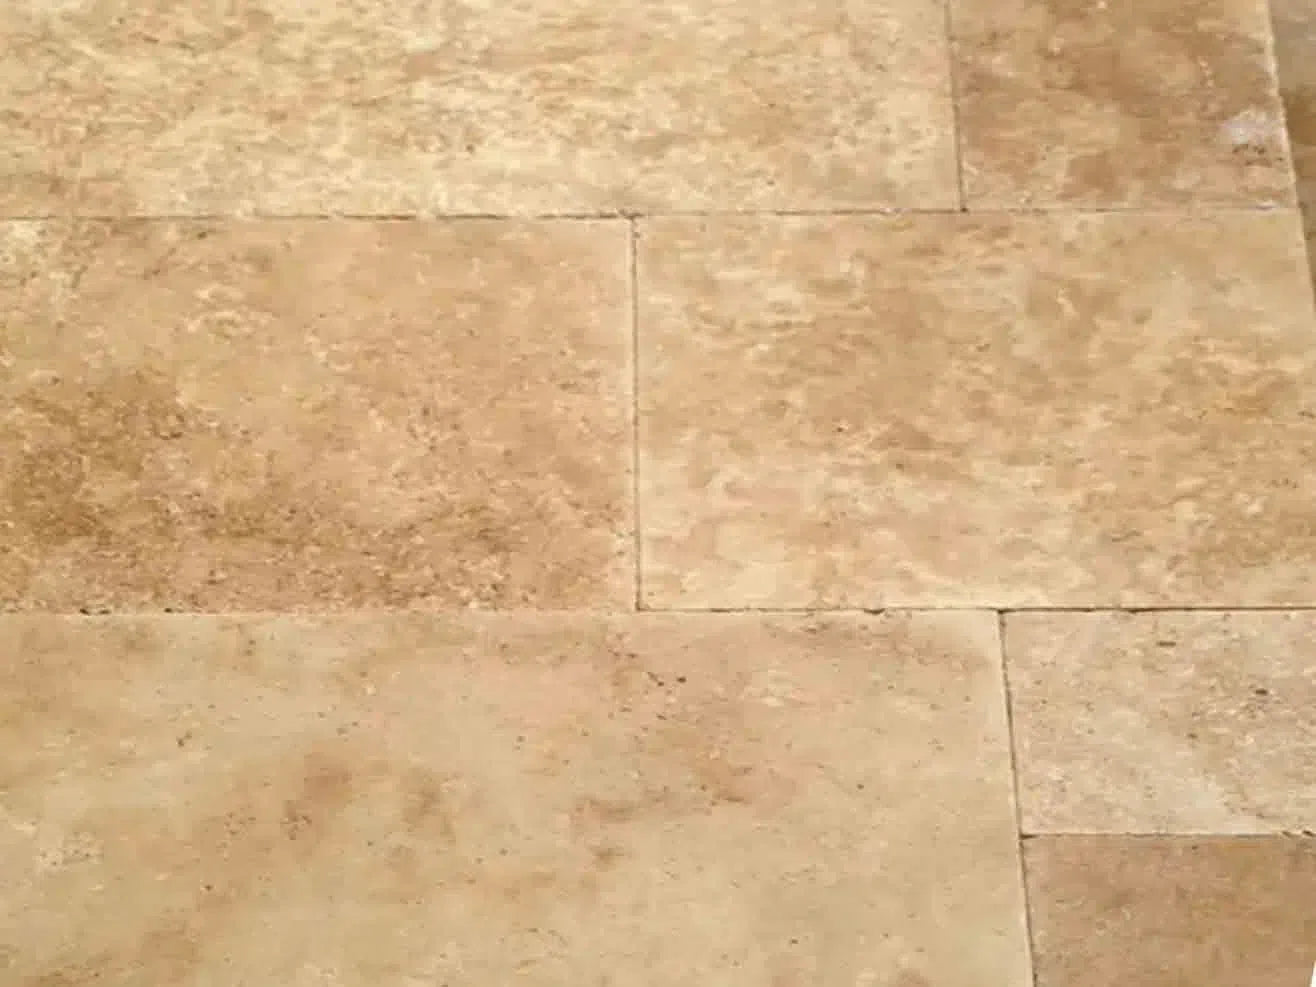 Walnut Travertine
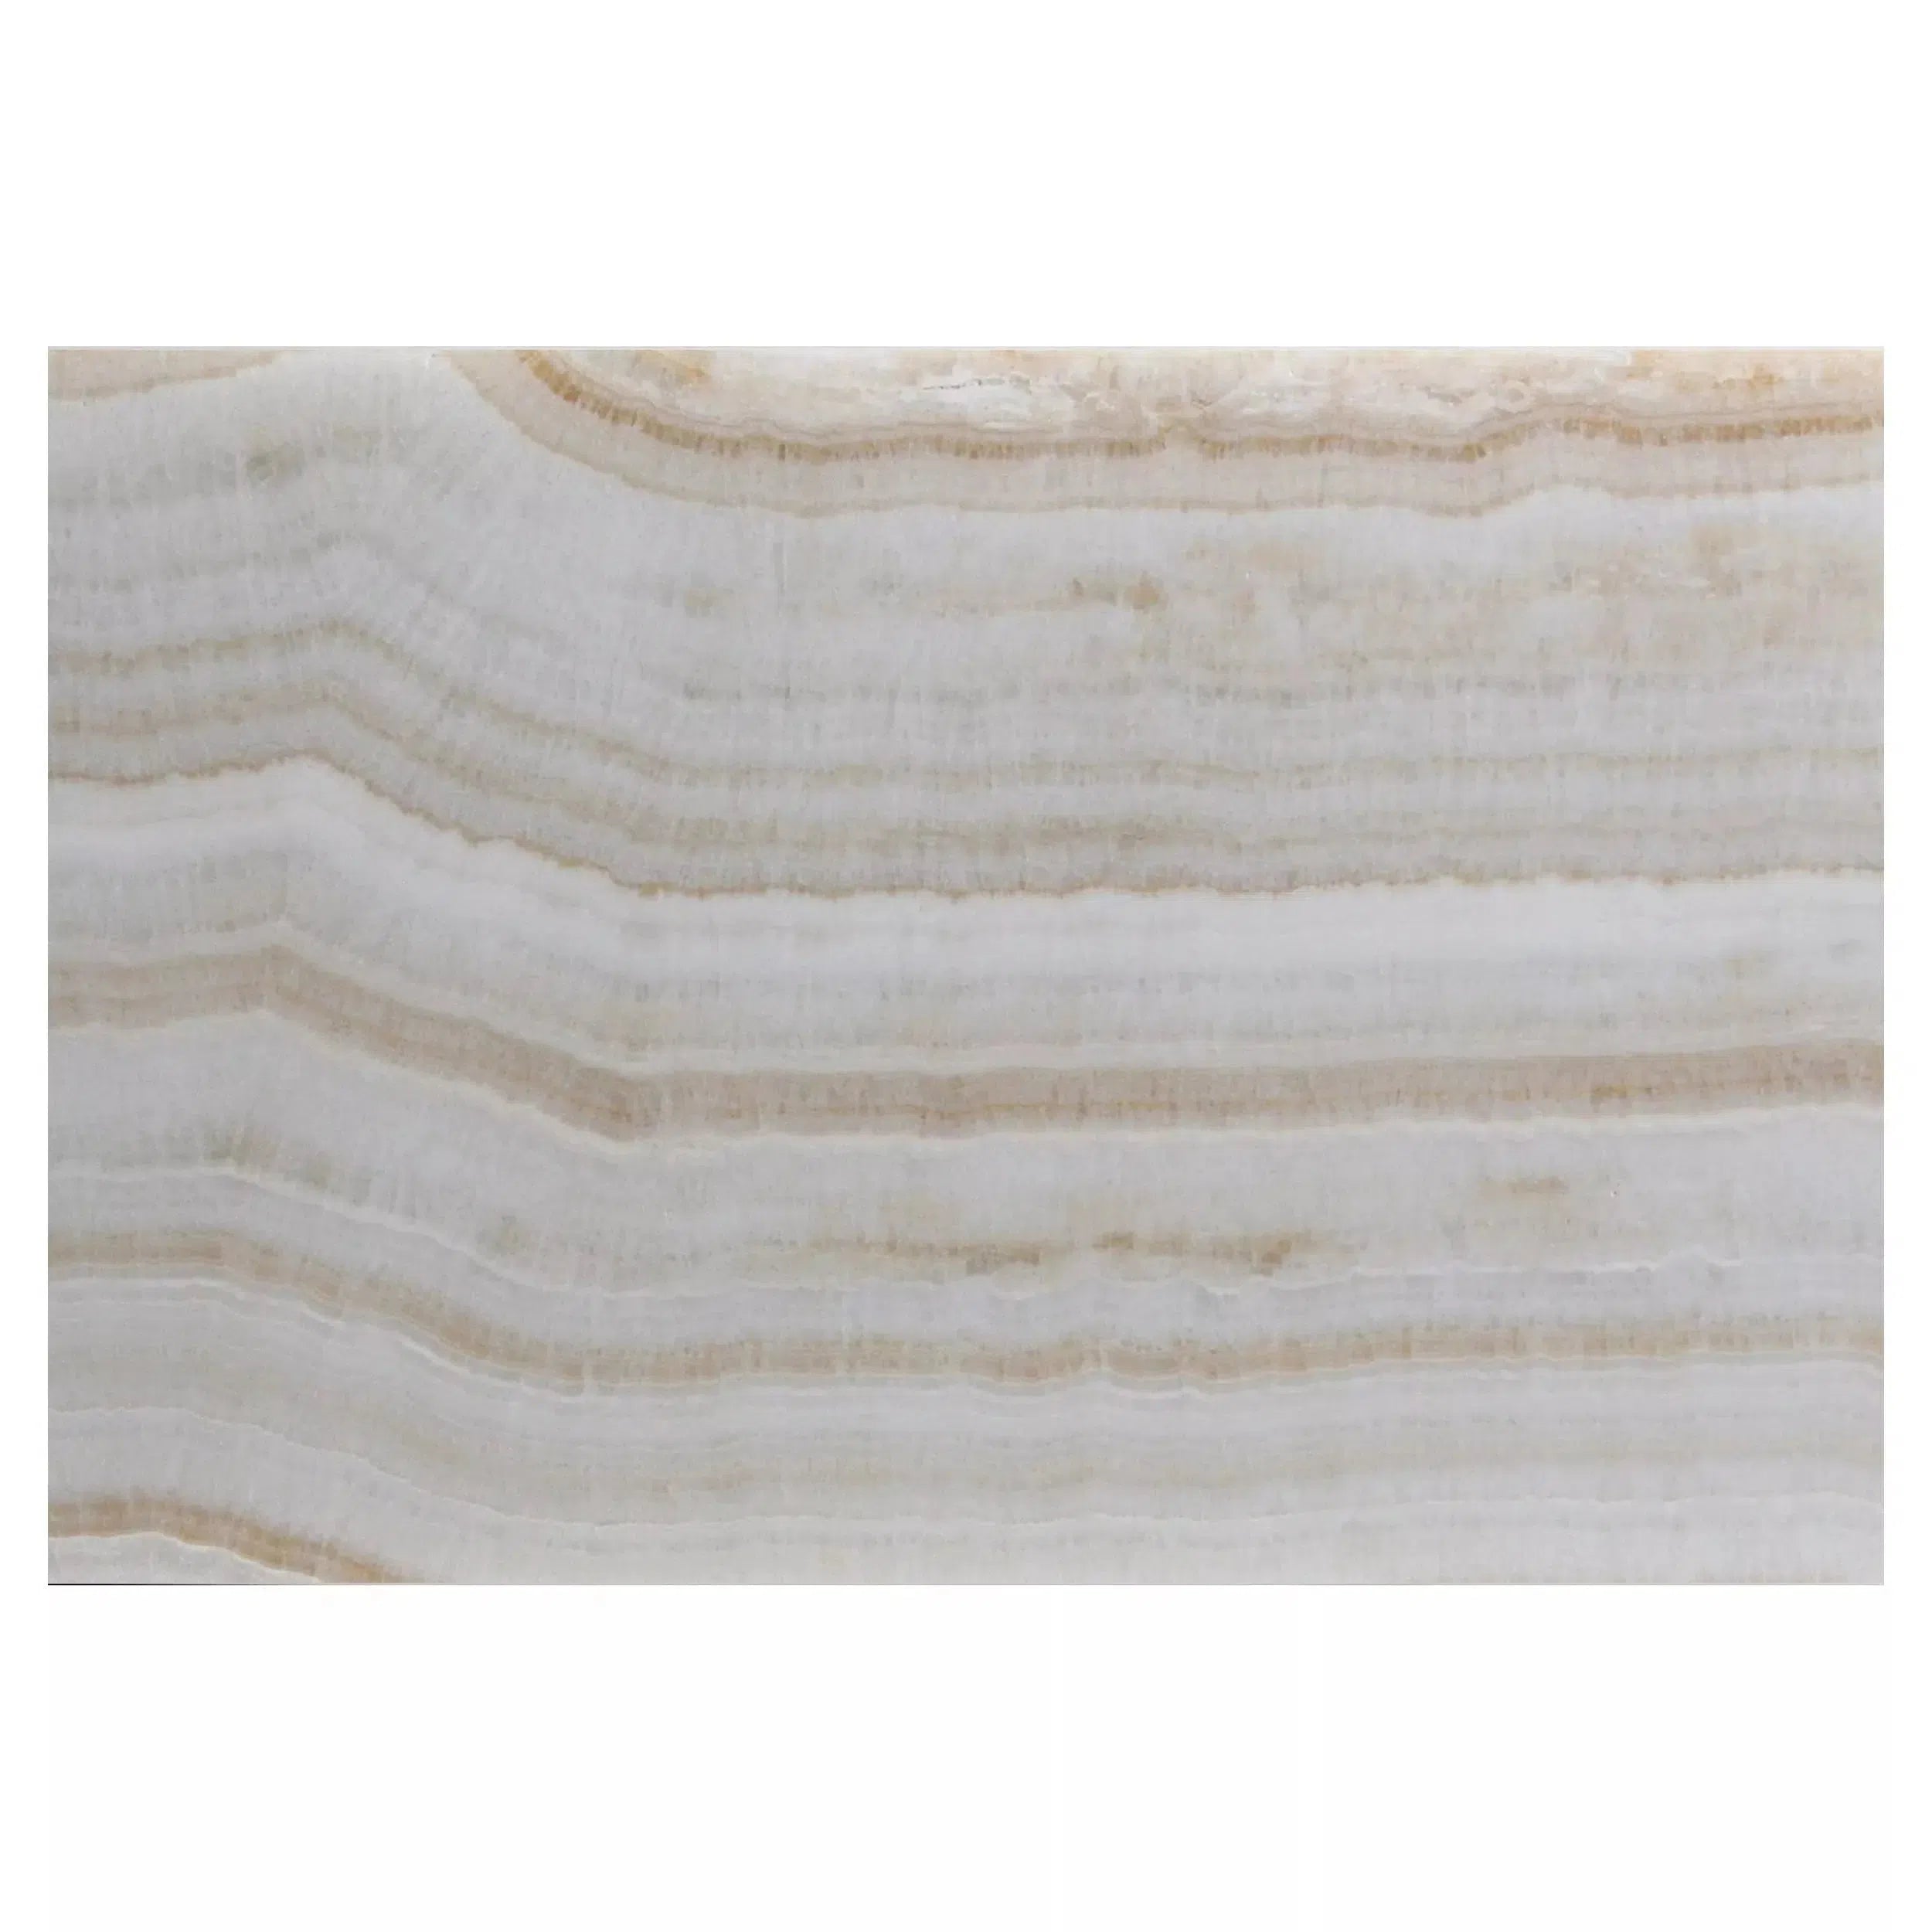 White Onyx Marble
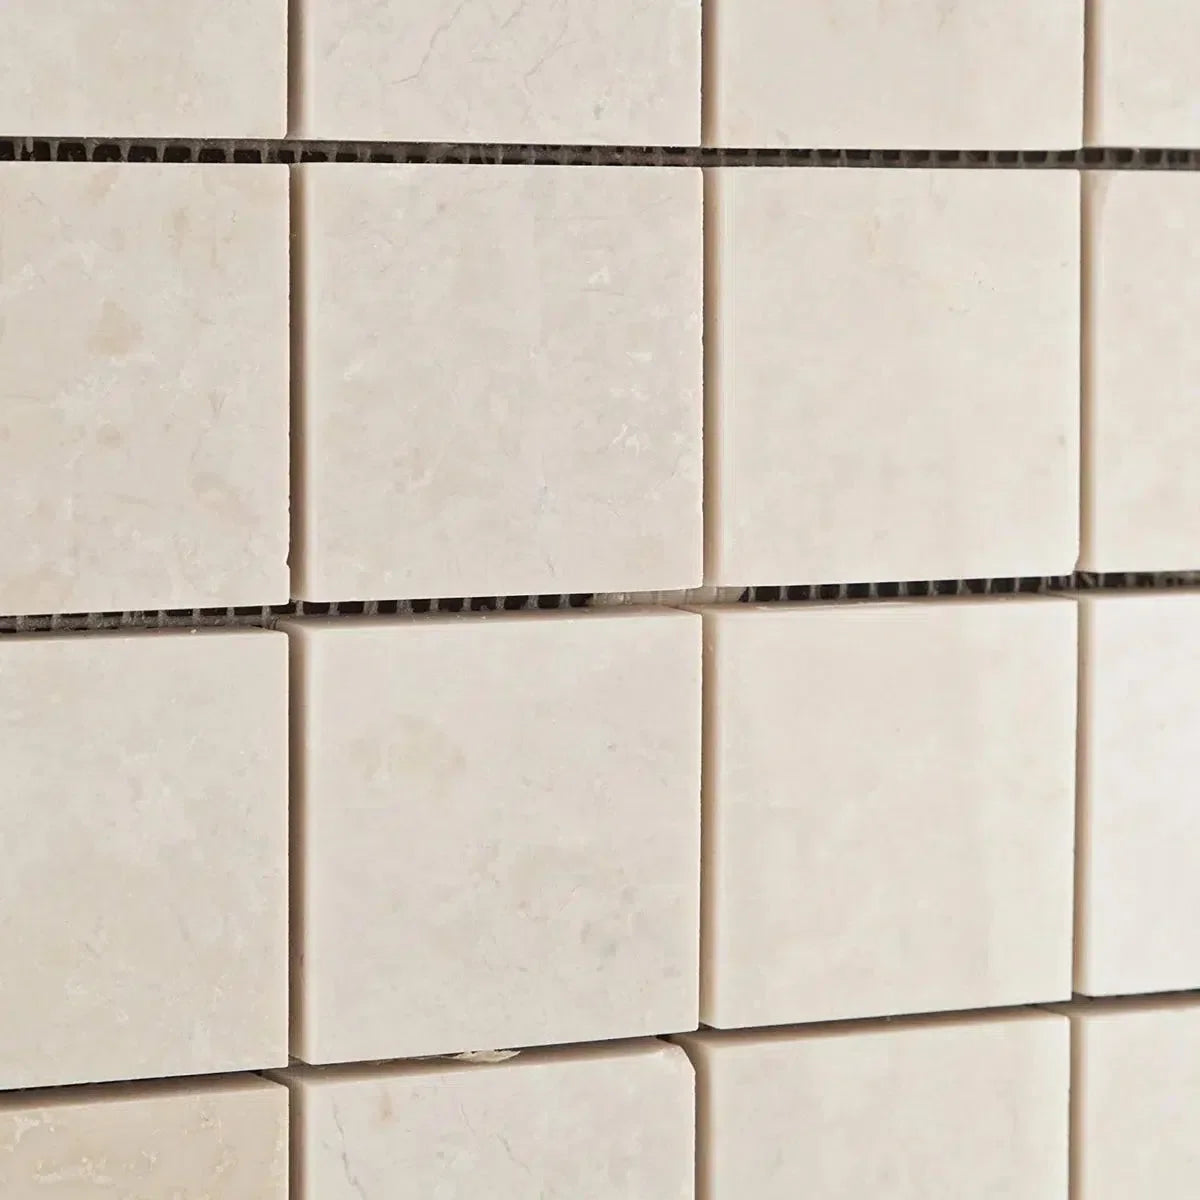 White Pearl/Botticino Beiege Marble
 Shop By Type
 Shop By Finish
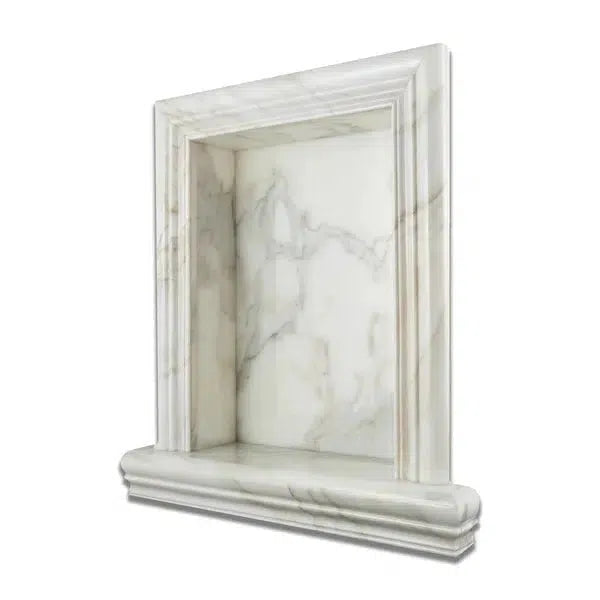 Accessories
 Clearance

 Best Selling Marble Collections
 Arabescato Corchia
 Bardiglio
 Bianco Dolomite
  Carrara White
  Calacatta Gold
 Crema Marfil
 Emperador Dark
 Nero Marquina
 Thassos White
 Best Selling Travertine Collections
 Ivory Travertine
 Noce Travertine
 Exotic Noce Travertine
 Scabos | Autumn Leaves Travertine
 Silver Travertine
 Exotic Travertine
 Checkerboard
 Patterned Tile
 Shop By Material
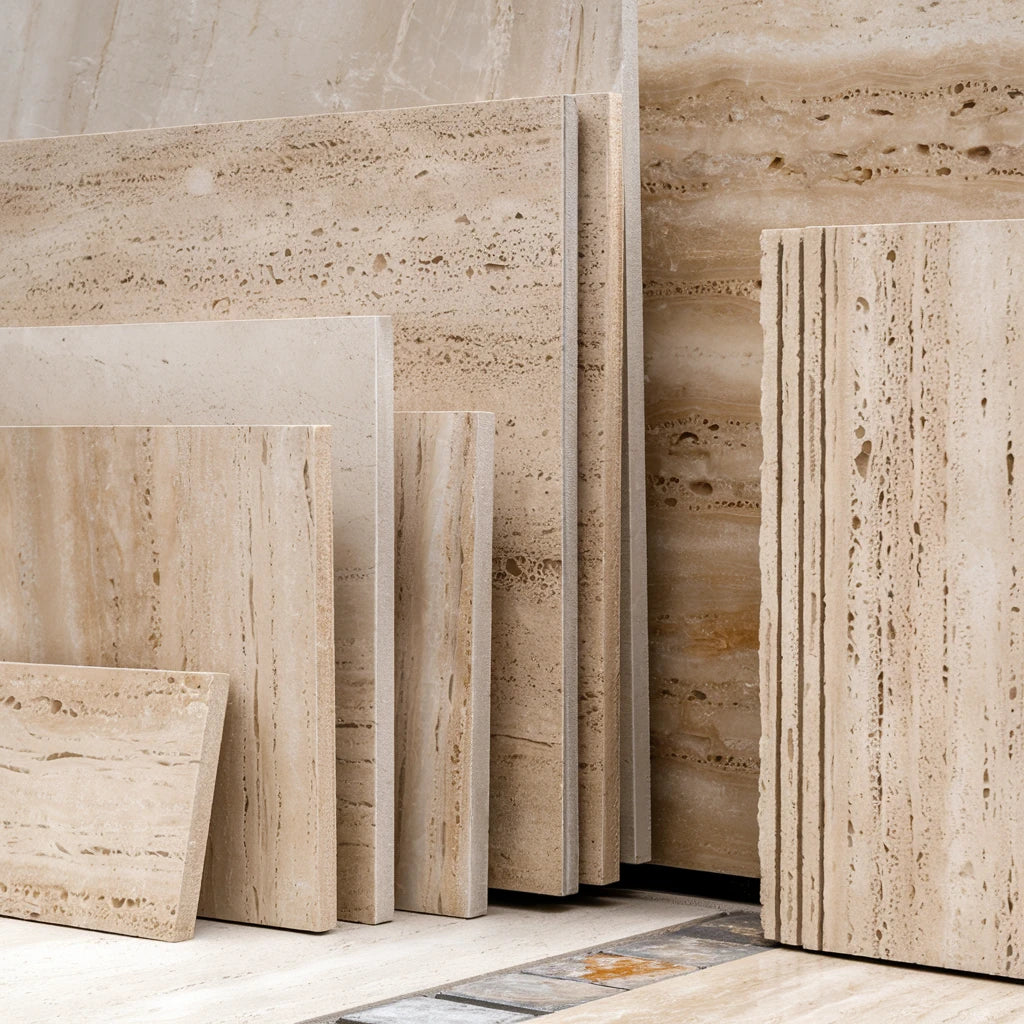 Travertine
 Marble
 Limestone
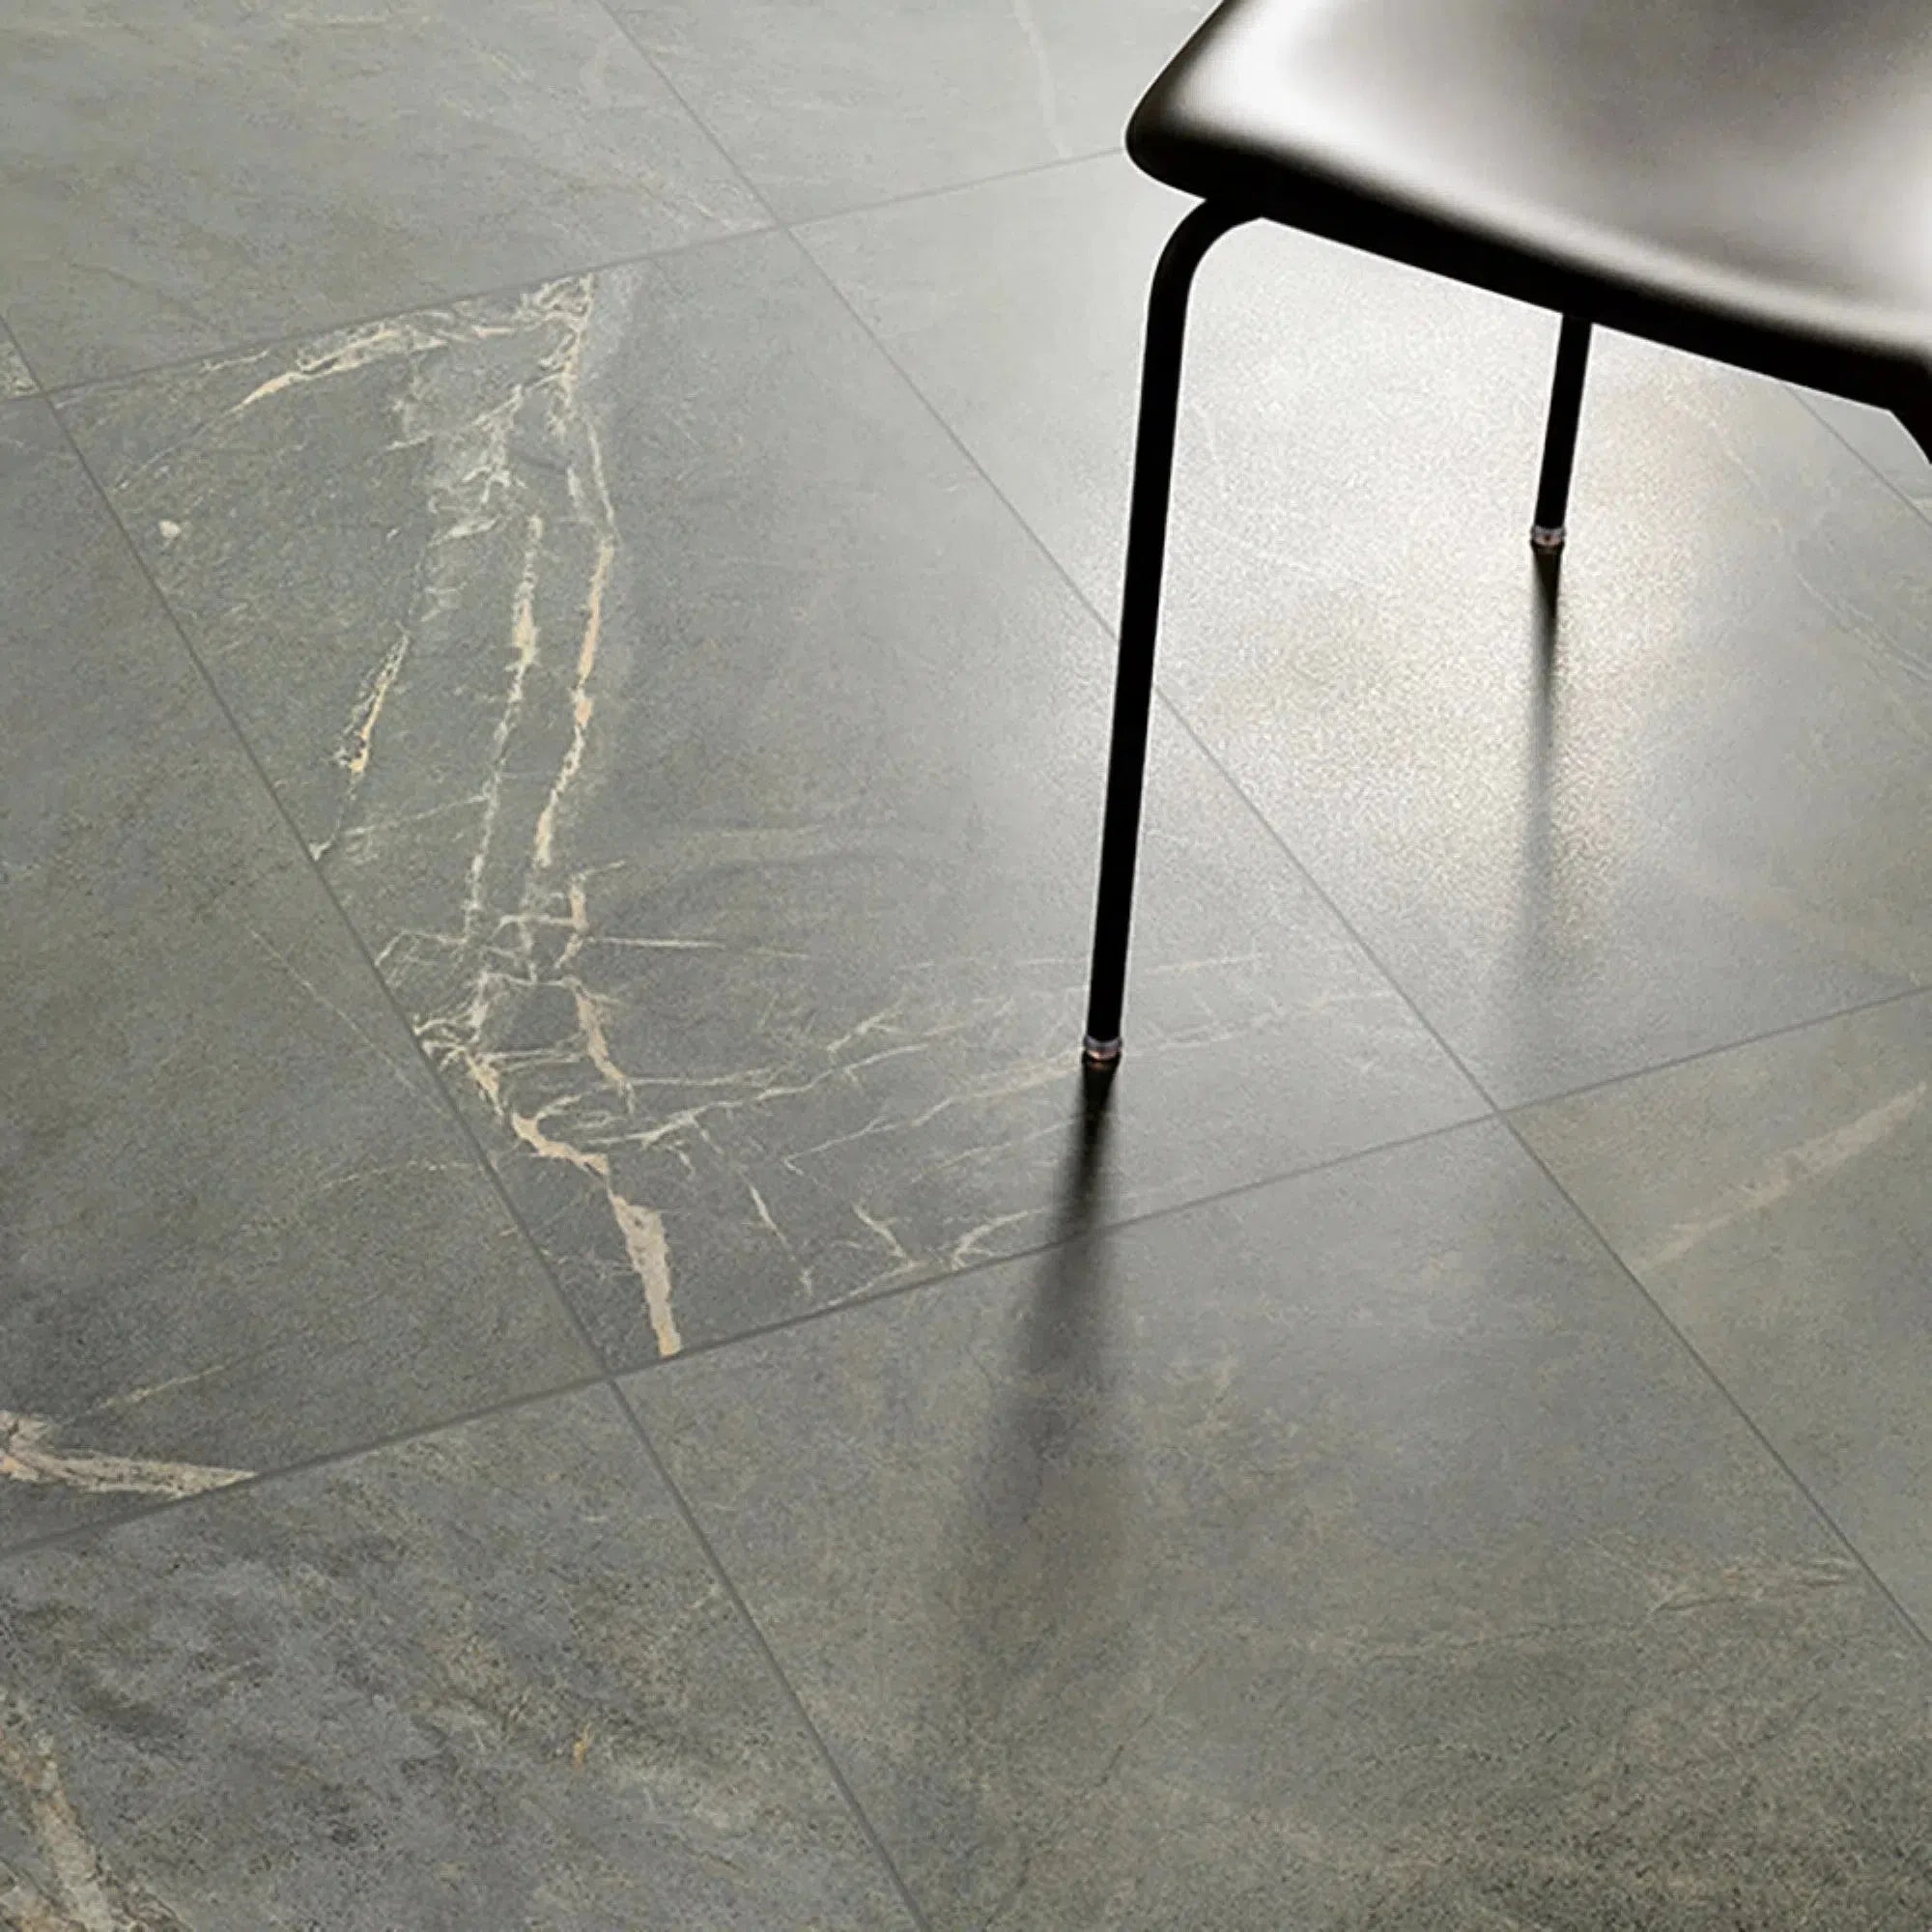 Soap Stone
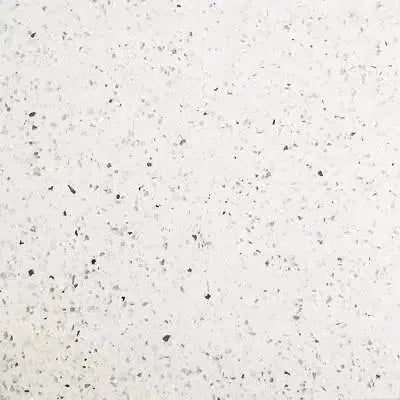 Quartz
 Granite
 Shop By Name
 Absolute Black Granite
 Atlantic Gray Marble
 Antico Onyx Travertine
 Bianco Congelato Dolomite
 Bianco Venatino (Bianco Mare) Marble
 Calacatta Oliva Marble
 Cappuccino Marble
 Custom-Made Mosaic
 Diano Royal (Queen Beige) Marble
 Durango Cream Traverine
 Emperador Light Marble
 Empress Green Marble
 Gold/Yellow Travertine
 Green Onyx Marble
 Haisa Light (White Wood) Limestone
 Honey Onyx Marble
 La Travonya Travertine
 Malibu Travertine
 Ming Green Marble
 Mink (Equator) Marble
 Mixed (Ivory-Noce-Gold) Travertine
 Oriental White Marble
 Pierre Bleue (Pierre Blue) Marble
 Philadelphia Travertine
 Rosso Levanto Marble
 Rojo Alicante Marble
 Sky Blue | Azul Cielo Marble
 Snow White (Afyon White) Marble
 Spanish Mix Marble
 Statuary - Statuario White (Italian) Marble
 Tundra Gray (Atlantic Gray) Marble
 Valencia Travertine
 Valerenga Travertine
 Walnut Travertine
 White Onyx Marble
 White Pearl/Botticino Beiege Marble
 Shop By Type
 Marble Tiles
 Marble Mosaic
 Travertine Tiles
 Travertine Mosaic
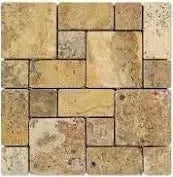 4 pcs Versailles Pattern / French Pattern Set
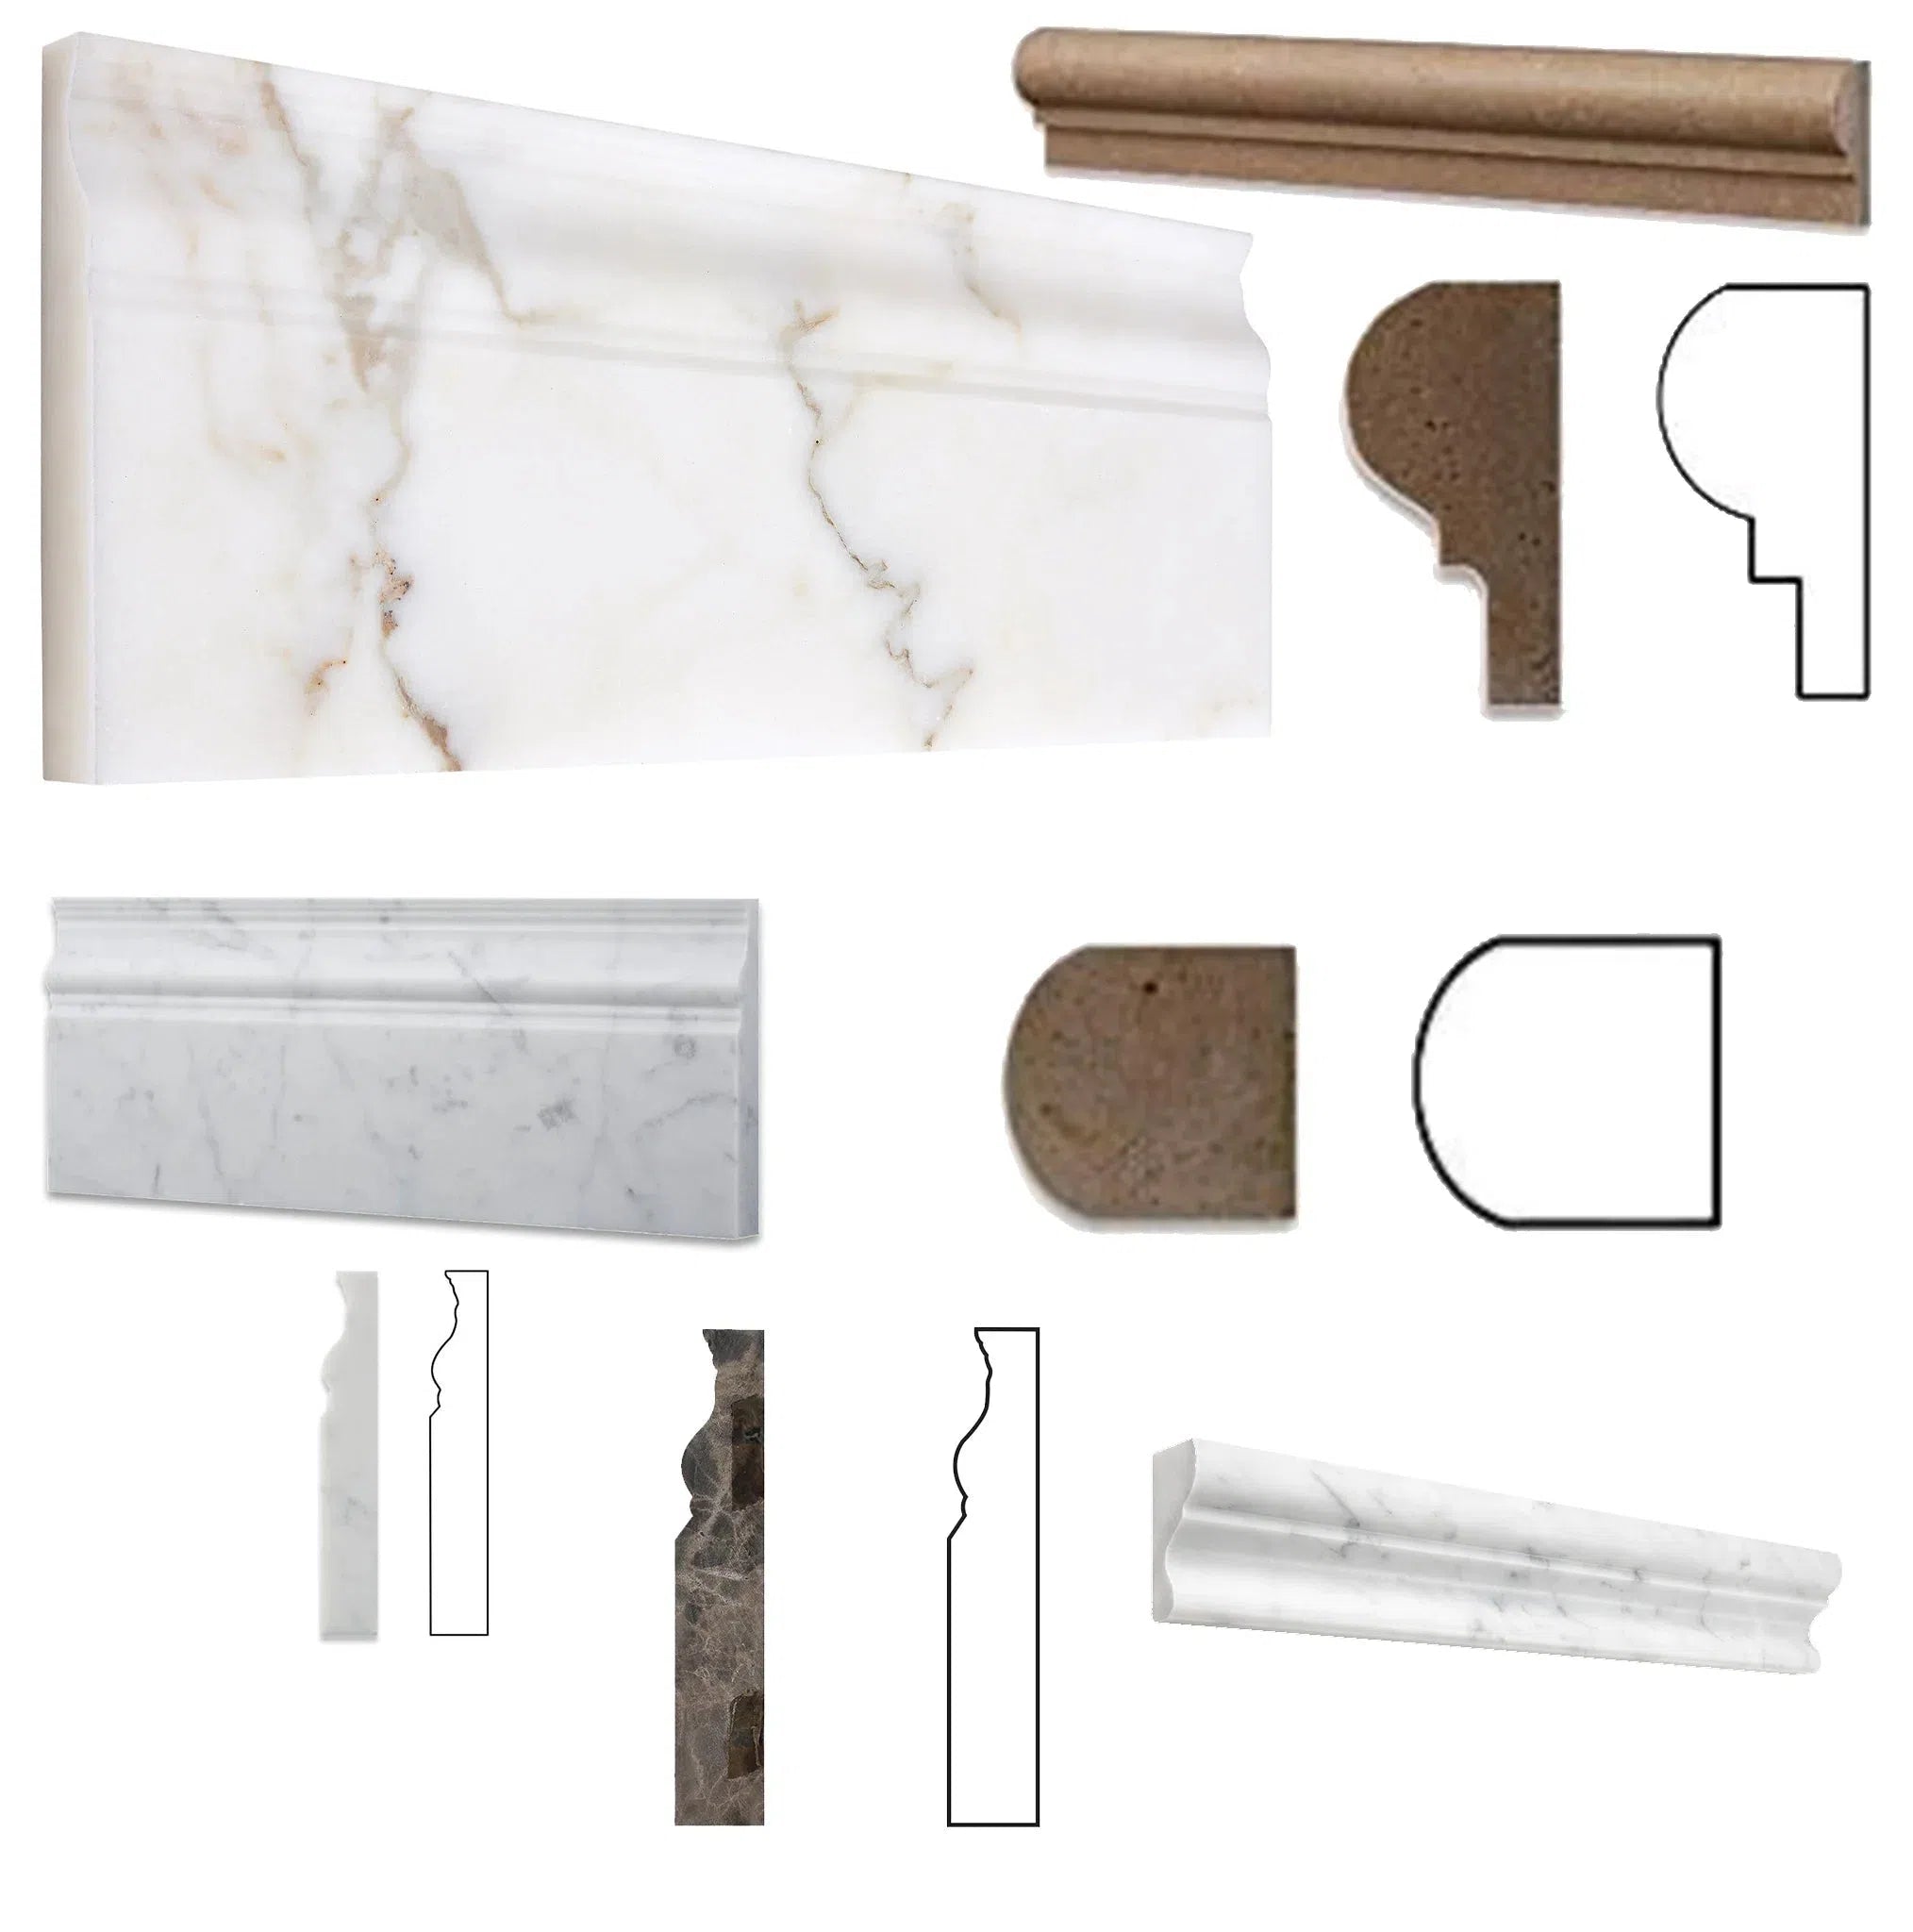 Molding/Trim
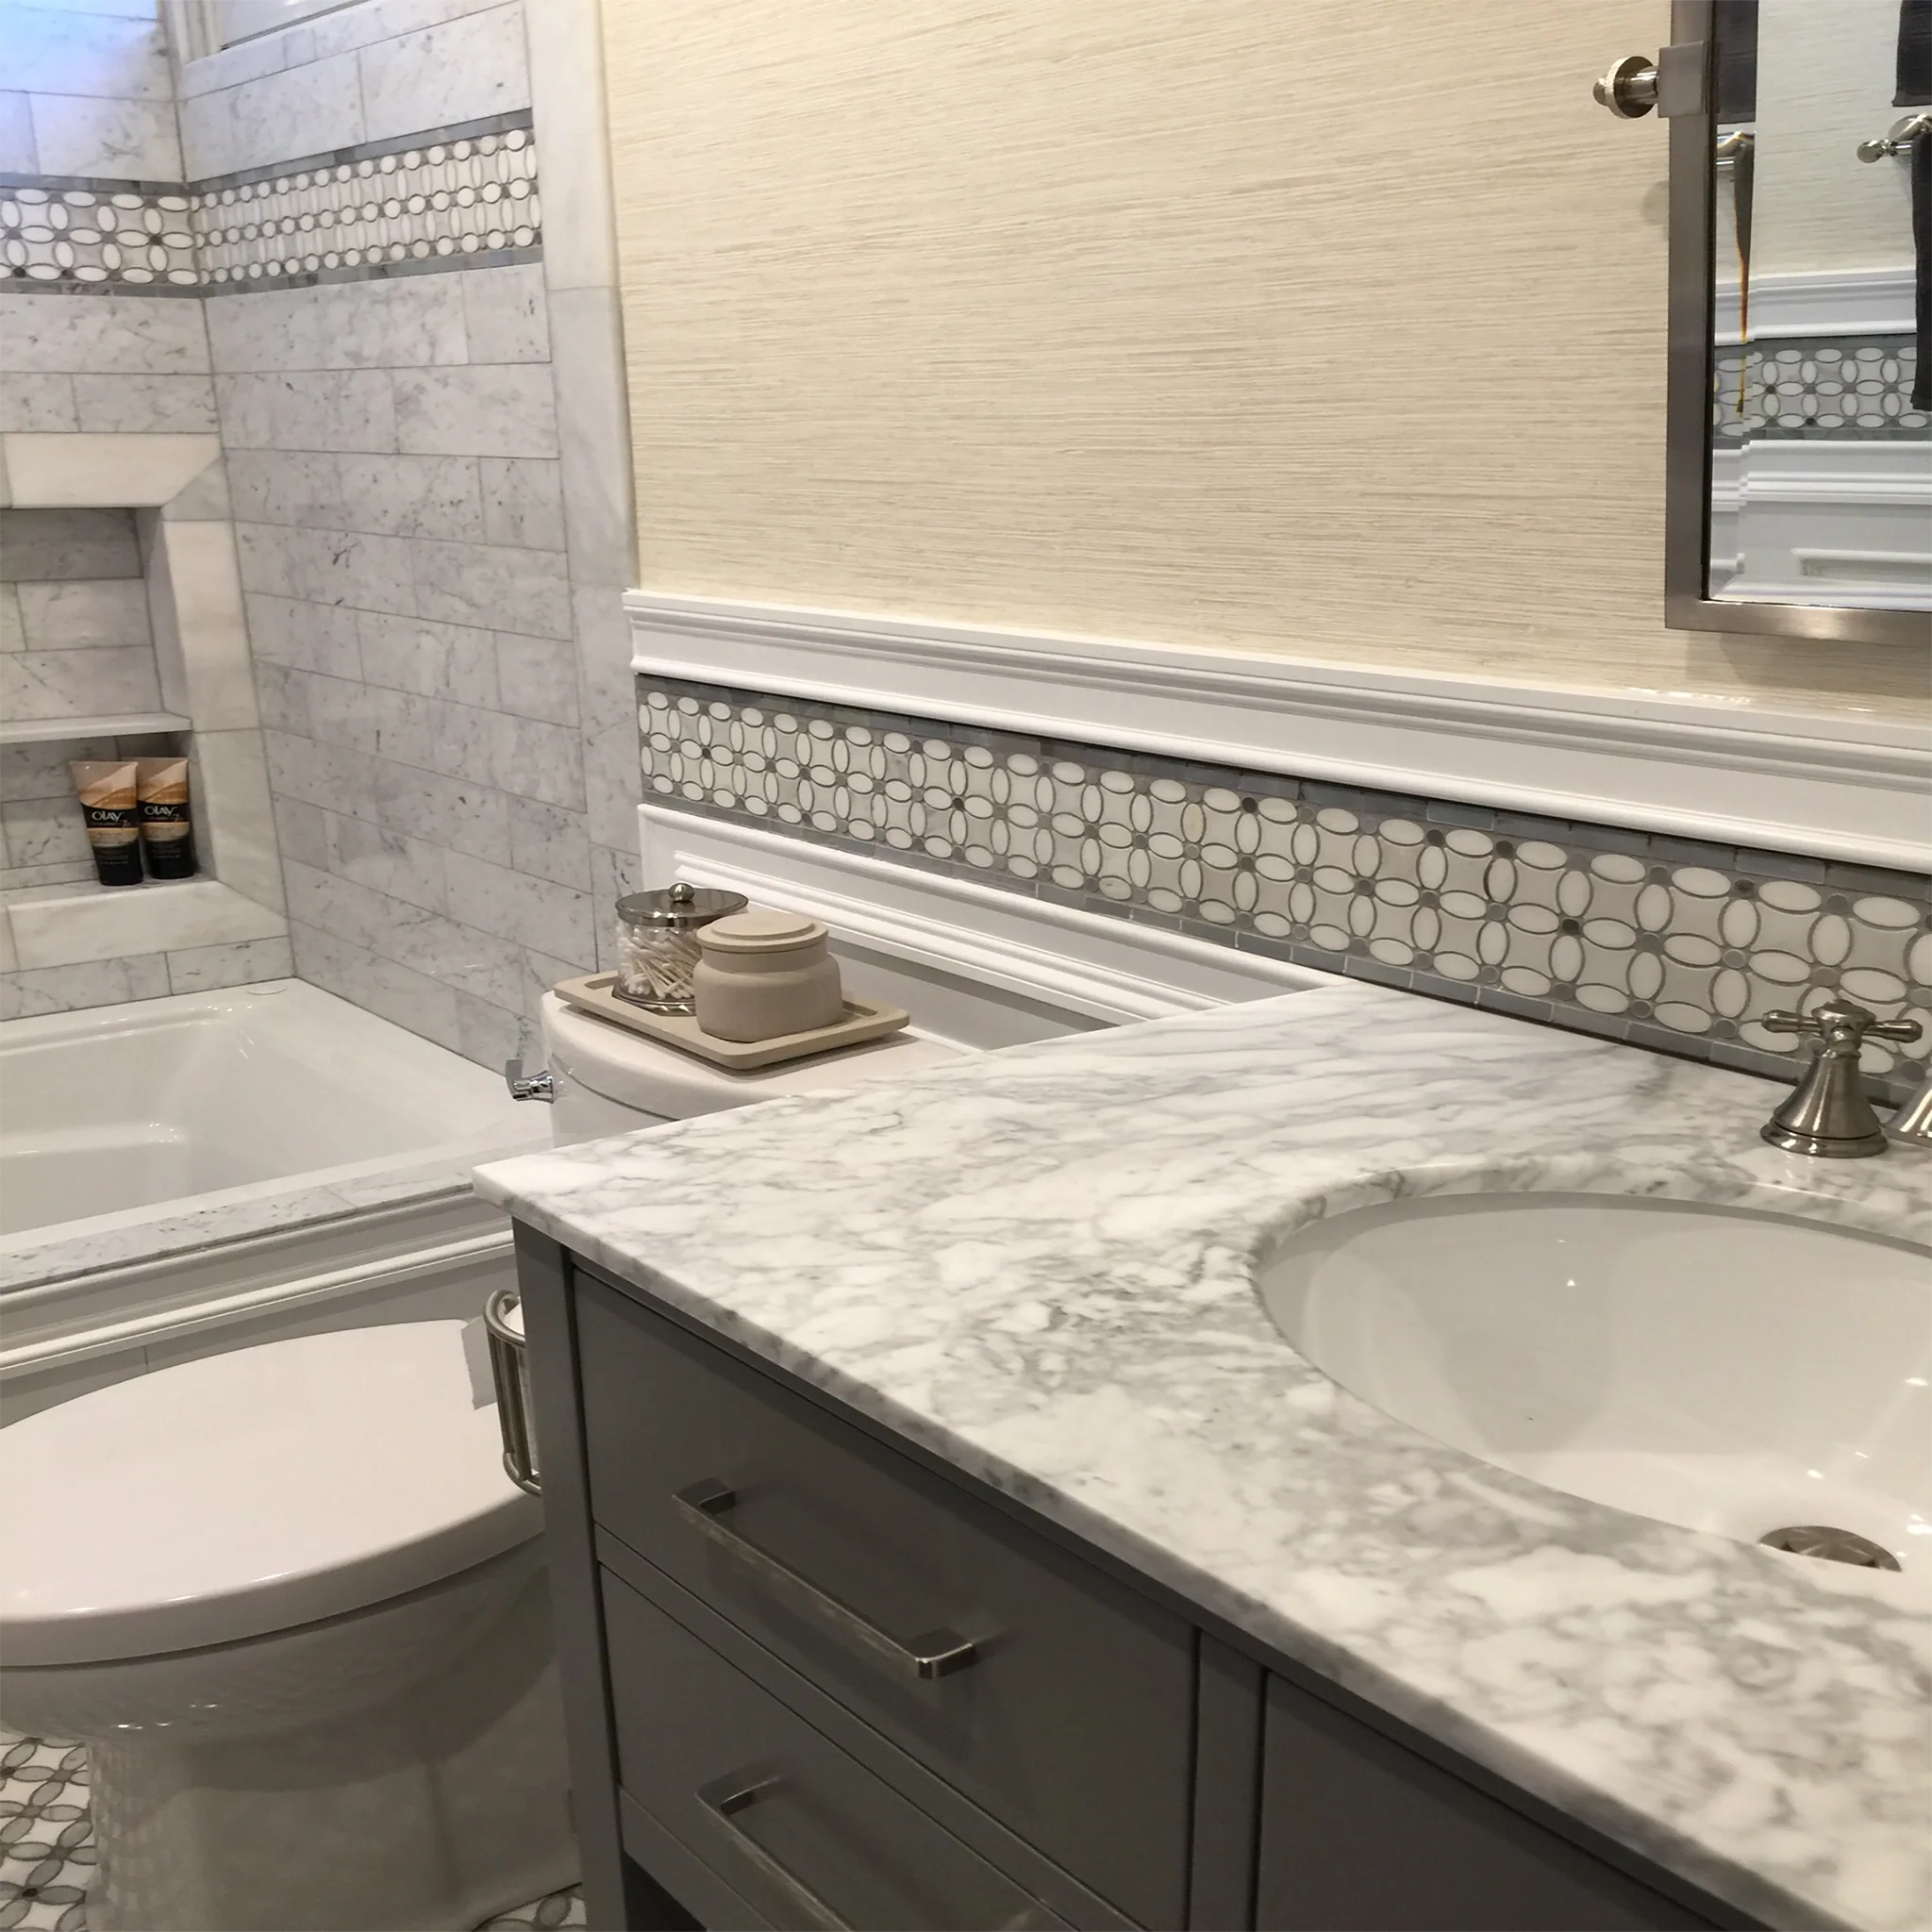 Border/Listello
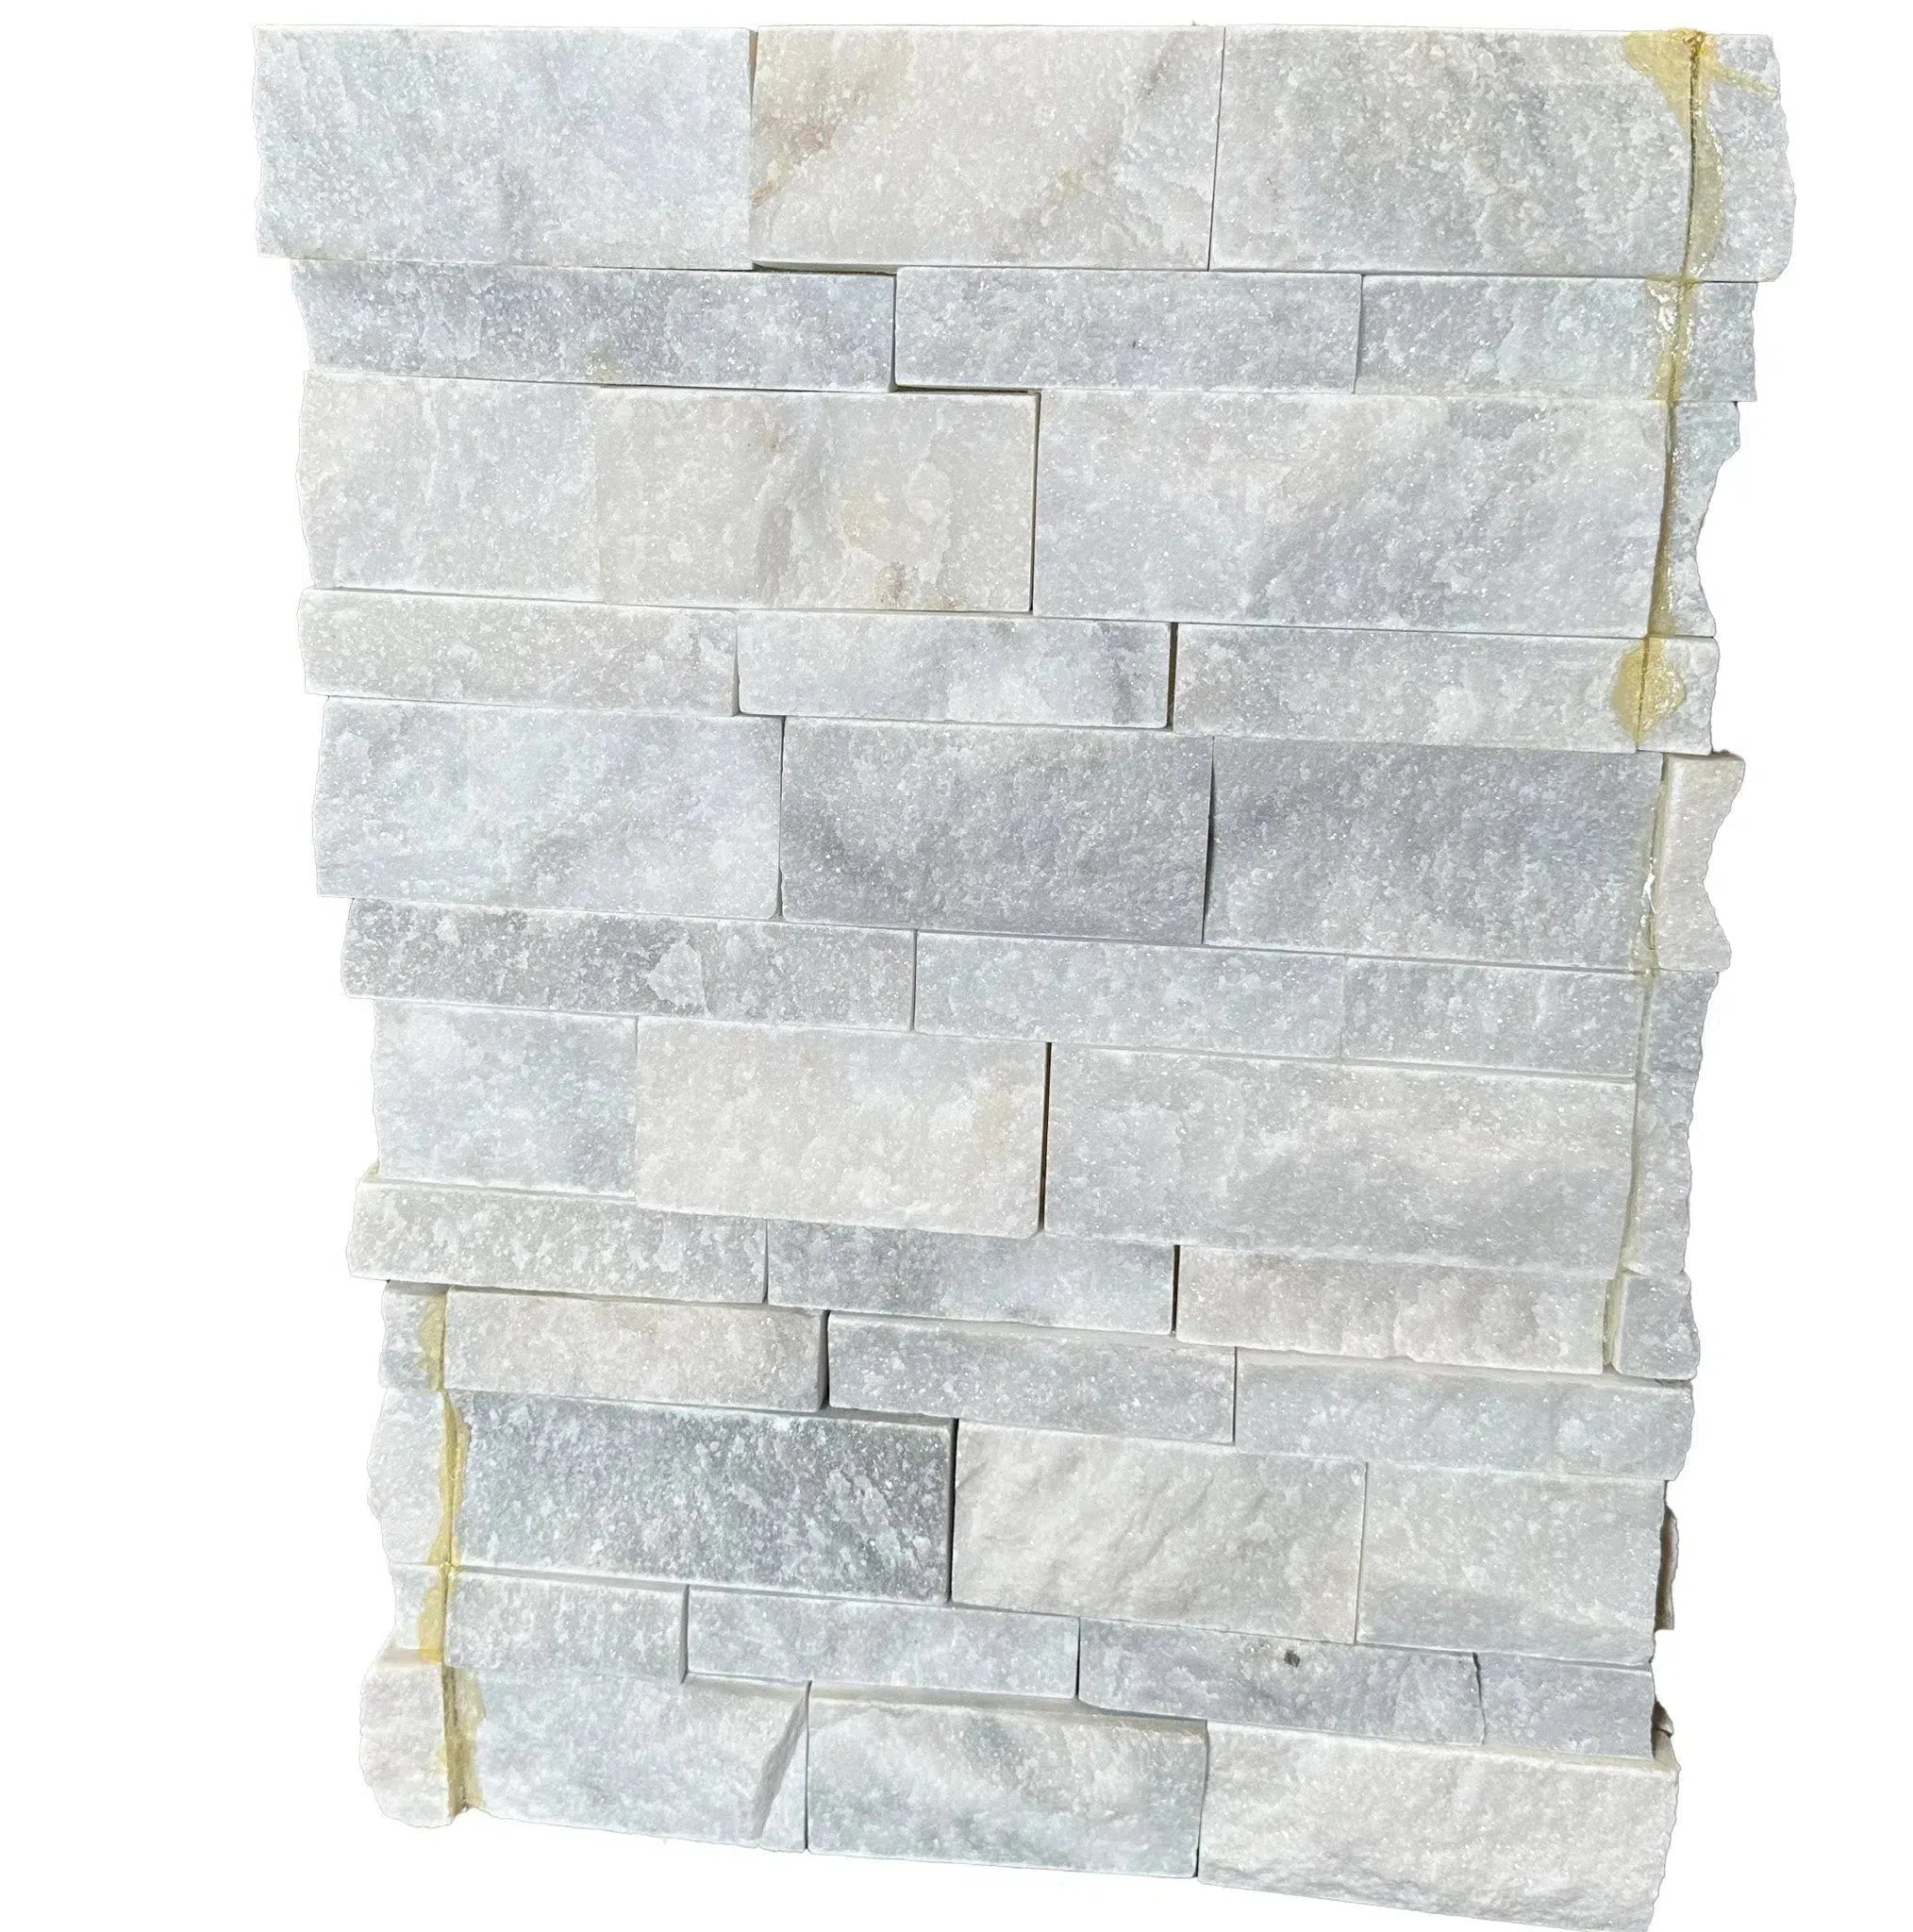 Ledger-Panel
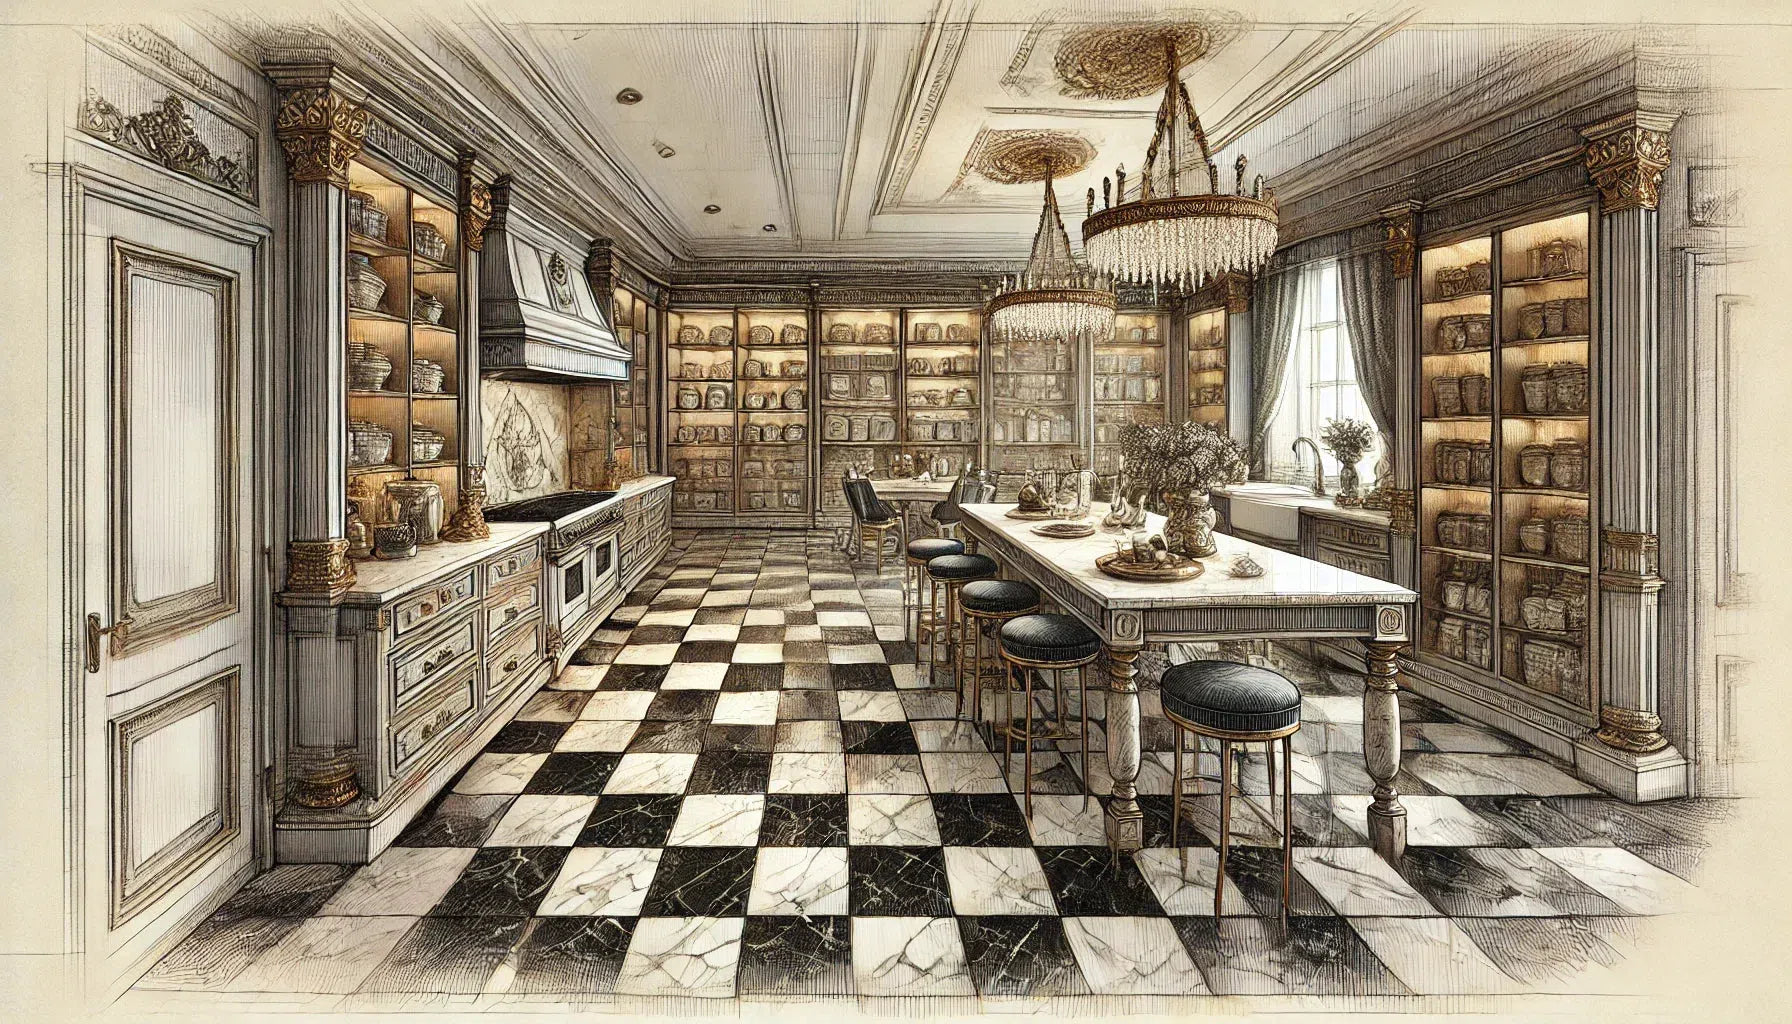 Checkerboard
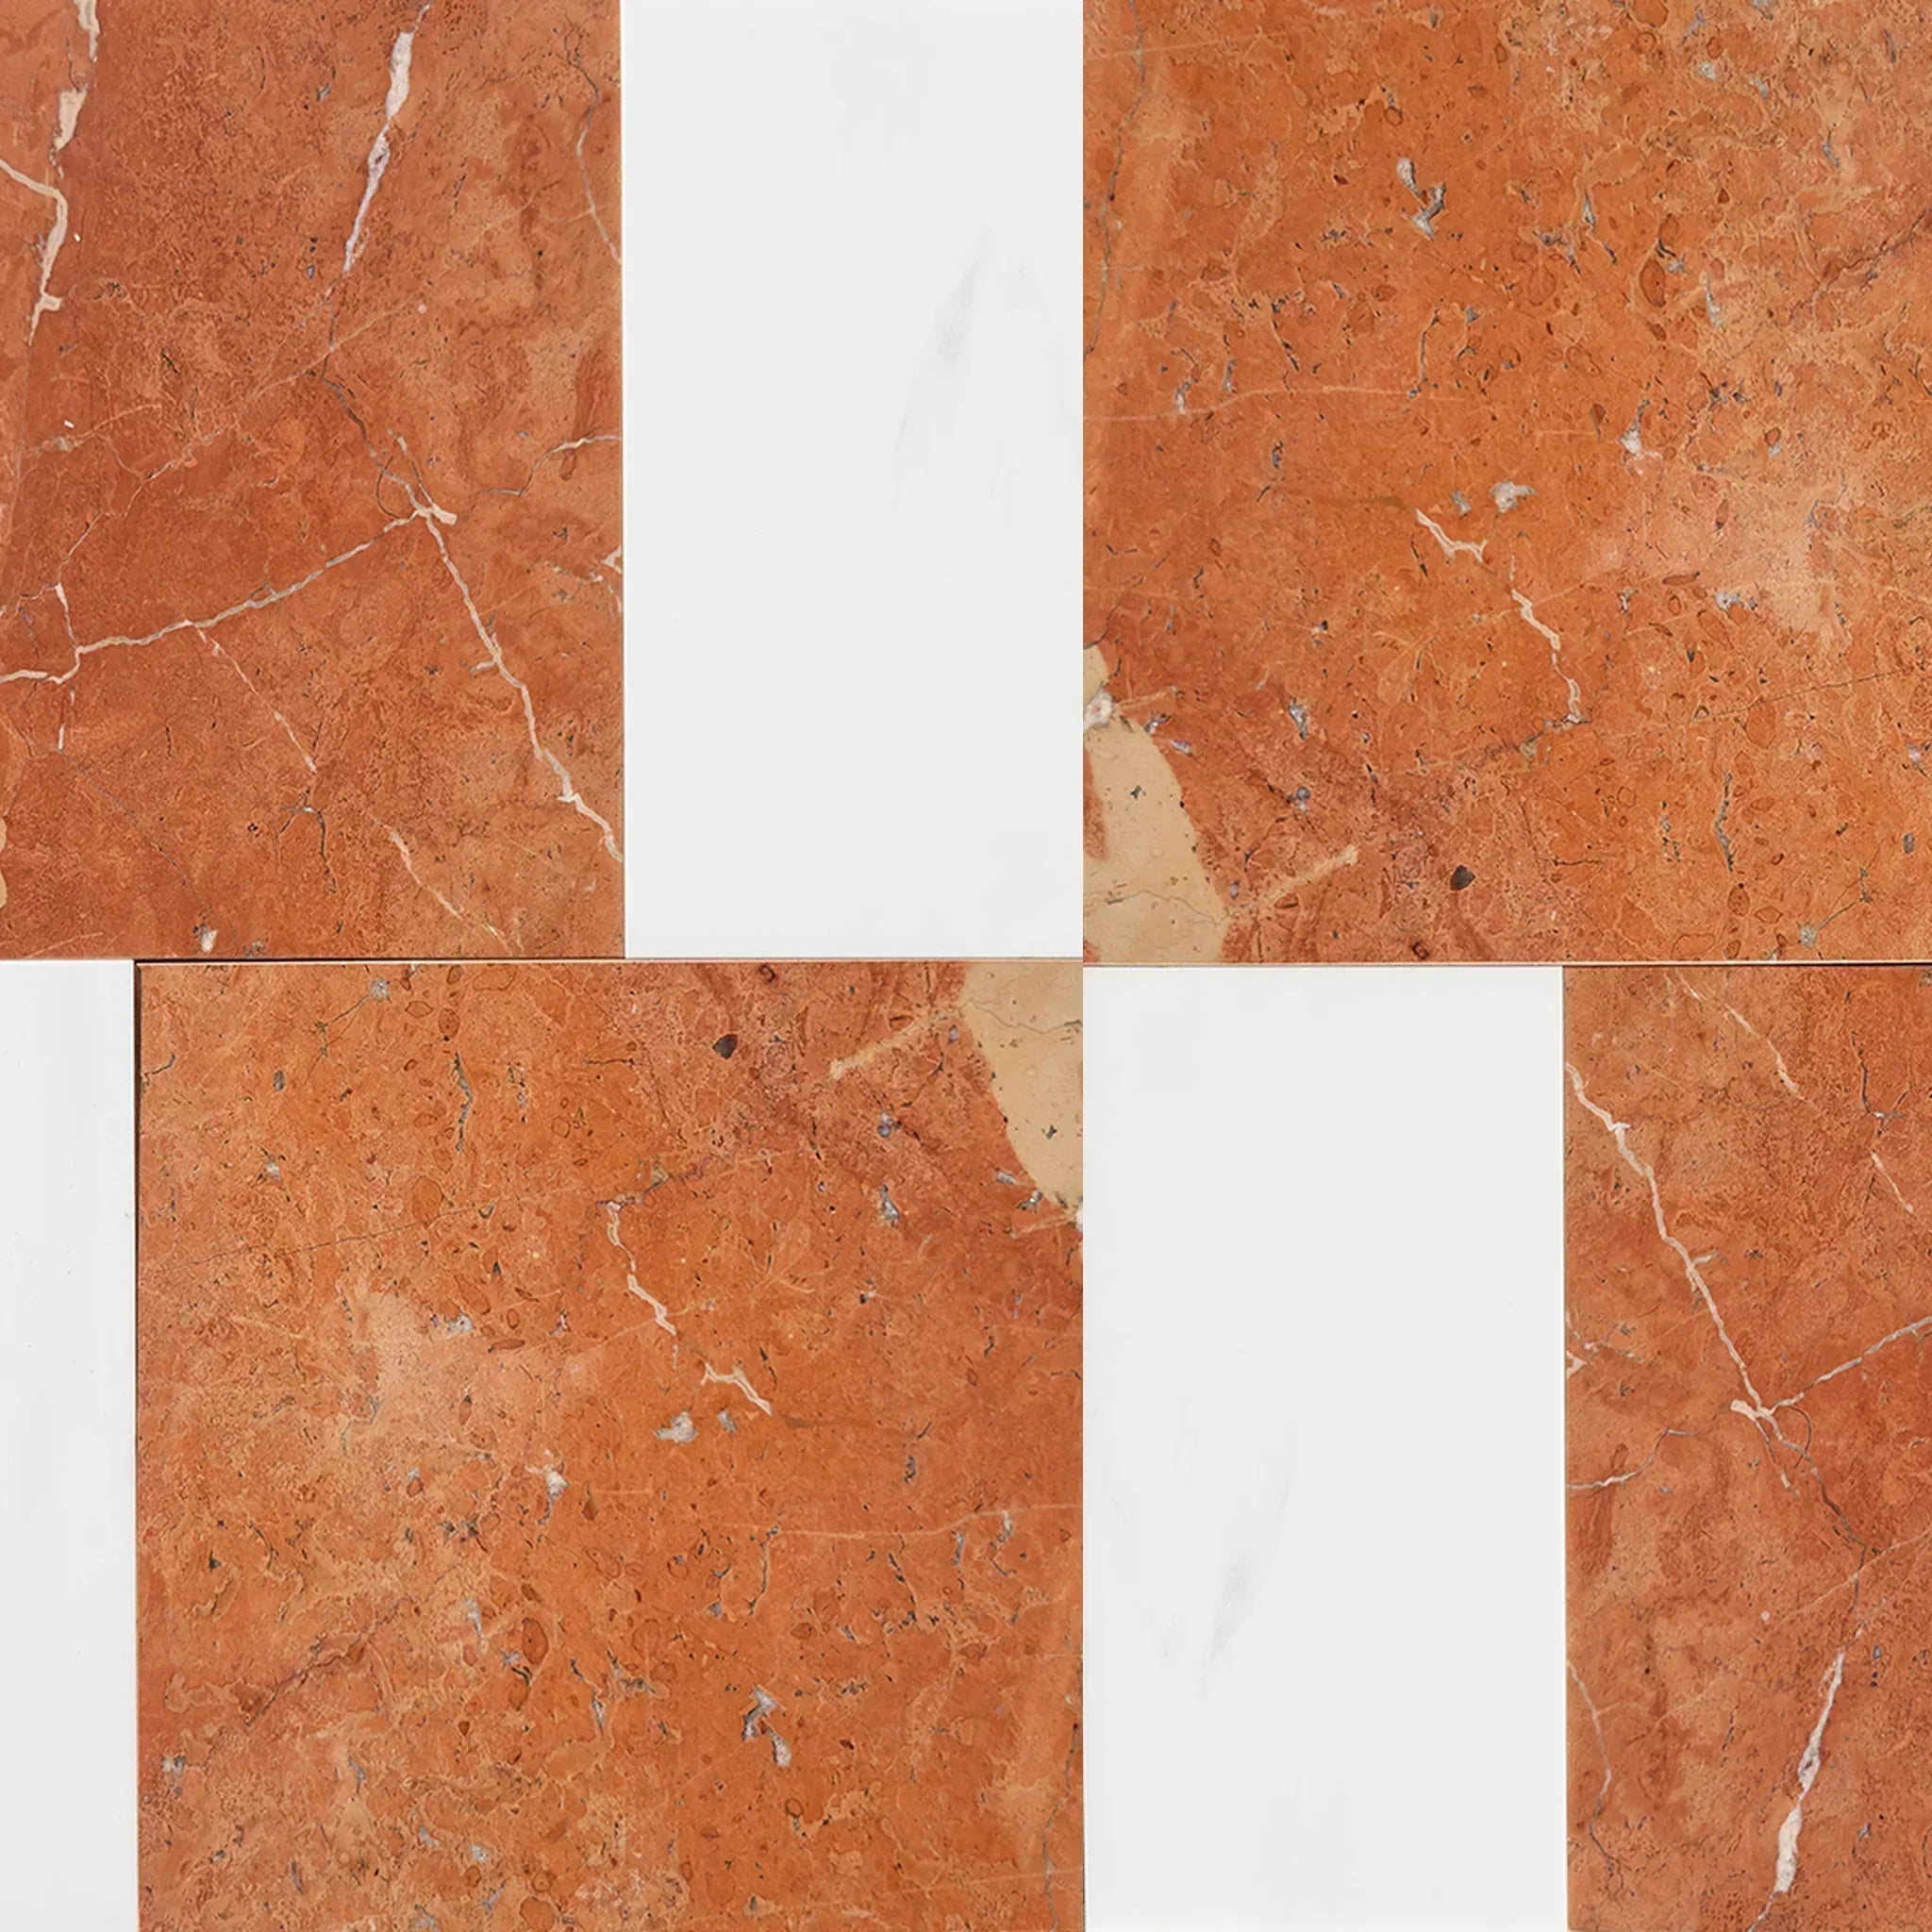 Patterned Tile Collection
  Shop By Finish
 Polished
 Honed
Honed Brushed
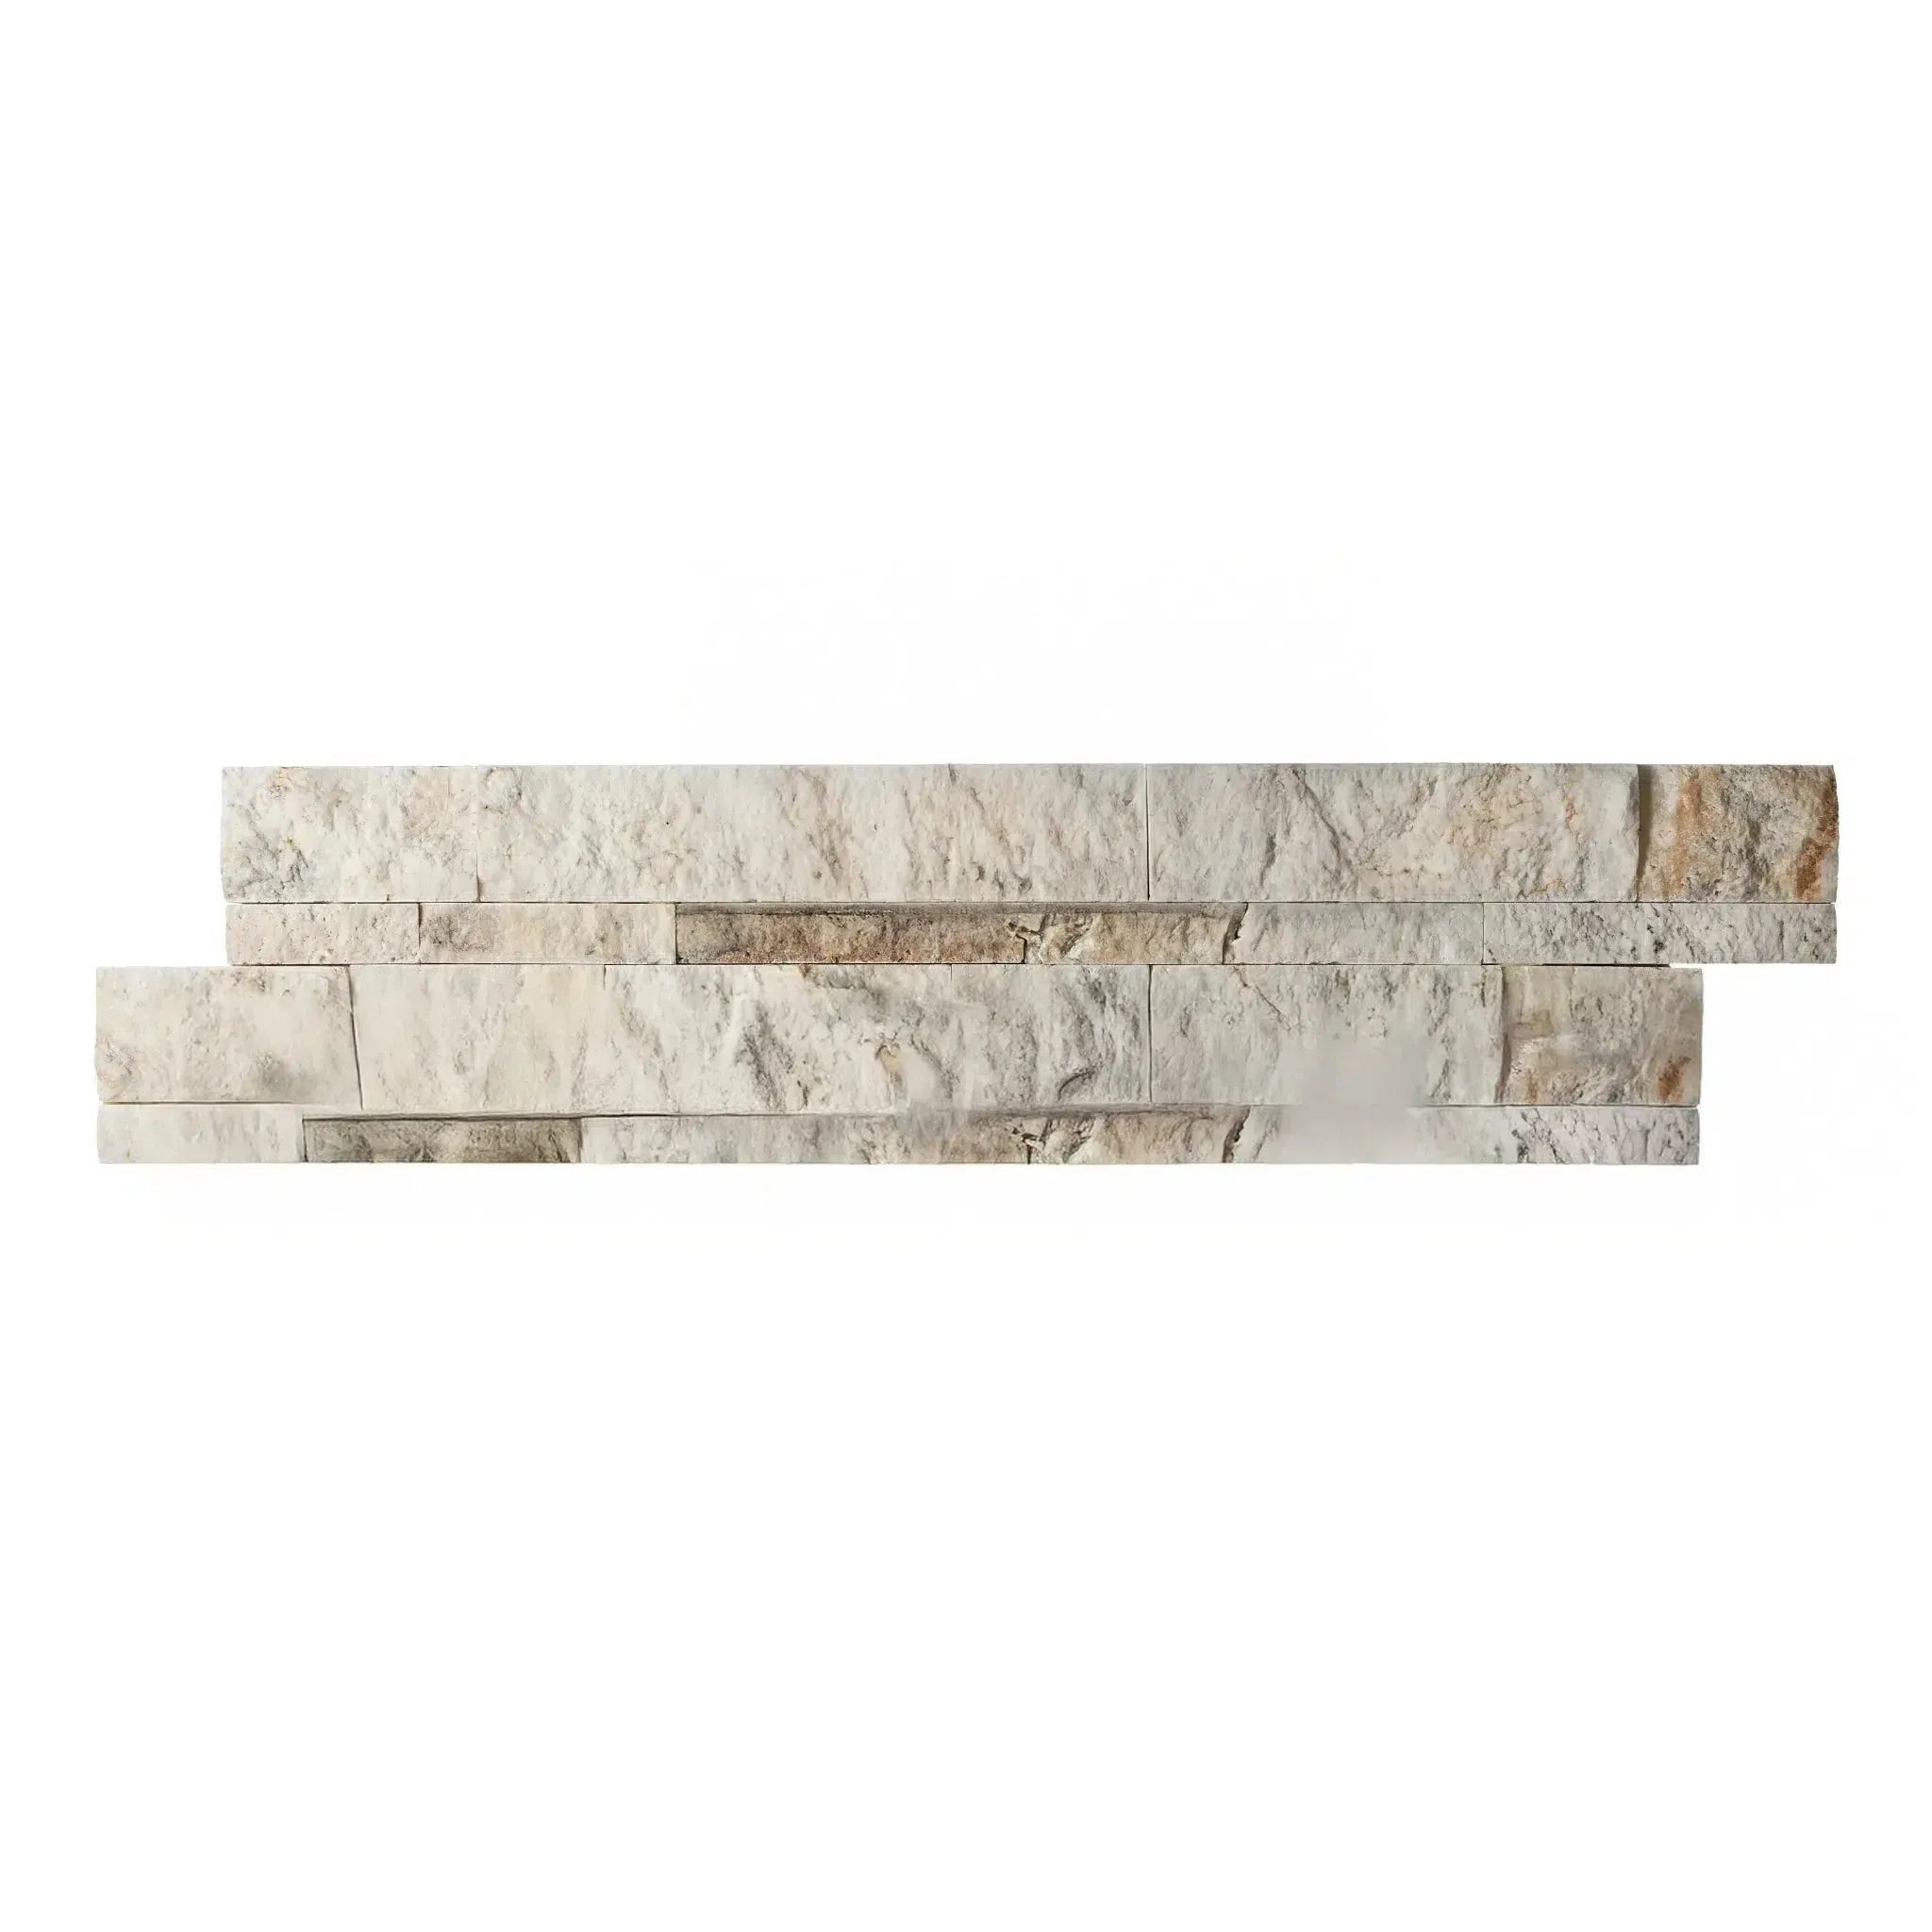 Split Face
 Textured
 Tumbled
 Accessories
 Wall Plate / Switch Plate
 Shampoo Niche
 Corner Shelf
 Clearance


