
Streamline Your Marble Maintenance for Lasting Elegance

TL;DR:
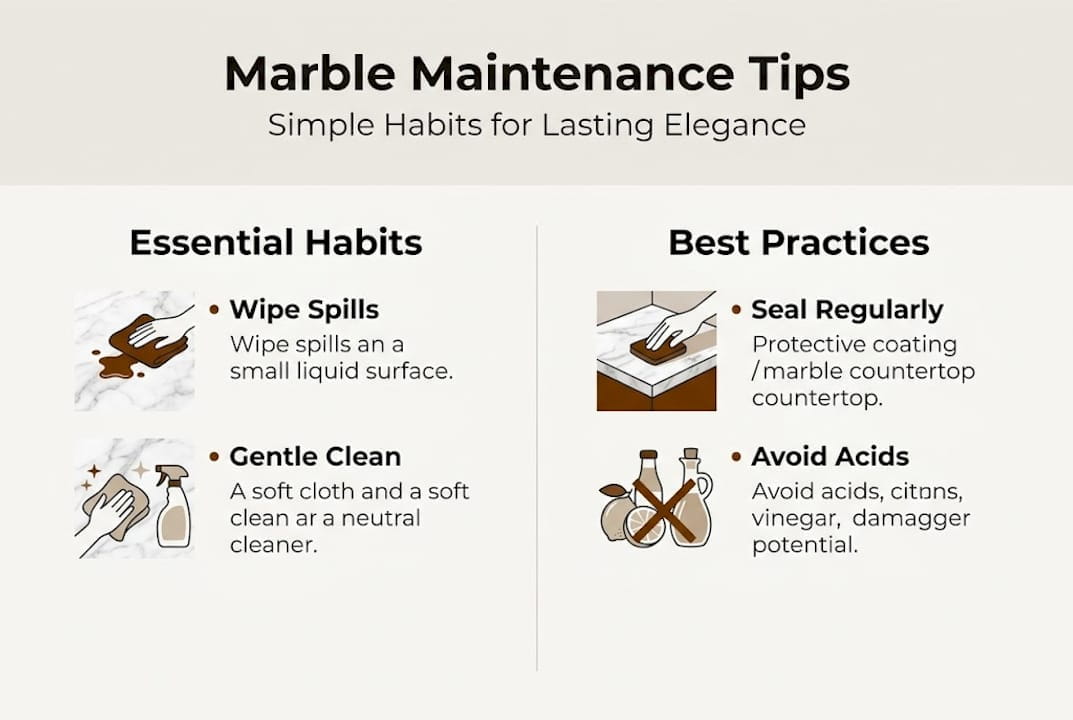
- Consistent cleaning with pH-neutral products and prompt spill blotting preserve marble’s appearance.
- Sealing every 6 to 12 months reduces stain penetration but does not prevent etching.
- Adopting preventive habits like using coasters and trivets helps maintain marble’s natural beauty over time.
Marble transforms any kitchen or bathroom into something genuinely striking. But that beauty comes with a catch: a single glass of orange juice left too long, or the wrong cleaning spray grabbed in haste, can leave a dull spot or stain that seems impossible to fix. The good news is that marble care does not have to be complicated or expensive. A simple, repeatable workflow built around a few consistent habits will keep your surfaces looking rich and polished for decades. This article walks you through every step, from understanding your stone’s quirks to sealing, cleaning, and protecting it the right way.
Table of Contents
- Understanding marble’s strengths and vulnerabilities
- Daily and weekly marble cleaning essentials
- Sealing marble: When, why, and how
- Preventive habits and adapting workflow for kitchens and bathrooms
- Why preventive workflow matters more than products
- Get expert support for marble installations and maintenance
- Frequently asked questions
Key Takeaways
| Point | Details |
|---|---|
| Regular cleaning | Using pH-neutral cleaners and soft cloths keeps marble surfaces looking their best. |
| Seal strategically | Kitchen marble needs sealing every 6–12 months; bathrooms less often, with easy water drop tests guiding timing. |
| Preventive habits | Quick spill cleanup and using coasters or trivets reduces risk of etching and stains. |
| Finish selection matters | Choose honed finishes for kitchens to minimize visible wear; polished is best for low-use areas. |
| Embrace patina | Natural marble aging and patina add character rather than detract from its beauty. |
Understanding marble’s strengths and vulnerabilities
Marble is one of the oldest building materials in human history, and there is a reason it still appears in the world’s most admired spaces. It carries a depth and veining that no synthetic surface can replicate. But before you can care for it properly, you need to understand what you are actually working with.
At its core, marble is a metamorphic rock made primarily of calcite or dolomite. That composition gives it that gorgeous crystalline look, but it also makes it relatively soft. On the Mohs hardness scale, marble rates between 3 and 5, while granite measures 6 to 7. In practical terms, that means marble scratches more easily, reacts to acidic substances, and absorbs liquids faster than harder stones.
The four most common threats to marble surfaces are:
- Staining: Liquids like coffee, wine, or oils absorb into the stone and leave discoloration.
- Etching: Acids from citrus, vinegar, or even some cleaning products chemically react with calcite, leaving dull, rough patches.
- Scratching: Hard or gritty objects dragged across the surface leave visible marks.
- Heat marks: Placing hot pans or tools directly on marble can cause discoloration or micro-cracking over time.
Here is how marble compares to granite across the key vulnerability categories:
| Property | Marble | Granite |
|---|---|---|
| Mohs hardness | 3 to 5 | 6 to 7 |
| Acid resistance | Low | High |
| Scratch resistance | Moderate | High |
| Porosity | Higher | Lower |
| Heat resistance | Moderate | High |
One thing worth embracing early: marble lasts 50 to 100-plus years with proper care and naturally develops a patina over time. Patina is a subtle softening of the surface’s sheen that comes from years of gentle use. Rather than being a flaw, it is widely considered part of marble’s timeless character. Understanding this distinction between normal aging and actual damage will shape how you approach your entire maintenance workflow. For more context, our marble maintenance tips go deeper into protecting your specific installation.
With marble’s challenges clear, let’s outline the tools and supplies needed for an effective maintenance workflow.
Daily and weekly marble cleaning essentials
Consistency is everything when it comes to marble. The surfaces that look stunning after years of use are not the ones that received one deep clean per season. They are the ones that received five minutes of attention every day.
Here is the step-by-step routine to follow:
- Wipe down the surface daily using a soft microfiber cloth dampened with warm water and a small amount of pH-neutral cleaner or mild dish soap.
- Dry the surface immediately after wiping. Standing water leaves mineral spots and encourages staining.
- Blot spills the moment they happen, especially anything acidic. Do not wipe, as that spreads the liquid.
- Dust countertops and floors weekly with a dry microfiber cloth or a dust mop before any wet cleaning.
- Apply a marble-specific polish lightly every few weeks if the surface appears dull between sealings.
The comparison below shows how daily and weekly cleaning each serve a different purpose:
| Task | Daily | Weekly |
|---|---|---|
| Dust and debris removal | Quick wipe | Thorough dry mop |
| Surface cleaning | pH-neutral wipe down | Full wash and rinse |
| Drying | Immediate after each wipe | Full dry after wash |
| Light polishing | Not needed | As needed |
| Spill response | Immediate blotting | N/A |
The products you use matter just as much as the frequency. Daily cleaning with a pH-neutral cleaner and a soft microfiber cloth is the gold standard. What you must avoid is equally important. Vinegar, lemon, bleach, and ammonia are all off-limits, no matter how convenient they seem. These substances etch the surface at the chemical level and no sealer will protect against them.
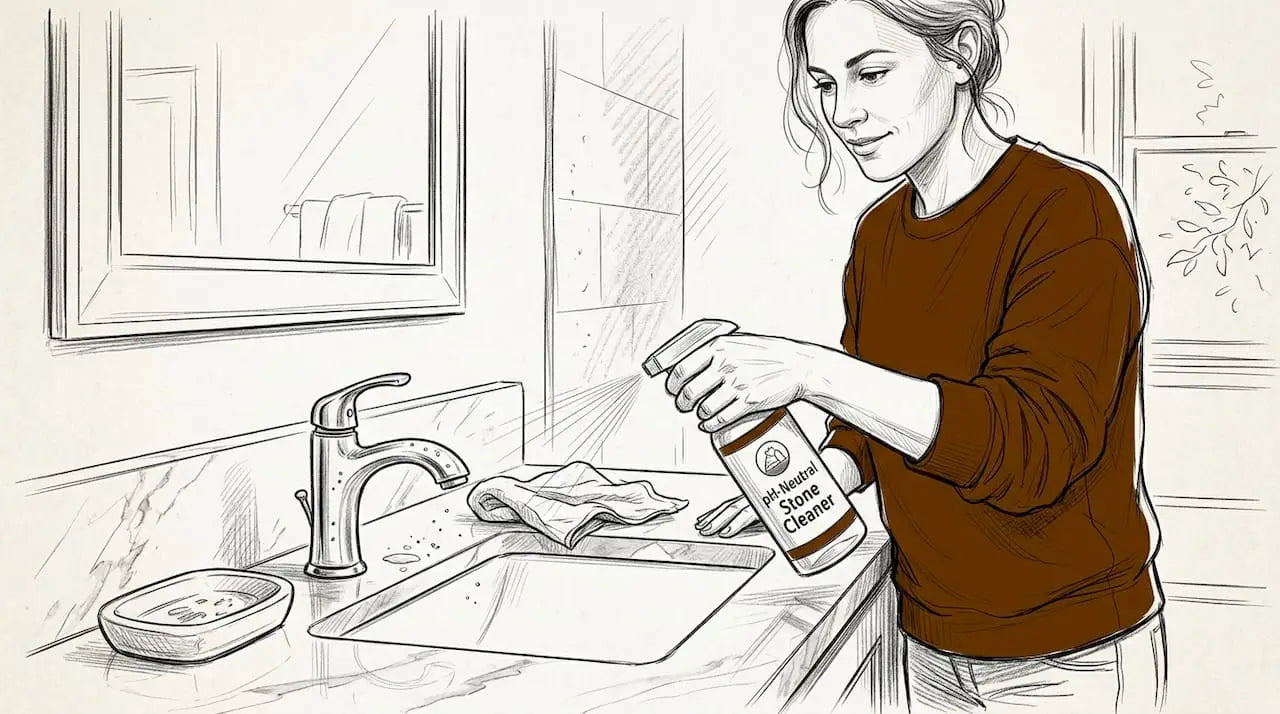
Pro Tip: Keep a dedicated spray bottle of pH-neutral stone cleaner next to your sink or stove. The easier it is to grab, the more likely you are to use it consistently instead of reaching for an all-purpose cleaner that could cause damage.
If you have marble floors, the principles are the same but the scale is larger. Learn more about cleaning marble flooring with natural methods that keep the surface safe.
Armed with your cleaning basics, next comes the preventive step of protection: sealing your marble surfaces.
Sealing marble: When, why, and how
Sealing is one of the most misunderstood steps in marble care. Many homeowners either skip it entirely or believe that once sealed, their marble is fully protected. Neither approach is correct.
A sealer works by penetrating the stone’s pores and slowing down liquid absorption. This gives you more time to blot a spill before it causes discoloration. Here is the recommended process:
- Clean the surface thoroughly and let it dry completely, at least 24 hours after any wet cleaning.
- Run the water drop test: place a few drops of water on the marble and watch. If the water absorbs within a few minutes, reseal; if it beads up, the sealer is still active.
- Apply a penetrating stone sealer in thin, even coats using a clean cloth or applicator pad.
- Let the sealer sit according to the manufacturer’s instructions, typically 10 to 20 minutes.
- Buff off any excess with a clean, dry cloth before it dries to a haze.
- Allow full cure time before using the surface, usually 24 to 48 hours.
Frequency depends on where the marble lives. Kitchen countertops see far more acid, heat, and moisture than a bathroom floor, so they need sealing every 6 to 12 months. Bathroom surfaces and decorative pieces can go longer between treatments.
Here is the critical point most guides skip: sealing prevents stains but not etching. If acid touches your marble, the sealer will not stop the chemical reaction. Etching leaves a physically altered surface that requires polishing or professional resurfacing to restore. Understanding this distinction helps you set realistic expectations and respond to damage correctly. Our marble sealer guide explains the types available, and if you already have dull spots, our marble polishing tips walk through the restoration process.
Pro Tip: Write the sealing date on a piece of tape inside a cabinet near your marble. You will never have to guess when it was last done, and you will catch the window before the stone becomes vulnerable.
Now that sealing routines are established, how can you adapt maintenance for high-use areas and prevent day-to-day damage?
Preventive habits and adapting workflow for kitchens and bathrooms
A great maintenance workflow does not just react to damage. It actively reduces the chances of damage happening in the first place. That shift from reactive to preventive thinking is what separates surfaces that look great after a decade from ones that look tired after two years.
Start with the physical protection habits:
- Always use coasters under glasses, especially anything containing citrus juice, wine, or carbonated drinks.
- Place trivets under hot pots and pans. Even moderate heat can cause thermal stress and discoloration.
- Use cutting boards every time. Never cut directly on marble, even briefly.
- Lay a soft mat near the sink where splashes and drips are most frequent.
- Avoid dragging ceramic or metal objects across the surface.
Coasters, trivets, and cutting boards are the three most effective tools for preserving marble in a working kitchen. They cost almost nothing and prevent the majority of damage homeowners encounter.
Finish selection also plays a bigger role than most people realize. Honed finishes hide etching and scratches far better than polished ones, which makes them the smarter choice for kitchen countertops and floors. A polished finish is stunning in bathrooms, backsplashes, or accent walls where acid exposure is low. If you are still deciding, our guide on honed finish benefits lays out the trade-offs clearly, and our marble honing advice covers the process in detail.
“The goal is not to prevent every mark. It is to preserve the surface’s integrity so the natural aging looks intentional and beautiful, not neglected.”
If etching does occur, address it early. Small etch marks can often be buffed out with a marble polishing powder. Larger areas may need professional attention. Our marble etching guide helps you identify severity and choose the right response.
With preventive habits and space-specific adaptations, you’re set to verify your workflow and recognize expected marble aging.
Why preventive workflow matters more than products
Here is something the stone care industry rarely says out loud: the products matter far less than the habits. Homeowners often spend significant money on premium sealers and specialty cleaners, apply them once, and then go back to grabbing whatever spray bottle is nearby. That approach will undermine even the best product on the market.
The surfaces we see holding up beautifully after decades of real use share one common trait: consistent, simple care. A cloth, warm water, a pH-neutral cleaner, and a scheduled sealing date twice a year will outperform any high-end product used inconsistently.
There is also a mindset shift worth making. Patina is natural and elegant, not a sign of failure. The soft glow that develops on marble after years of careful use is exactly what makes antique marble so coveted. If you chase perfection and treat every tiny mark as a crisis, you will exhaust yourself. Instead, focus your energy on the workflow, and let the stone age gracefully.
Our guide to troubleshooting marble floors is a useful resource when something does go wrong and you need a clear-headed diagnosis.
Get expert support for marble installations and maintenance
You have the workflow. Now make sure you have the right materials to back it up.

At Surfaces Galore, we source premium marble tiles, mosaics, and decorative stone directly, so you get authentic quality without the inflated markup. Whether you are selecting a new marble surface for your kitchen remodel or looking for guidance on caring for an existing installation, our marble maintenance experts are here to help. Browse our full library of care guides, finish comparisons, and product recommendations on our website. We ship nationwide and work with homeowners, designers, and contractors who want their marble to look exceptional for generations.
Frequently asked questions
What is the difference between etching and staining on marble?
Etching creates dull spots from acid reacting with the stone’s surface, while staining is liquid discoloration absorbed into the pores. Sealing protects against stains, but etching requires polishing or resurfacing to fix.
How often should I seal kitchen marble countertops?
Kitchen marble should be sealed every 6 to 12 months. Use the water drop test to check whether the stone is absorbing water faster than expected and needs resealing sooner.
Can I use vinegar or lemon to clean marble surfaces?
No. Vinegar, lemon, and other acids chemically etch marble on contact, leaving permanent dull spots that no sealer can prevent. Use only pH-neutral cleaners.
Is honed or polished marble better for kitchens?
Honed marble is the better choice for kitchens because its matte finish hides scratches and etch marks far more effectively than a polished, glossy surface.
Leave a comment