
 Arabescato Corchia
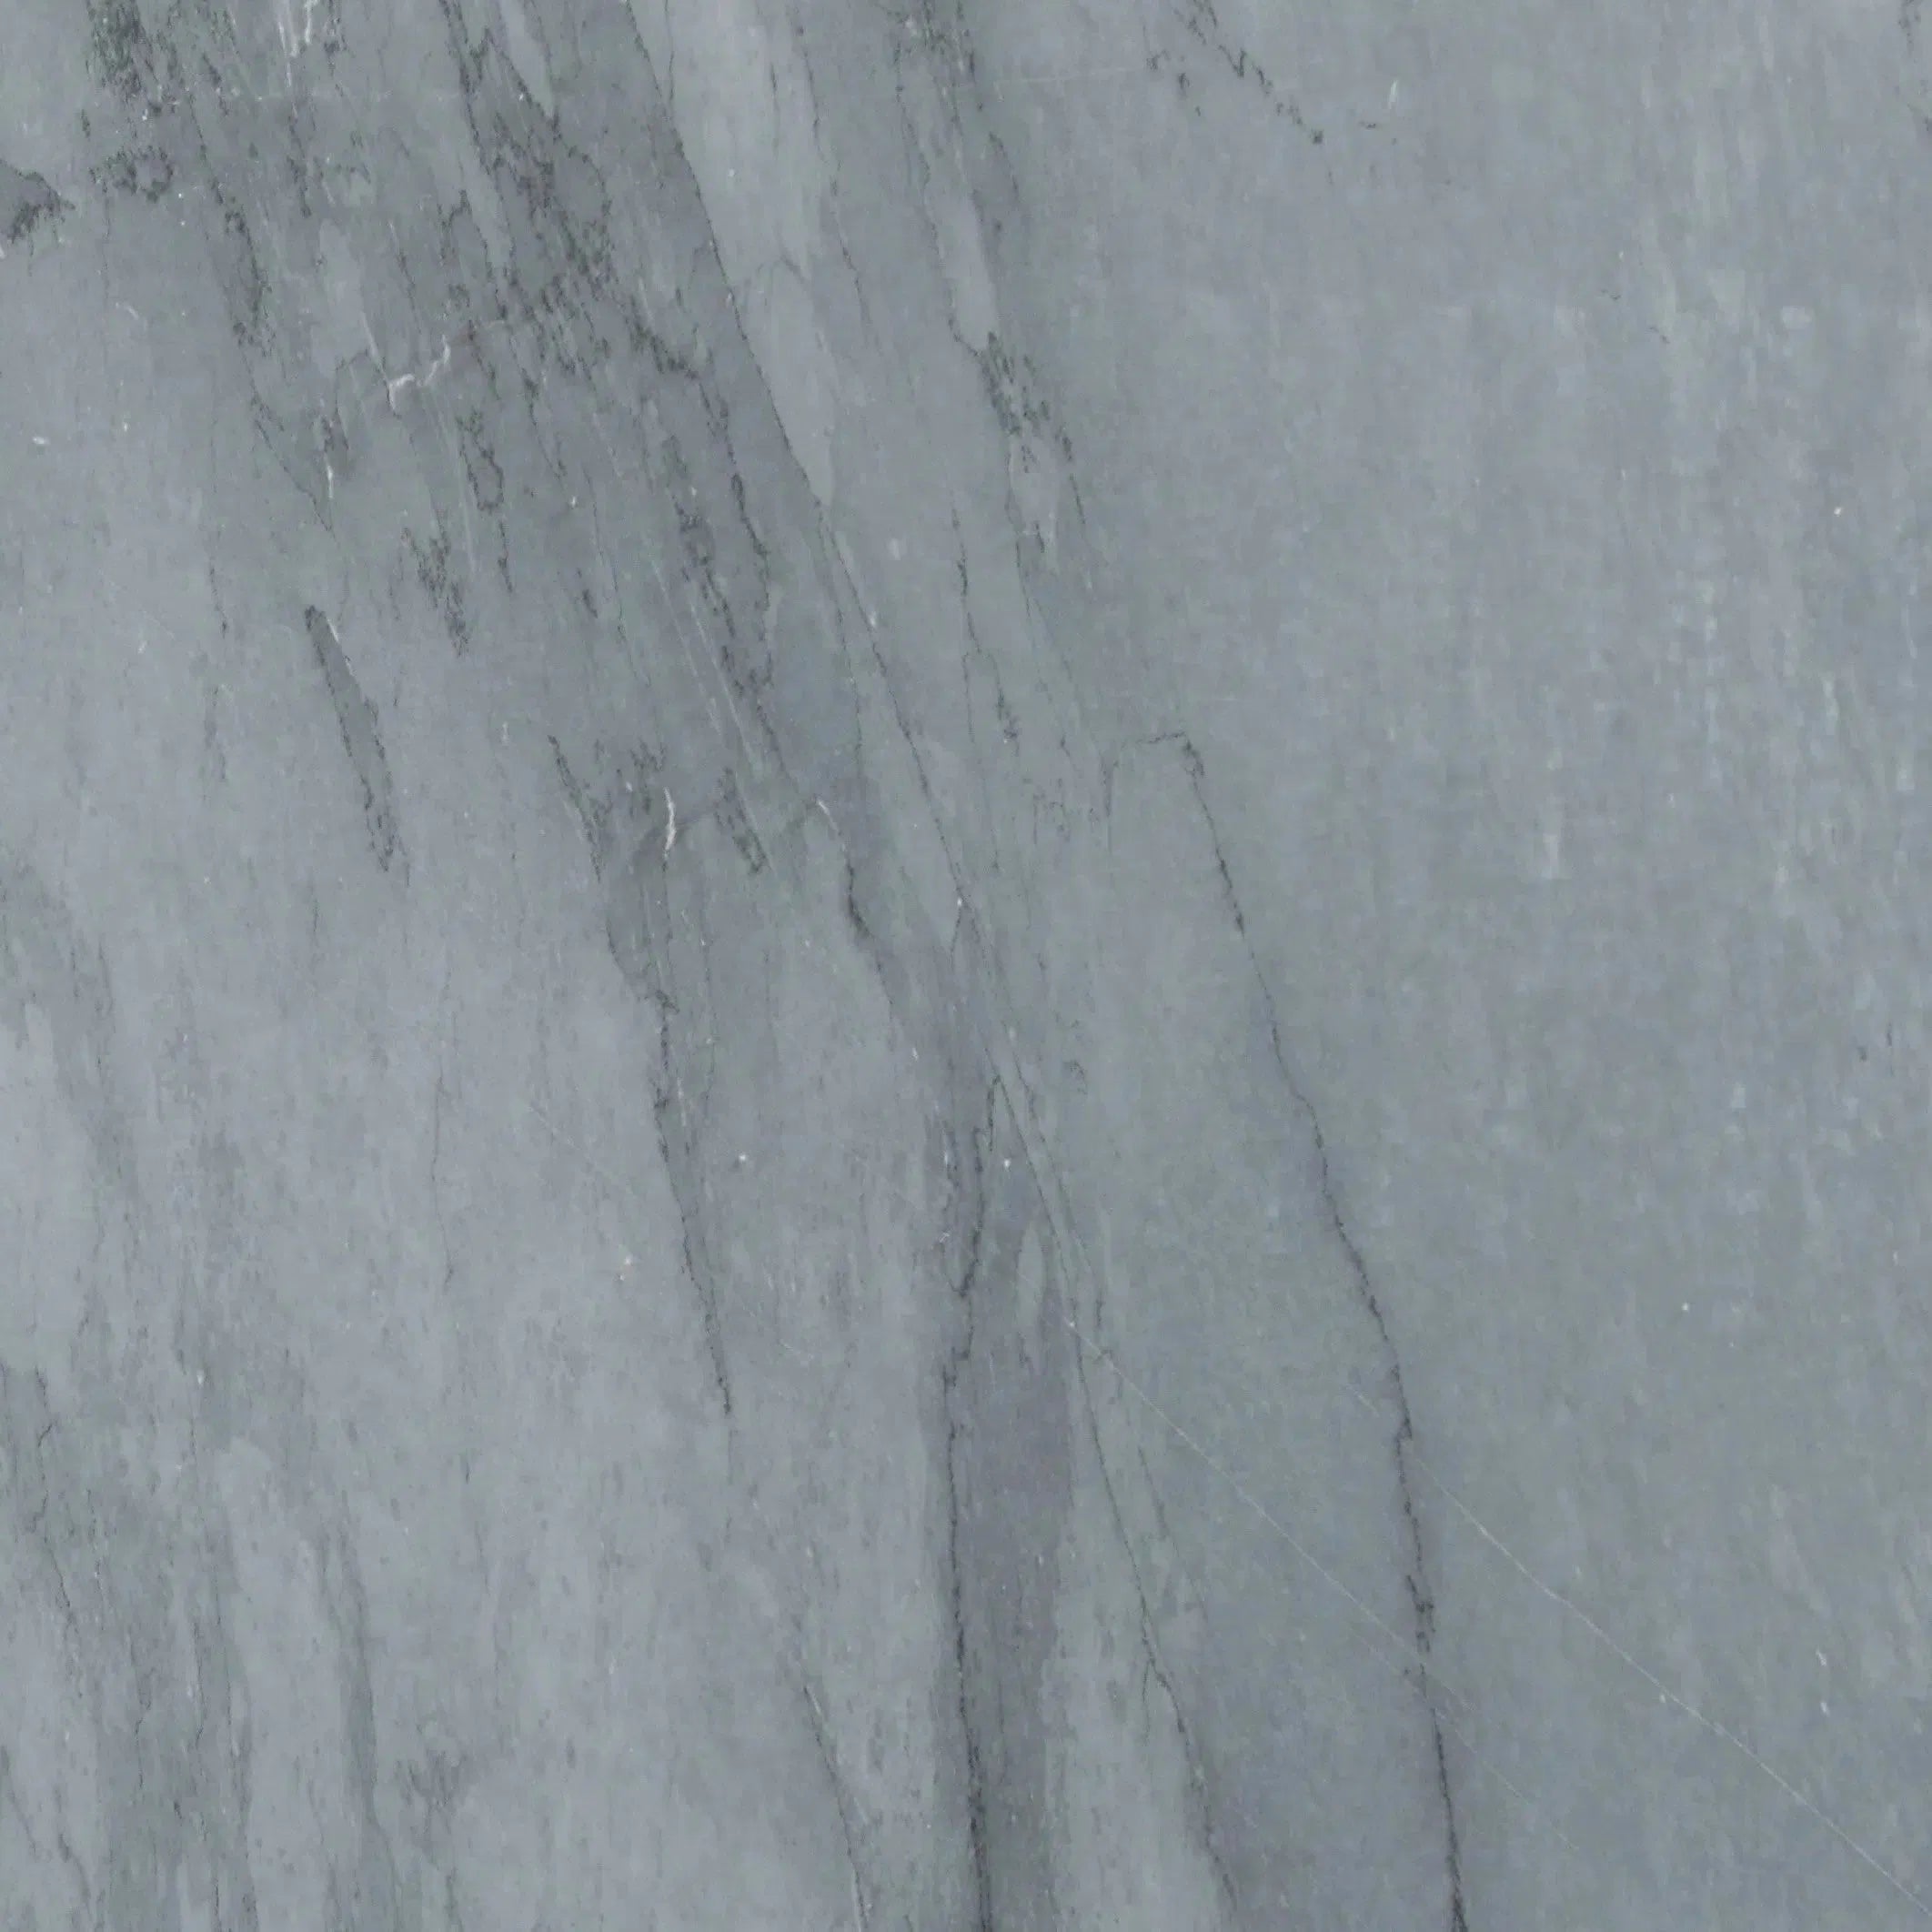 Bardiglio
 Bianco Dolomite
 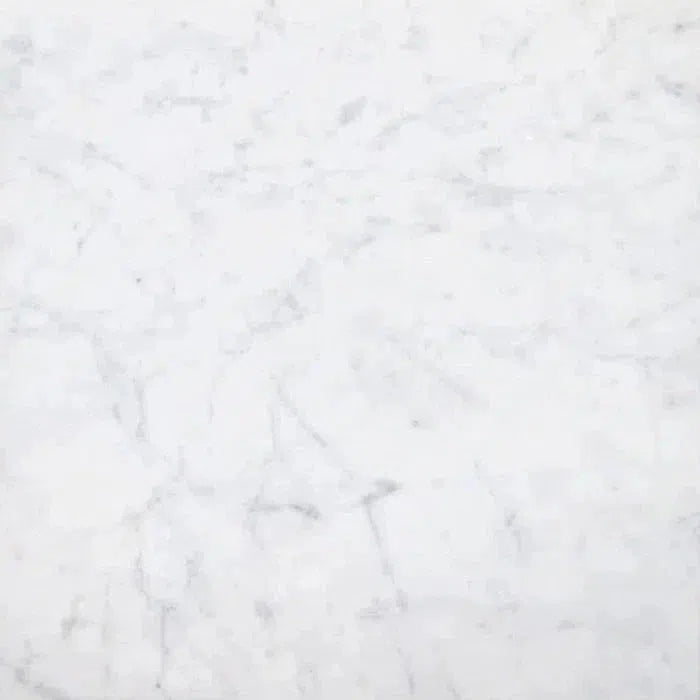 Carrara White
 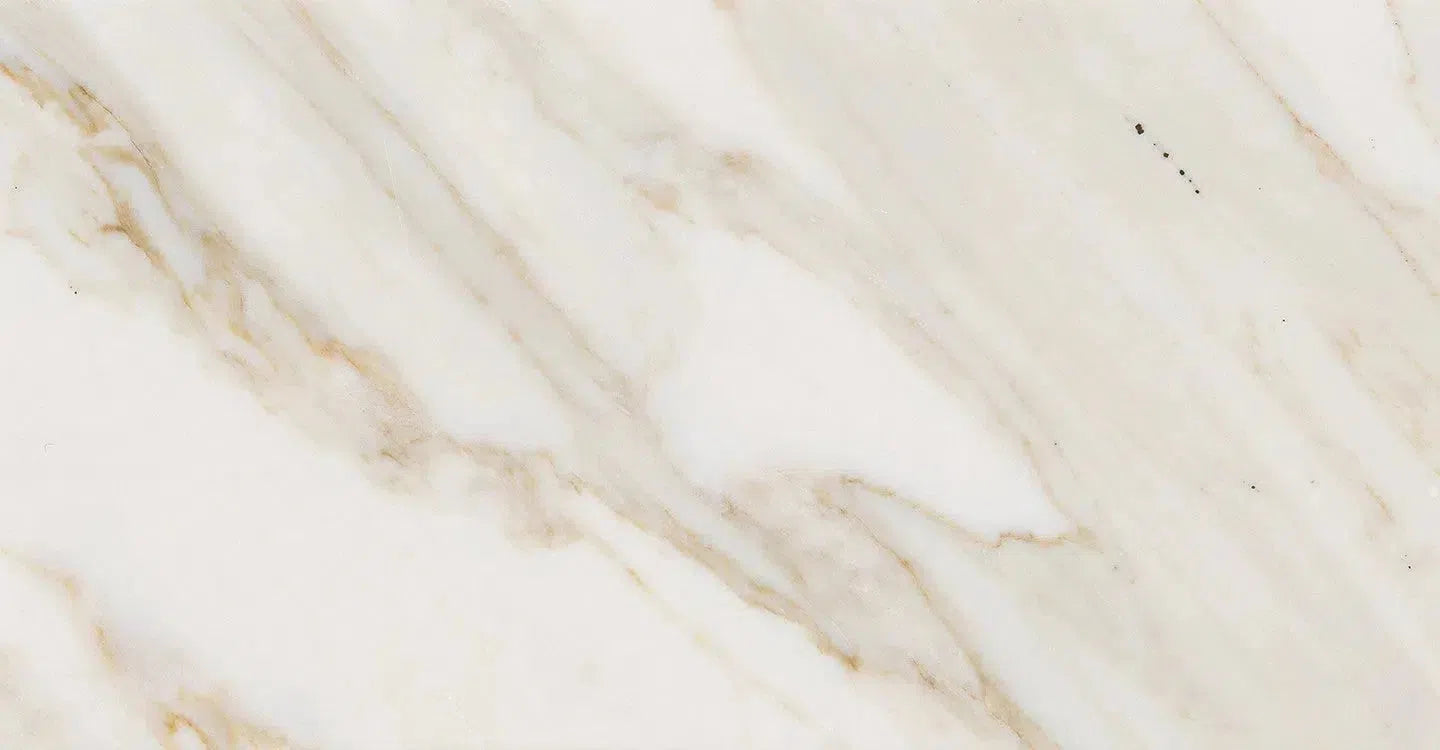 Calacatta Gold
 Crema Marfil
 Custom Made Mosaic
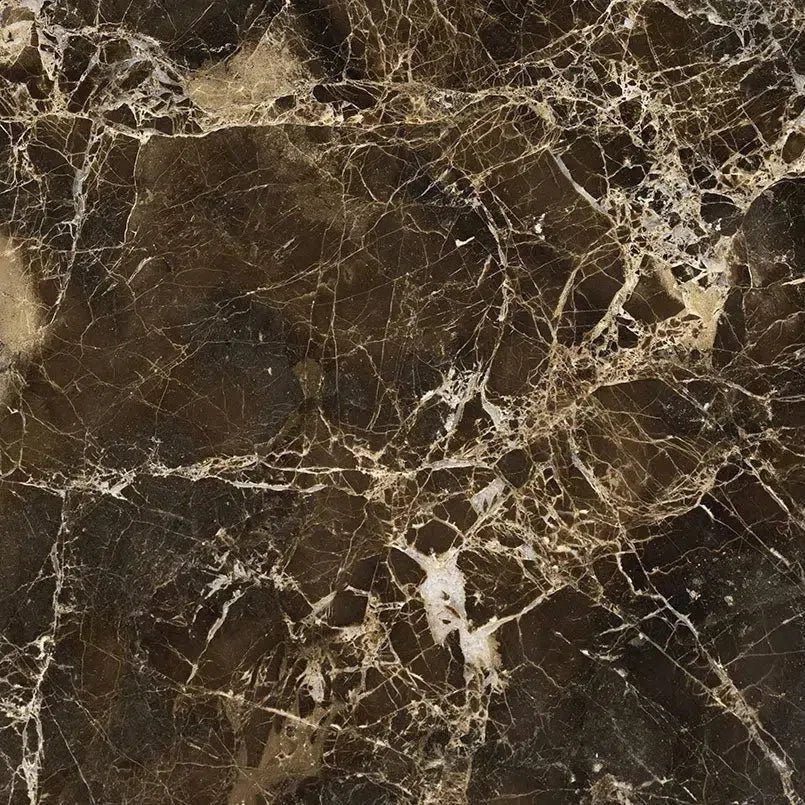 Emperador Dark
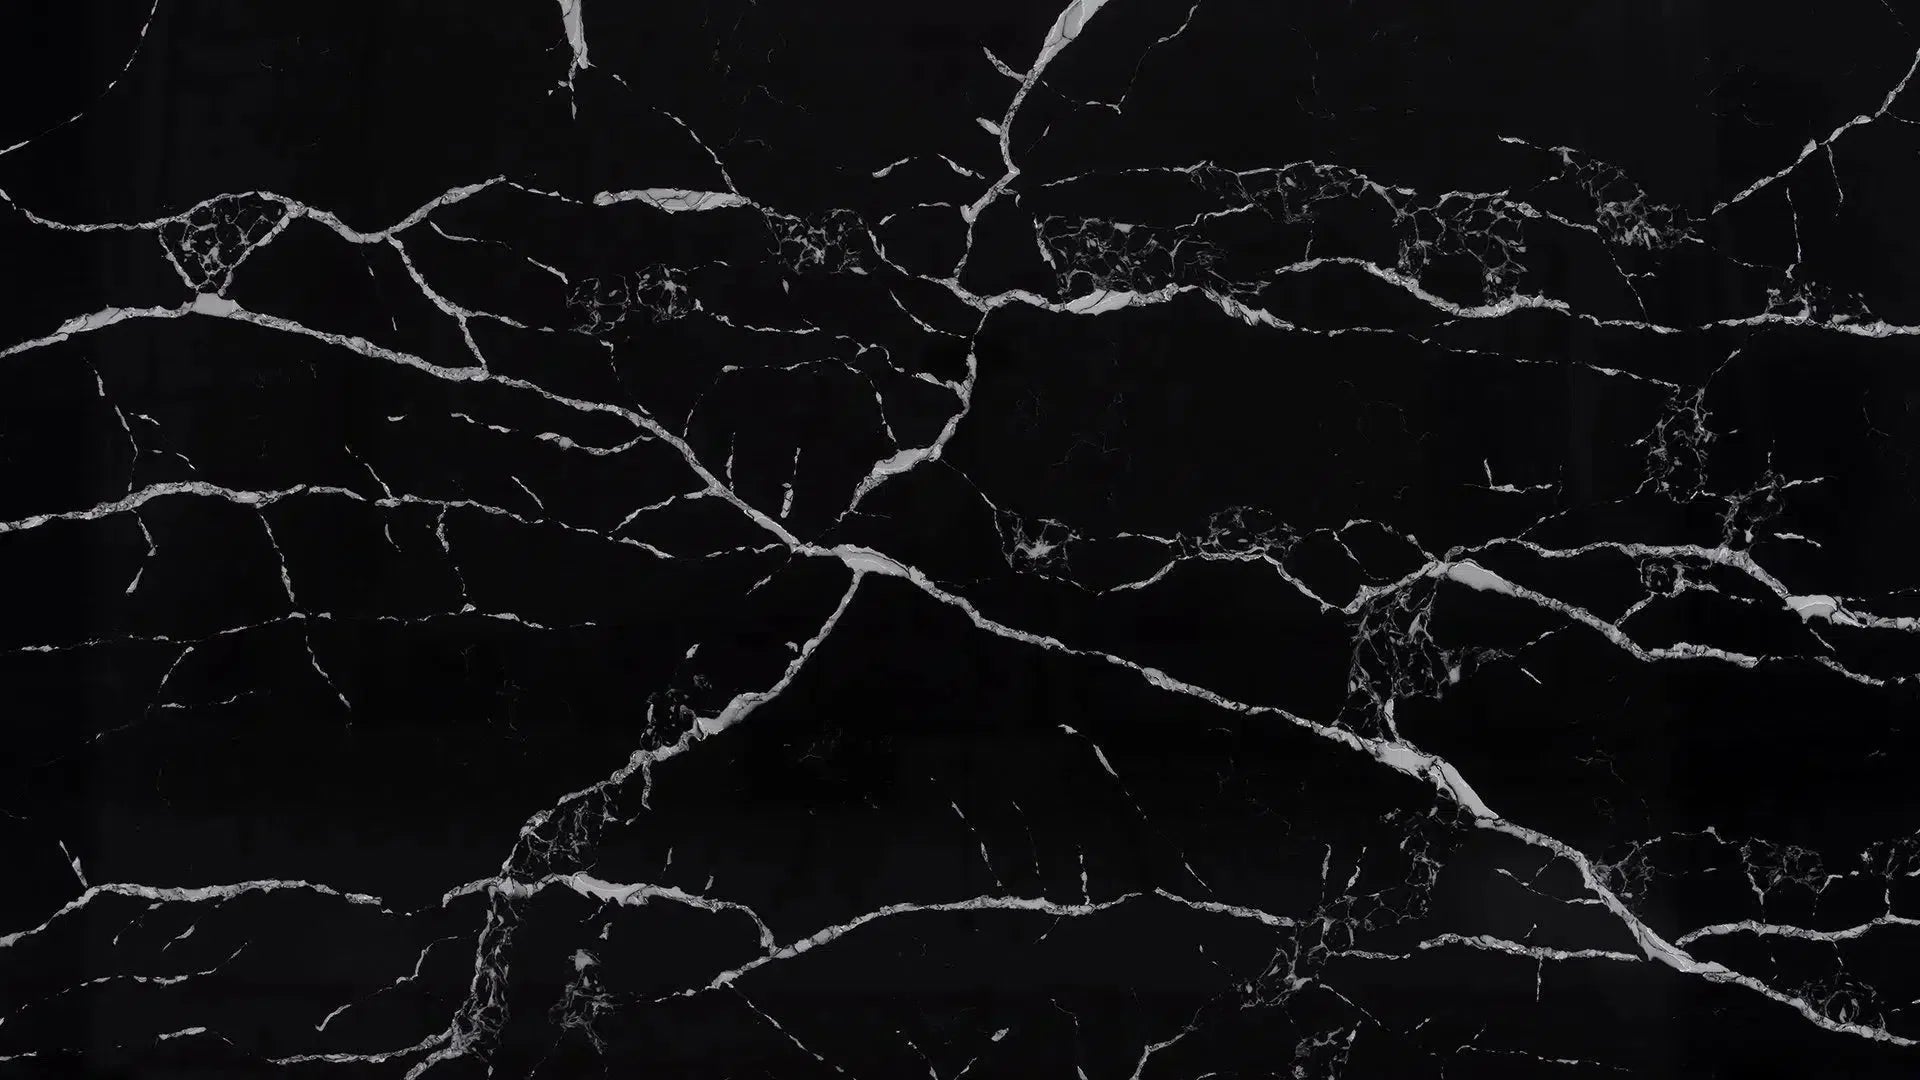 Nero Marquina
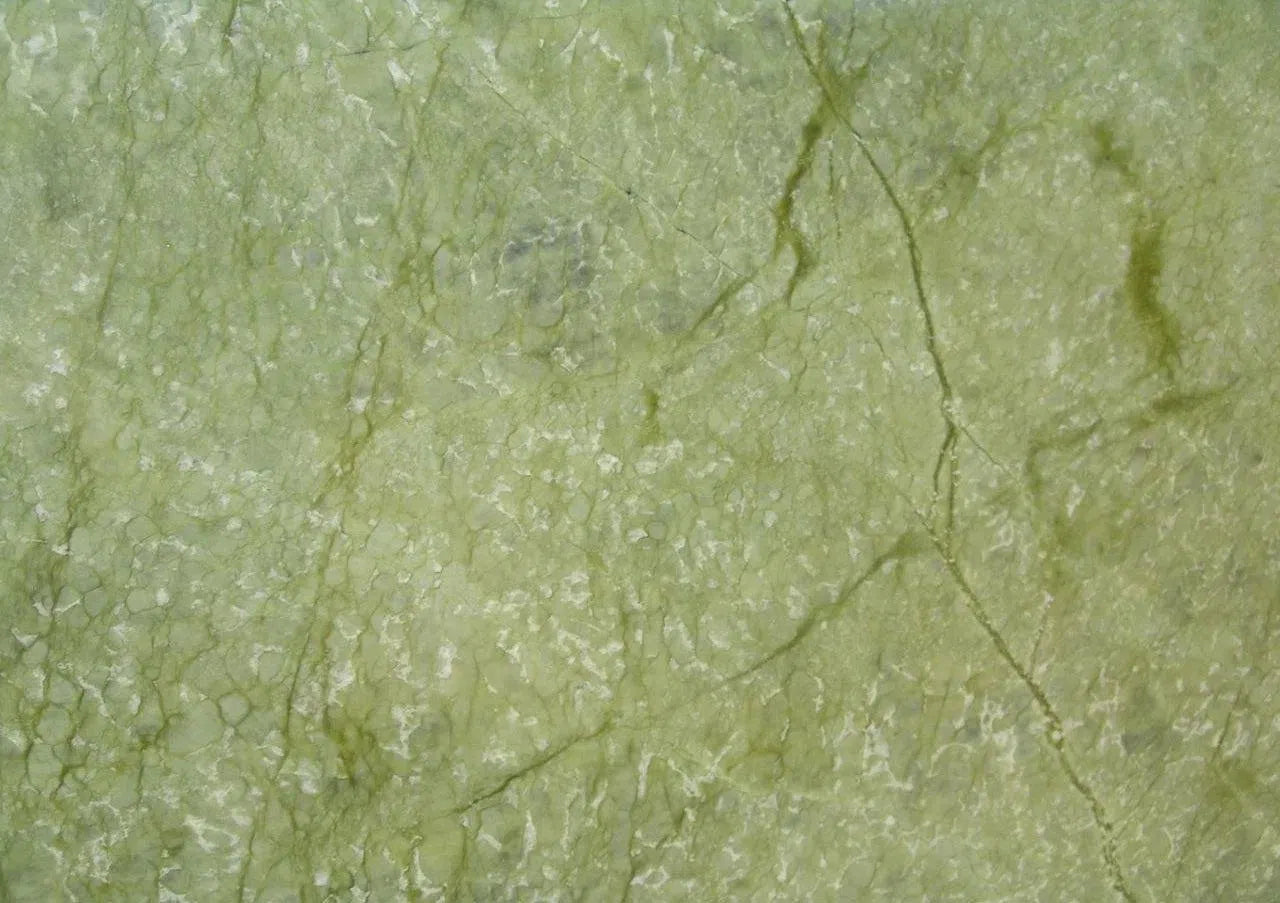 Ming Green Marble
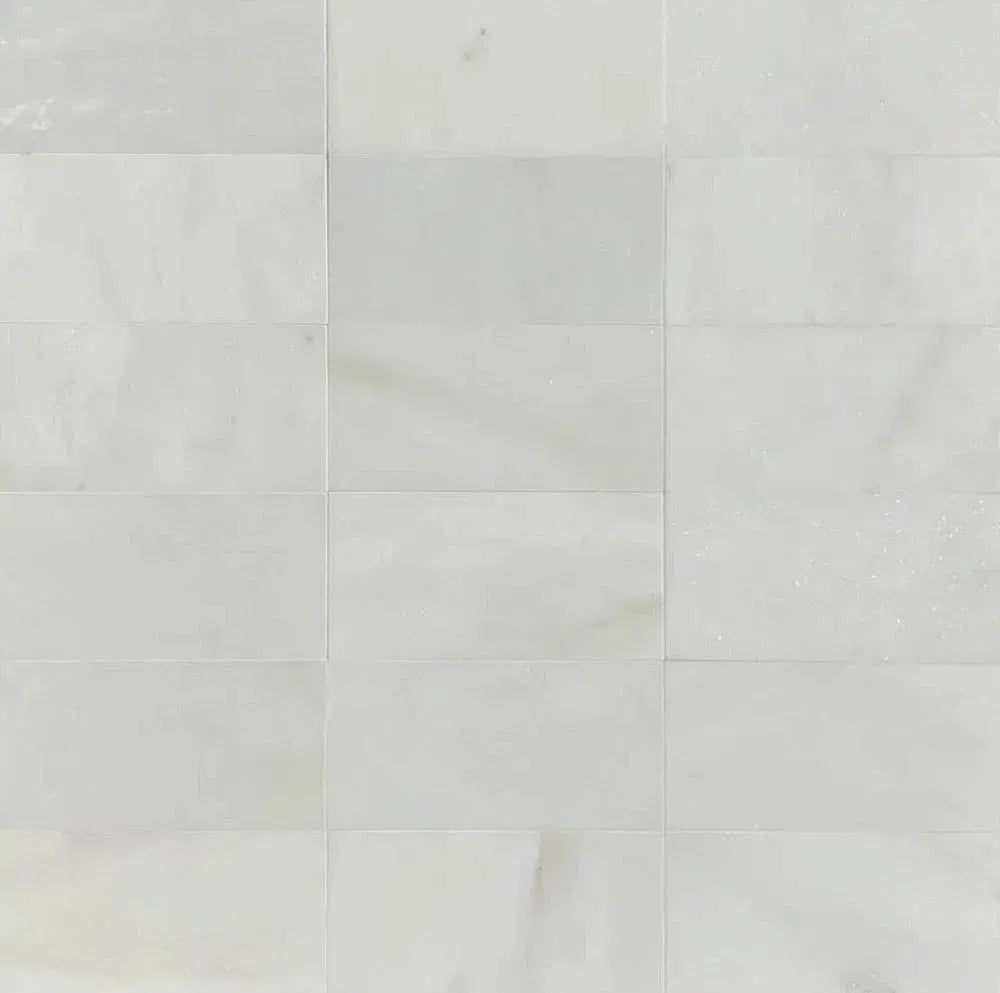 Oriental White Marble (Asian Statuary Marble)
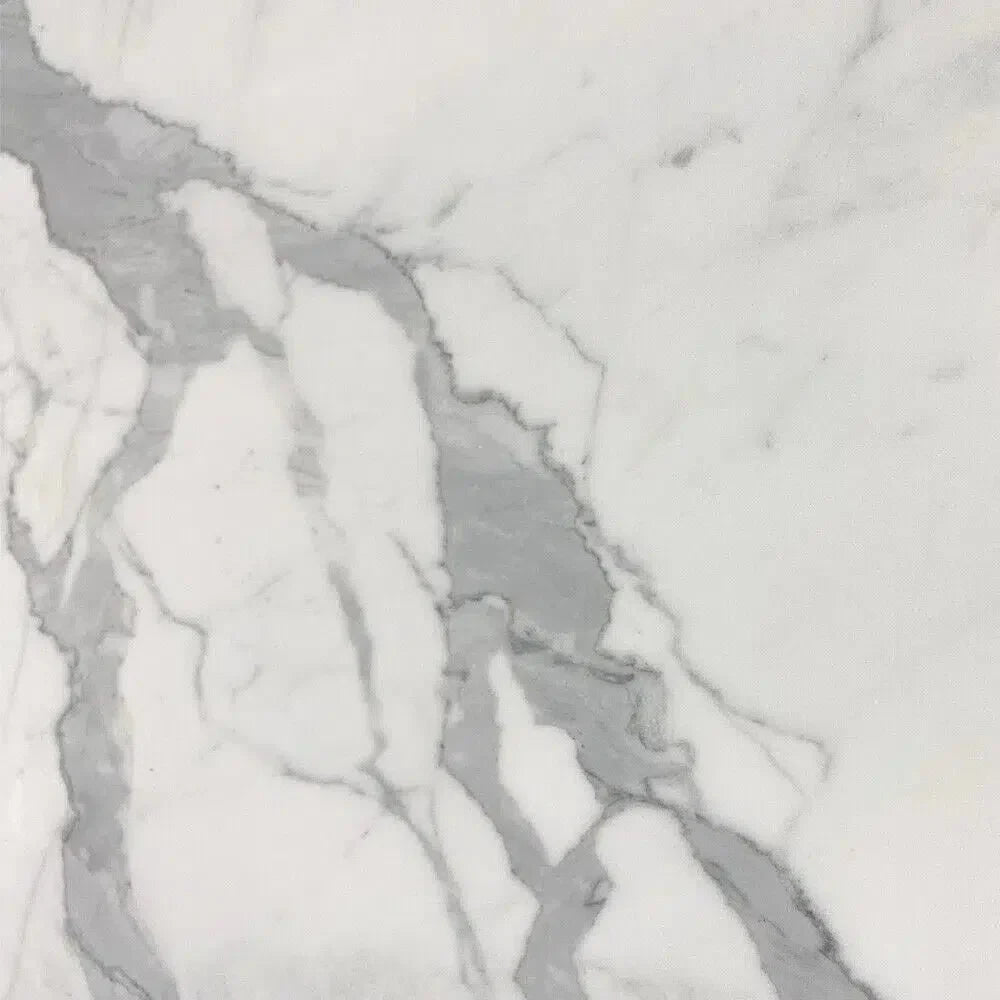 Statuary - Statuario White (Italian) Marble
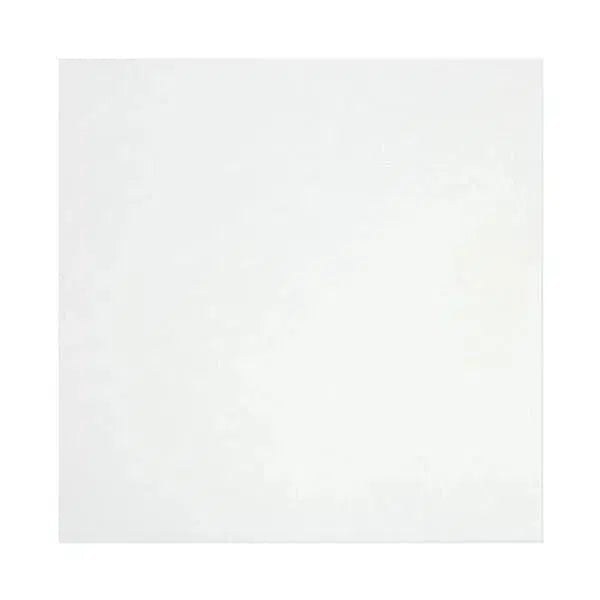 Thassos White
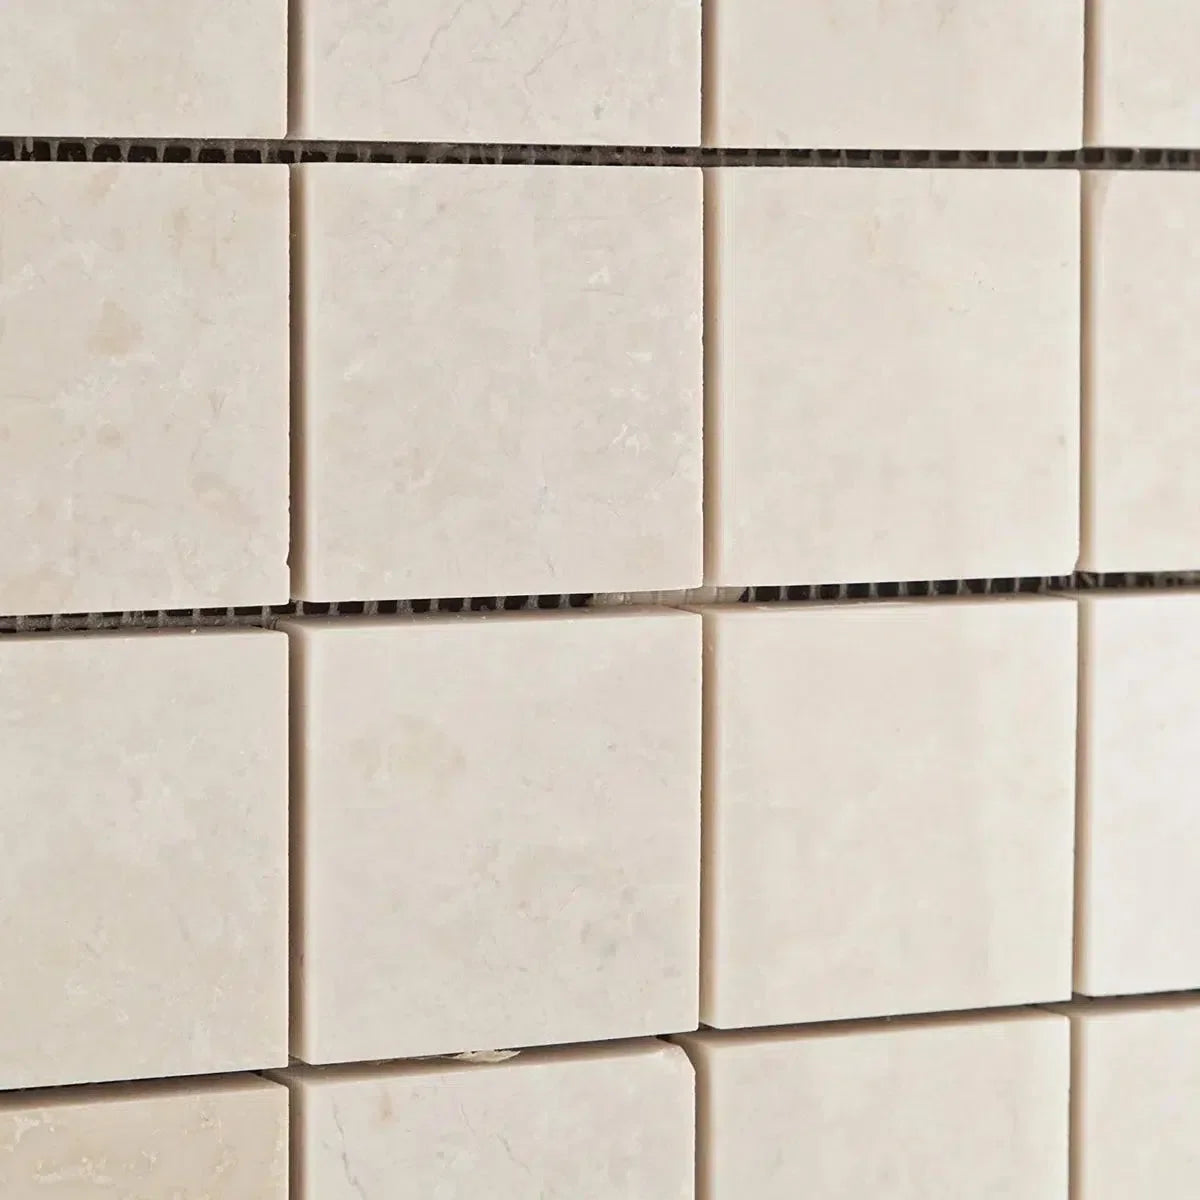 White Pearl/Botticino Beige Marble
 Ivory Travertine
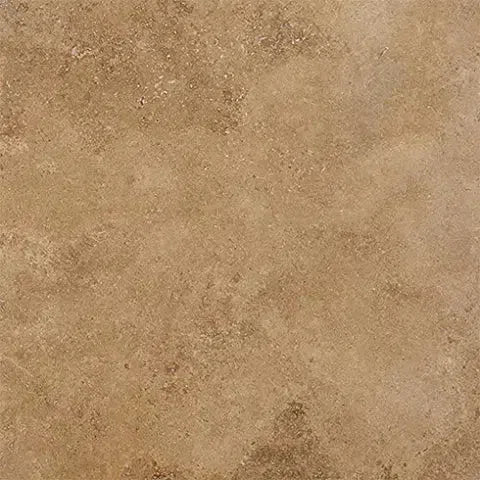 Noce Travertine
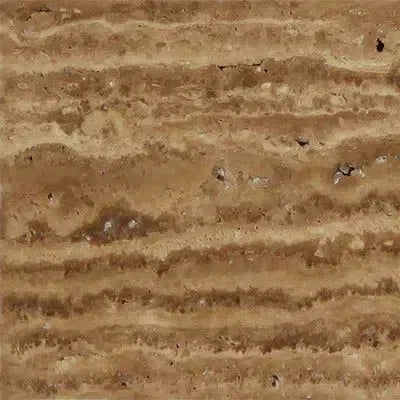 Exotic Noce Travertine
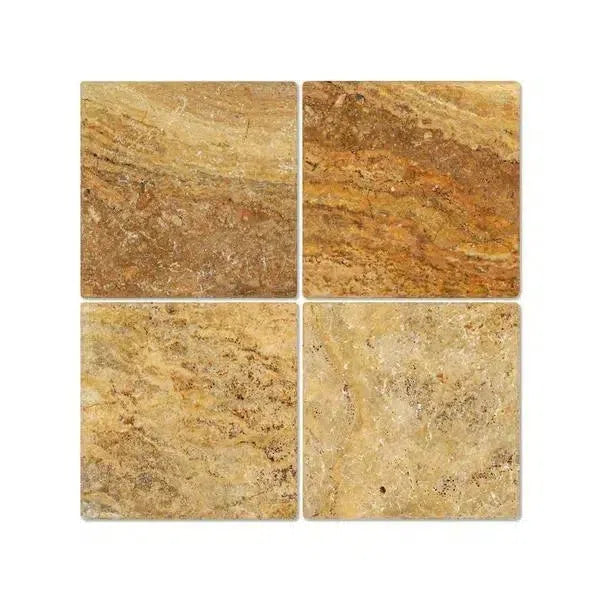 Scabos | Autumn Leaves Travertine
 Silver Travertine
 Exotic Travertine


 Travertine
 Marble
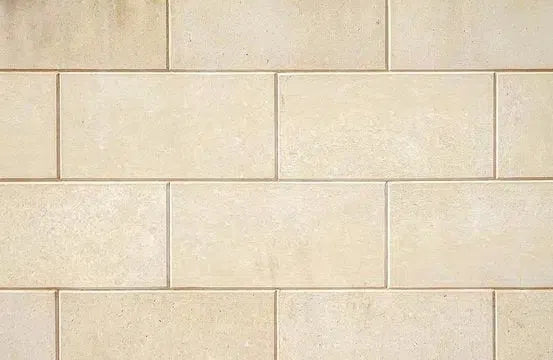 Limestone
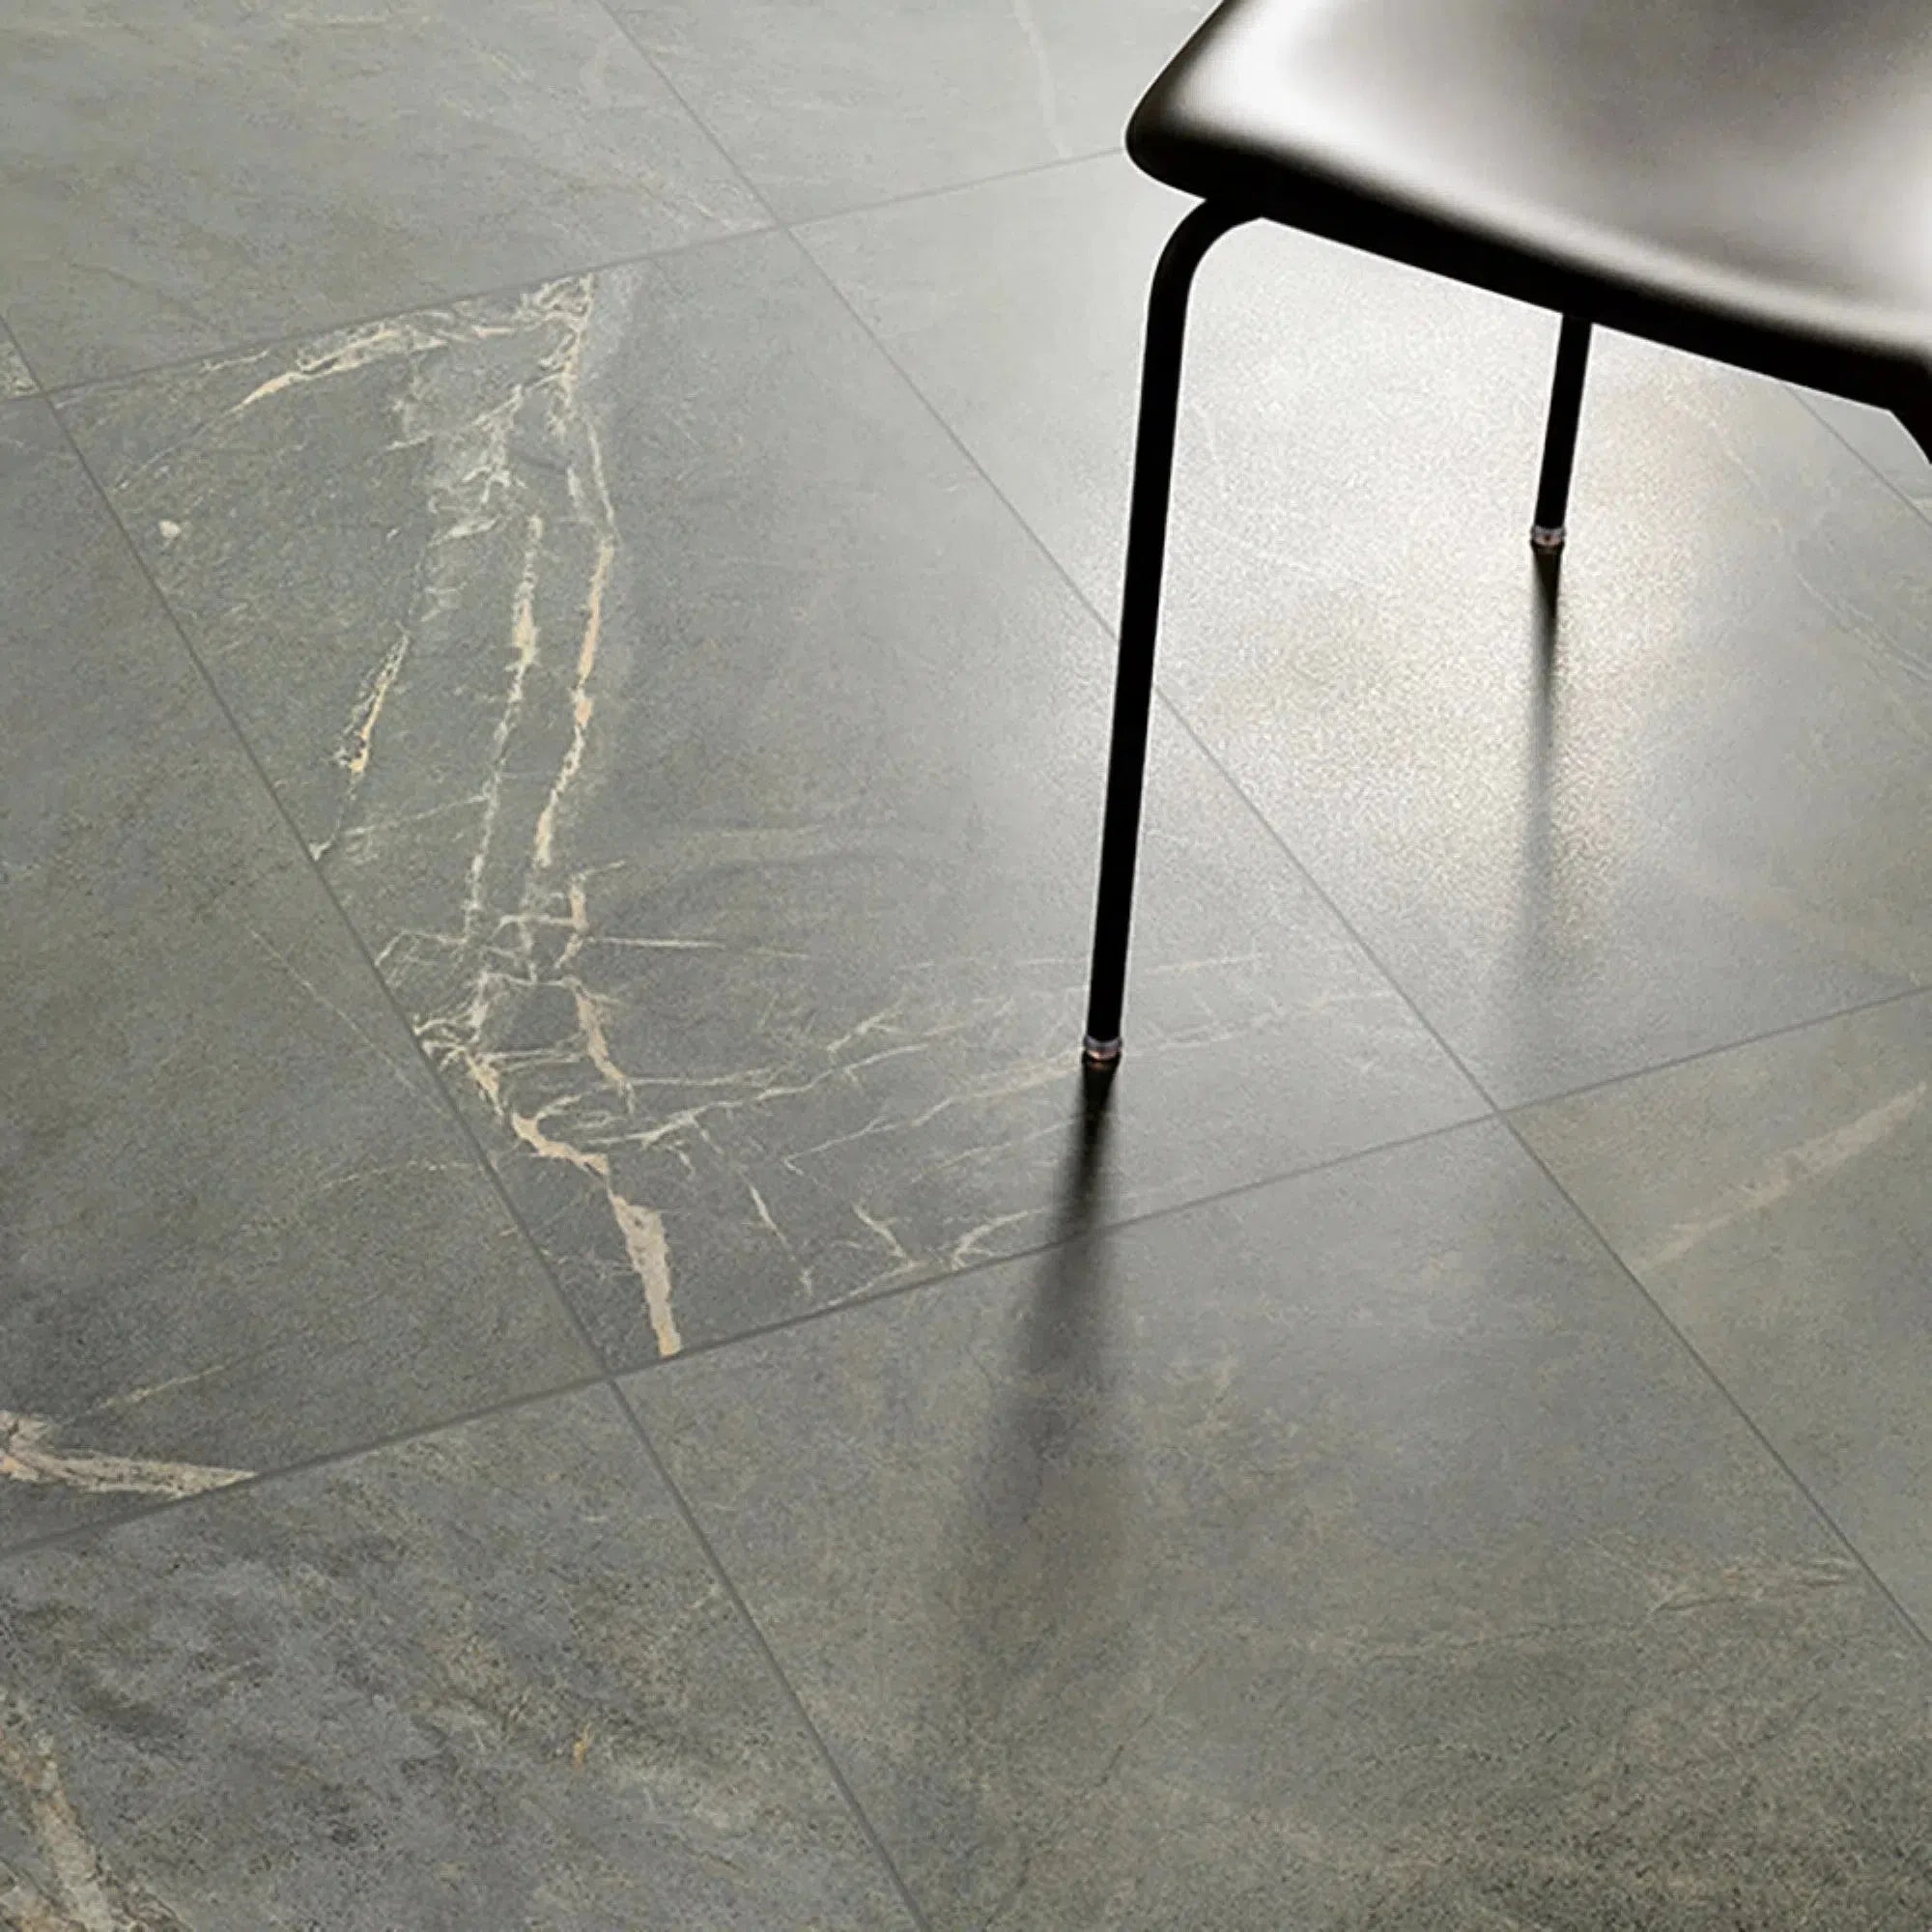 Soap Stone
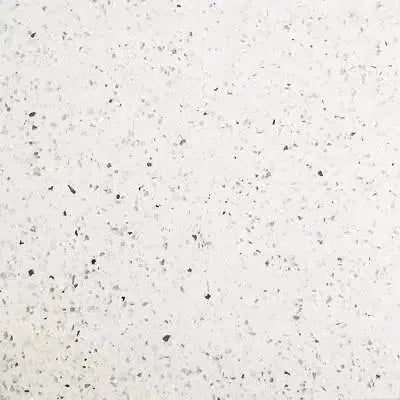 Quartz
 Granite
 Absolute Black Granite
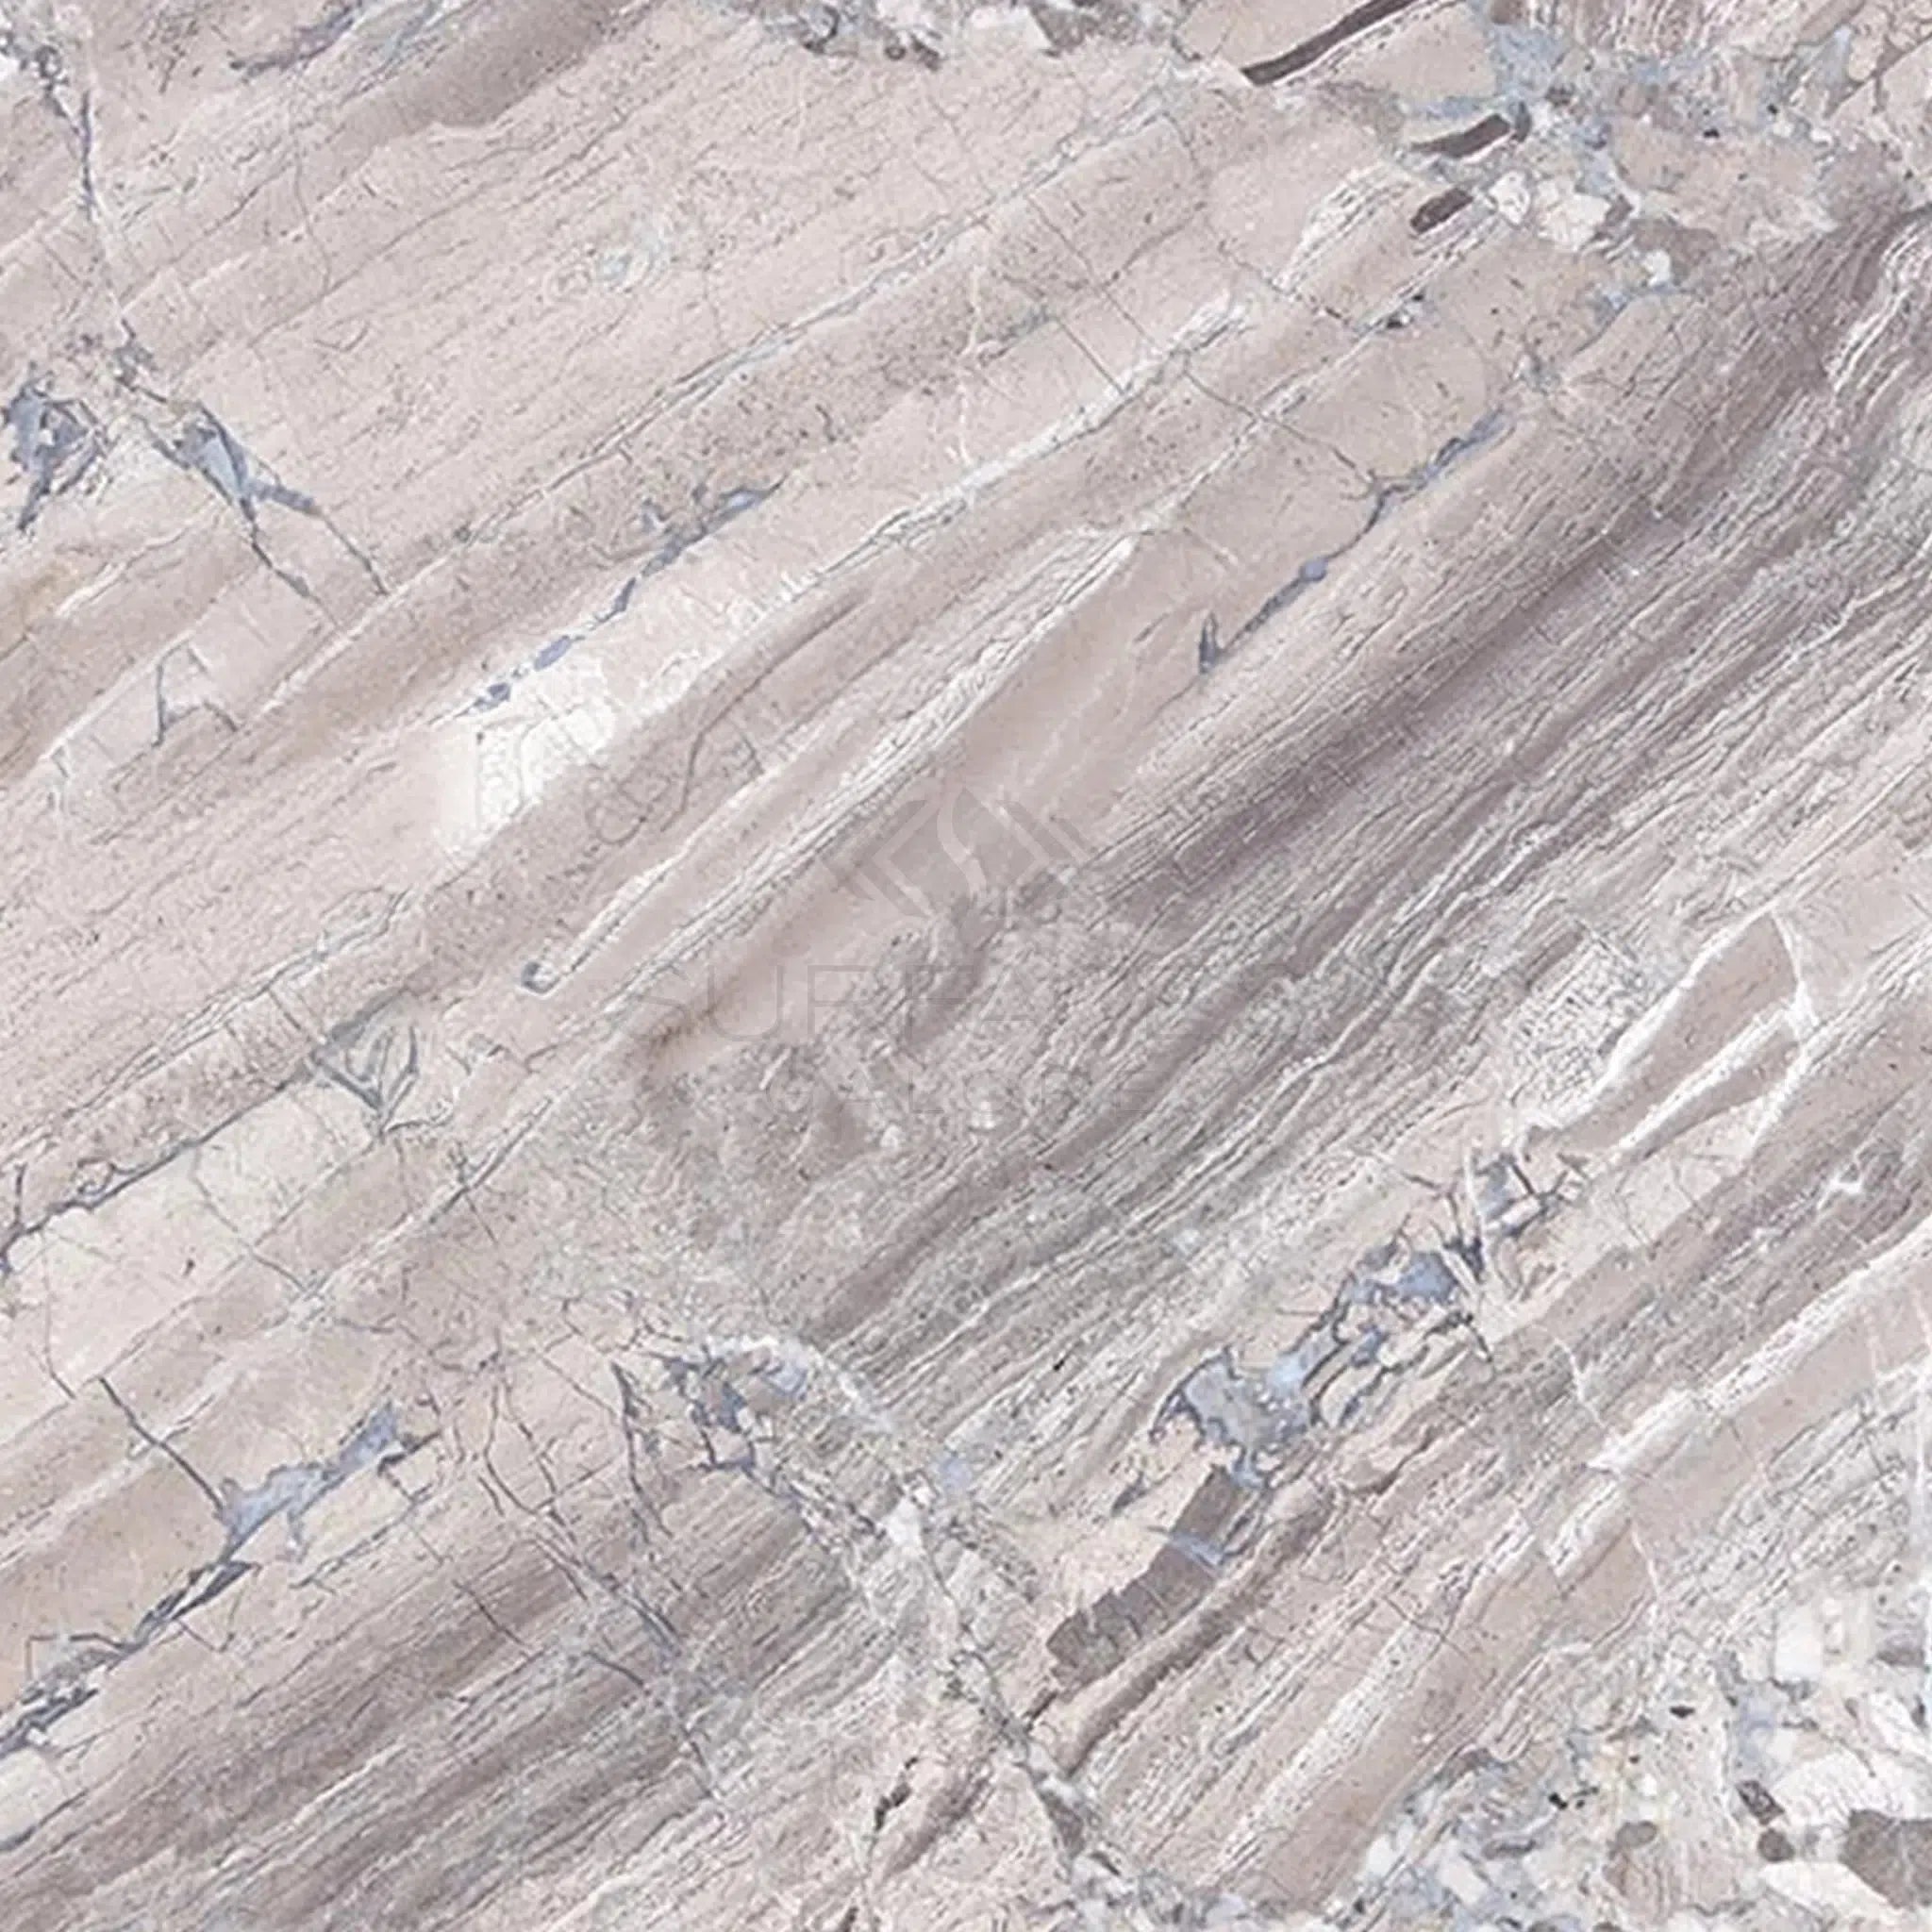 Atlantic Gray Marble
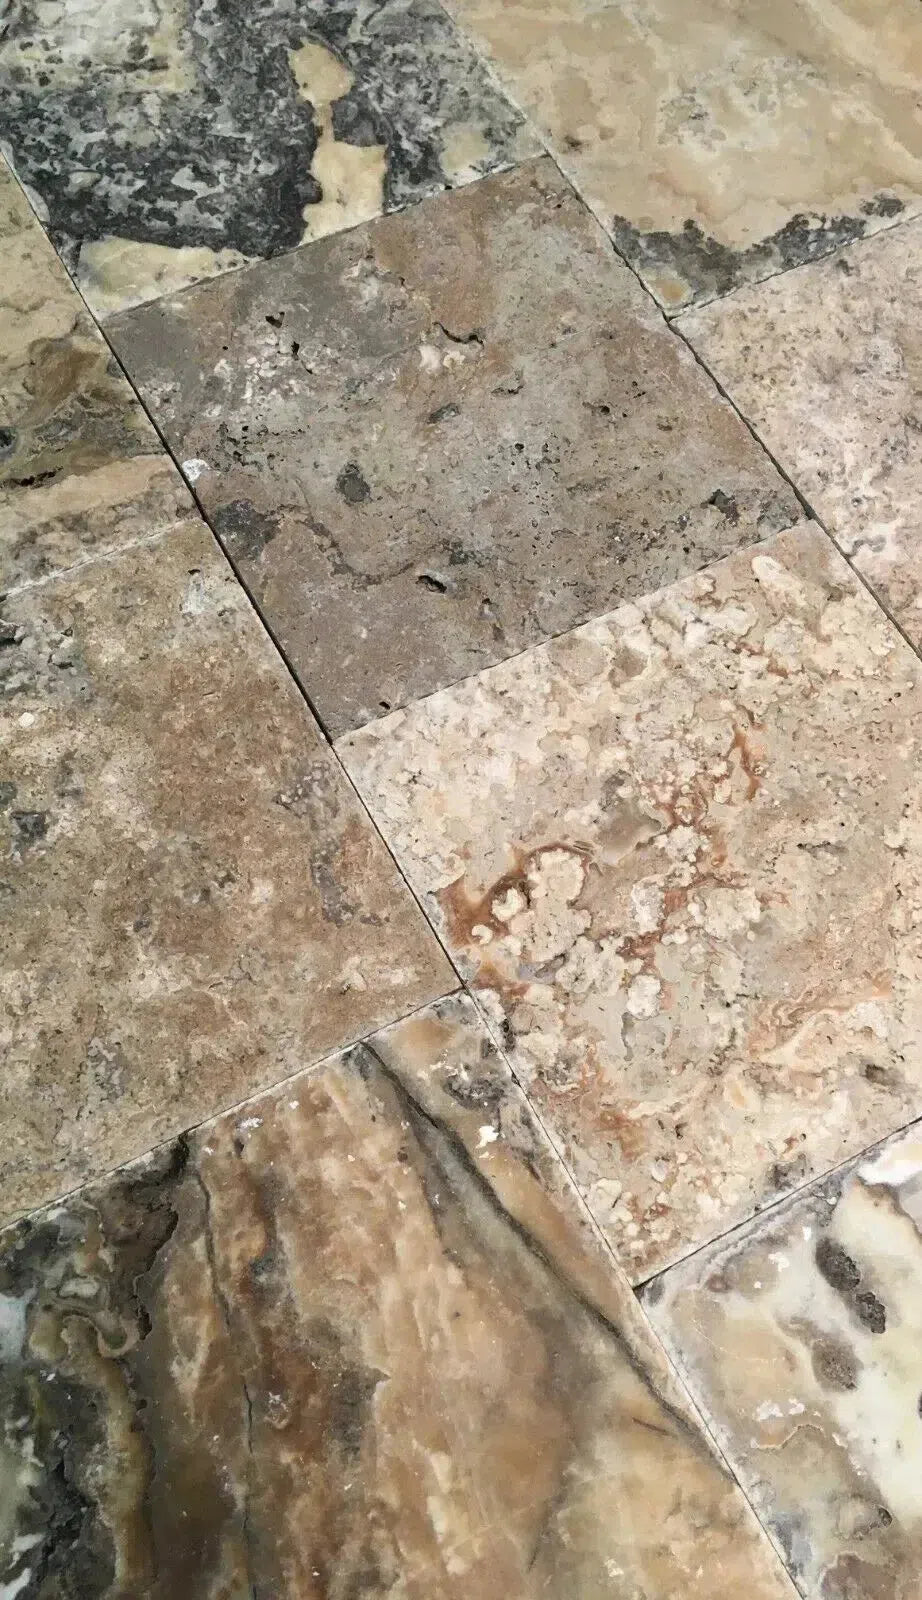 Antico Onyx Travertine
 Bianco Congelato Dolomite
 Bianco Venatino (Bianco Mare) Marble
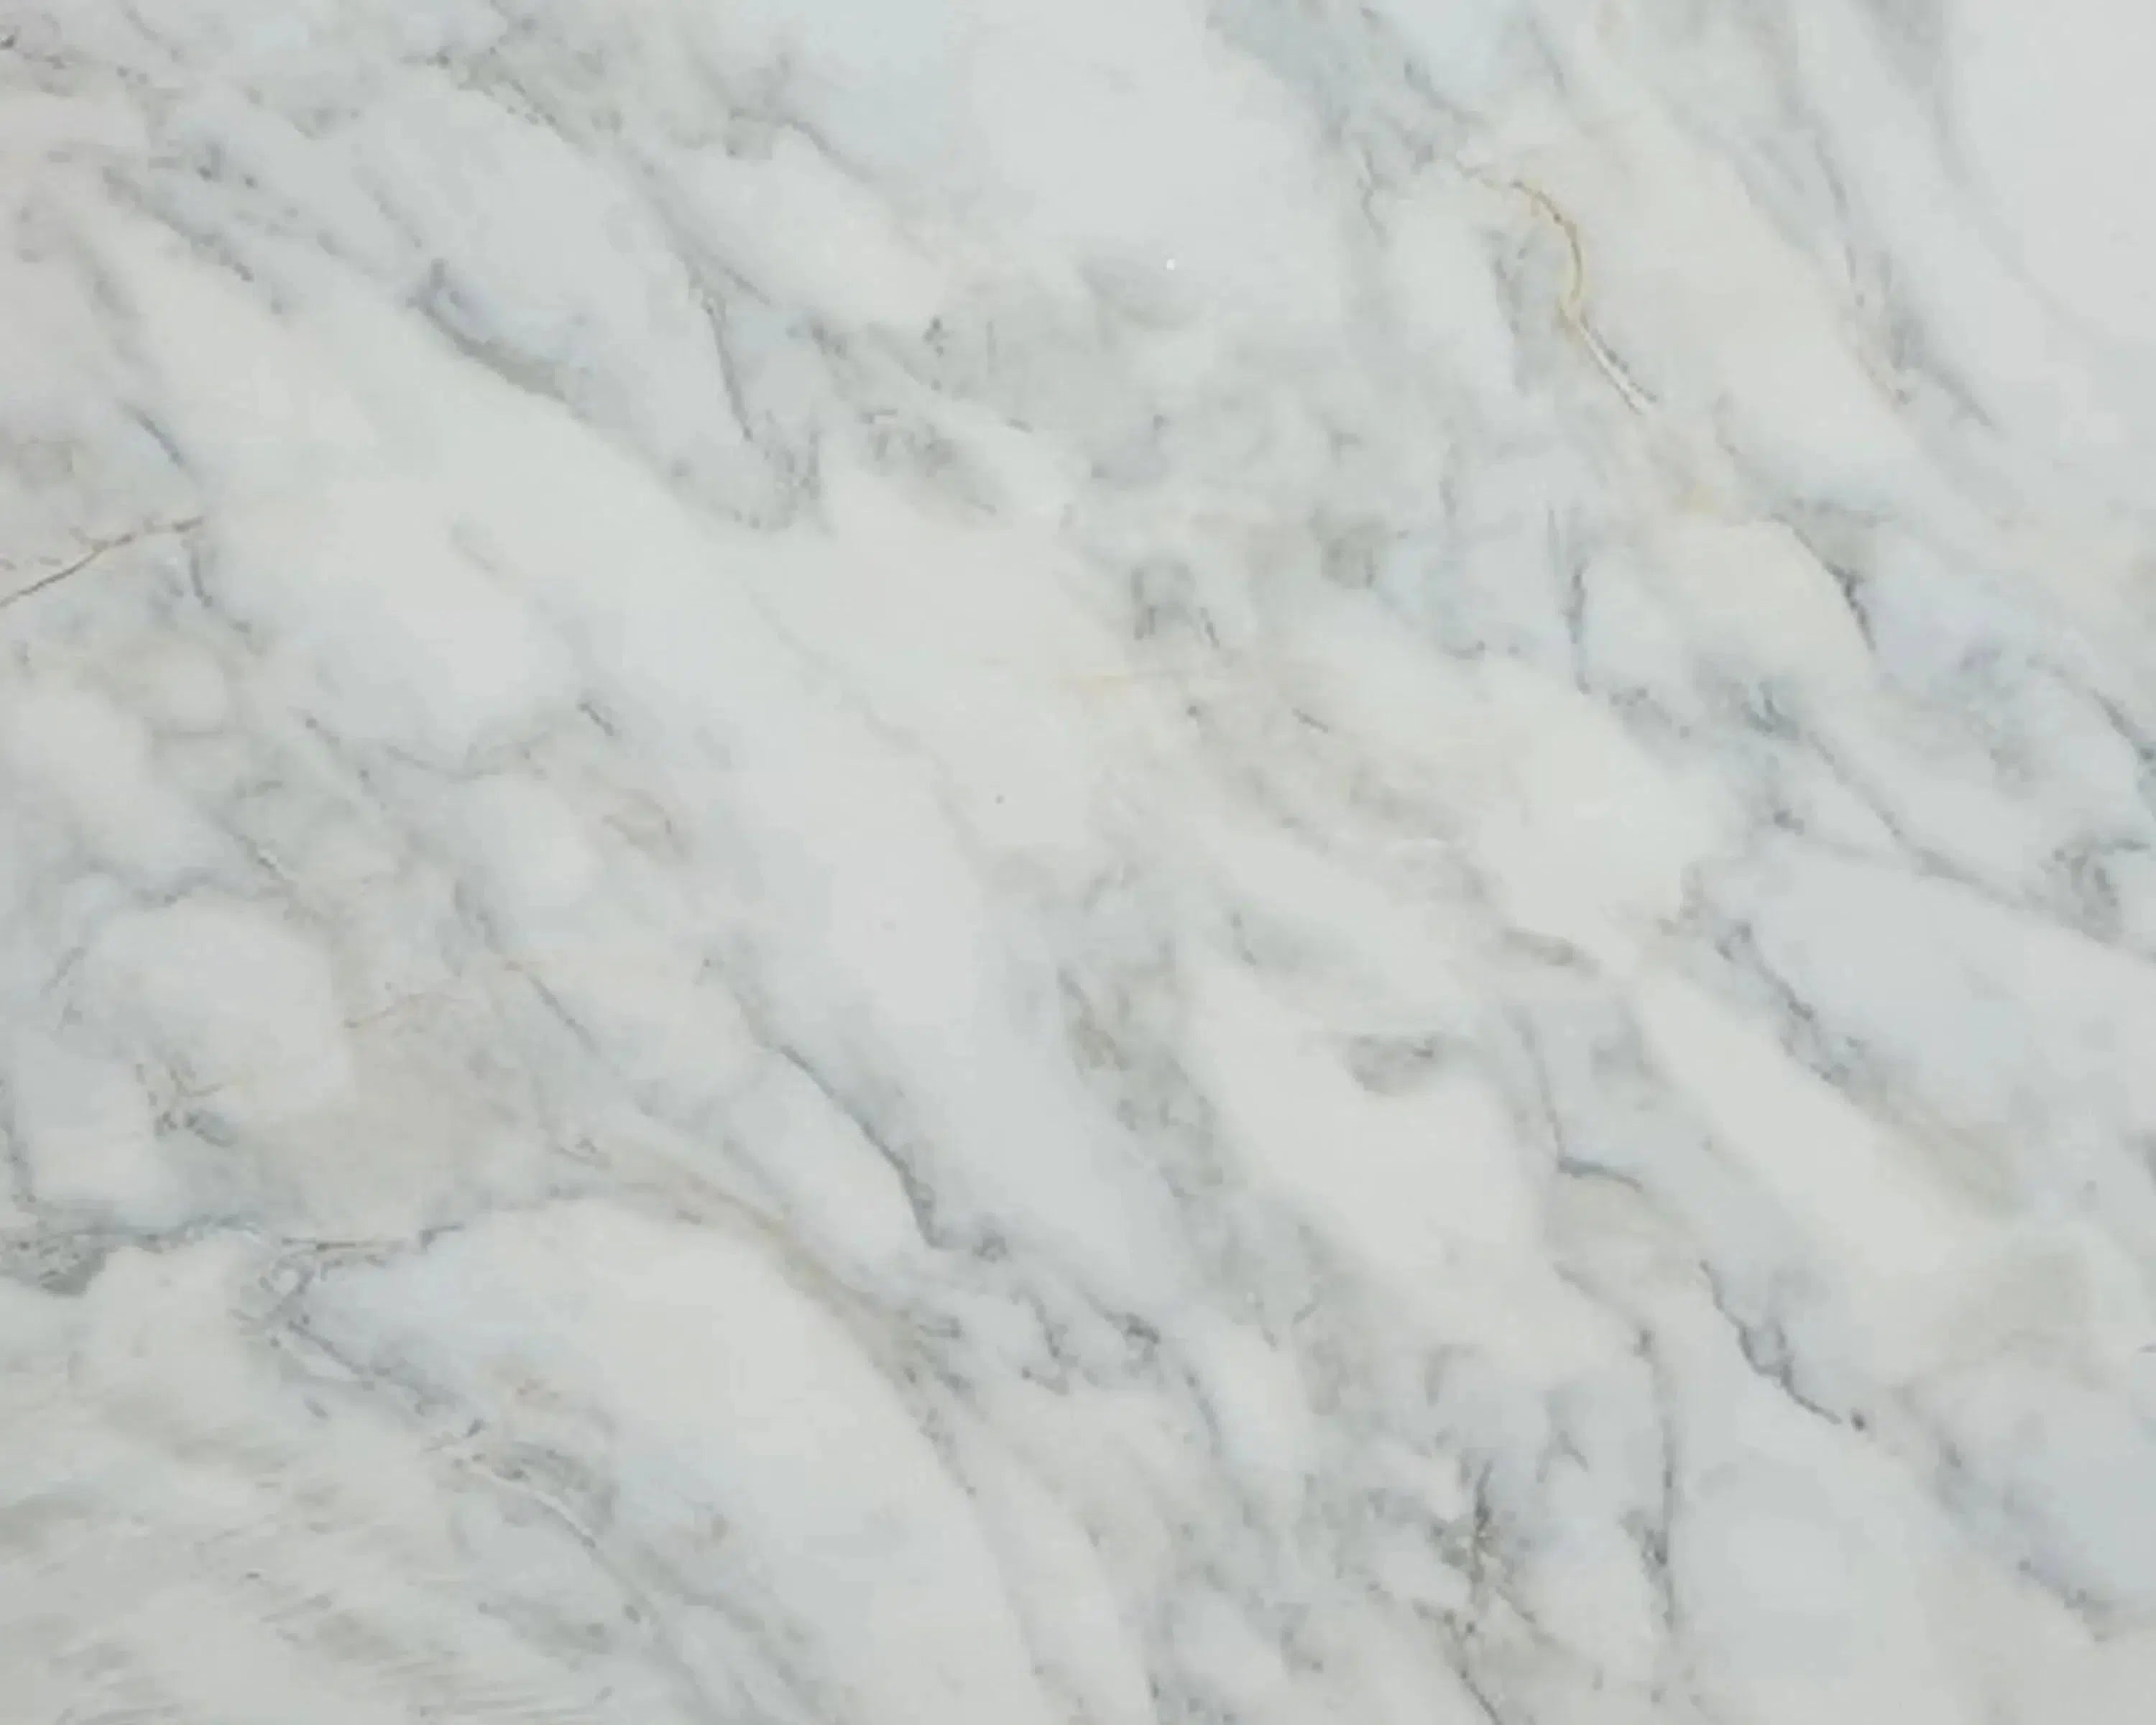 Calacatta Oliva Marble
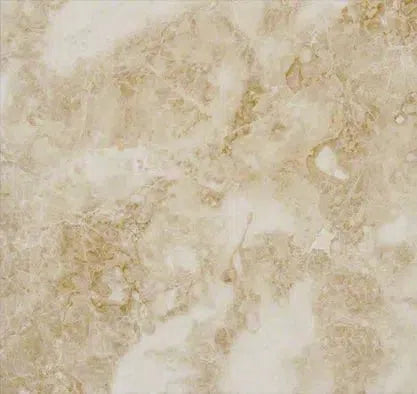 Cappuccino Marble
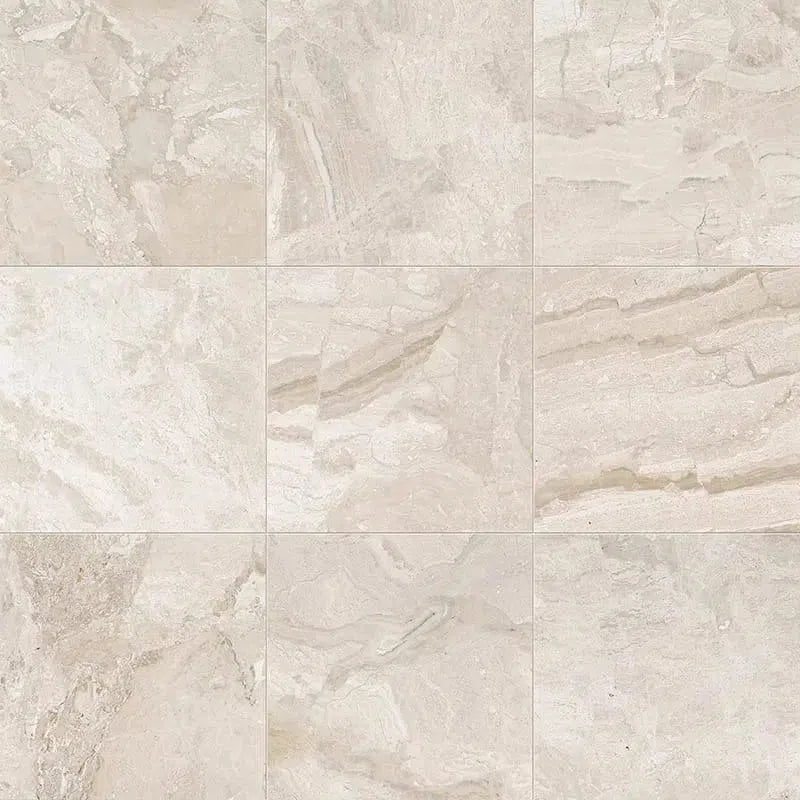 Diano Royal (Queen Beige) Marble
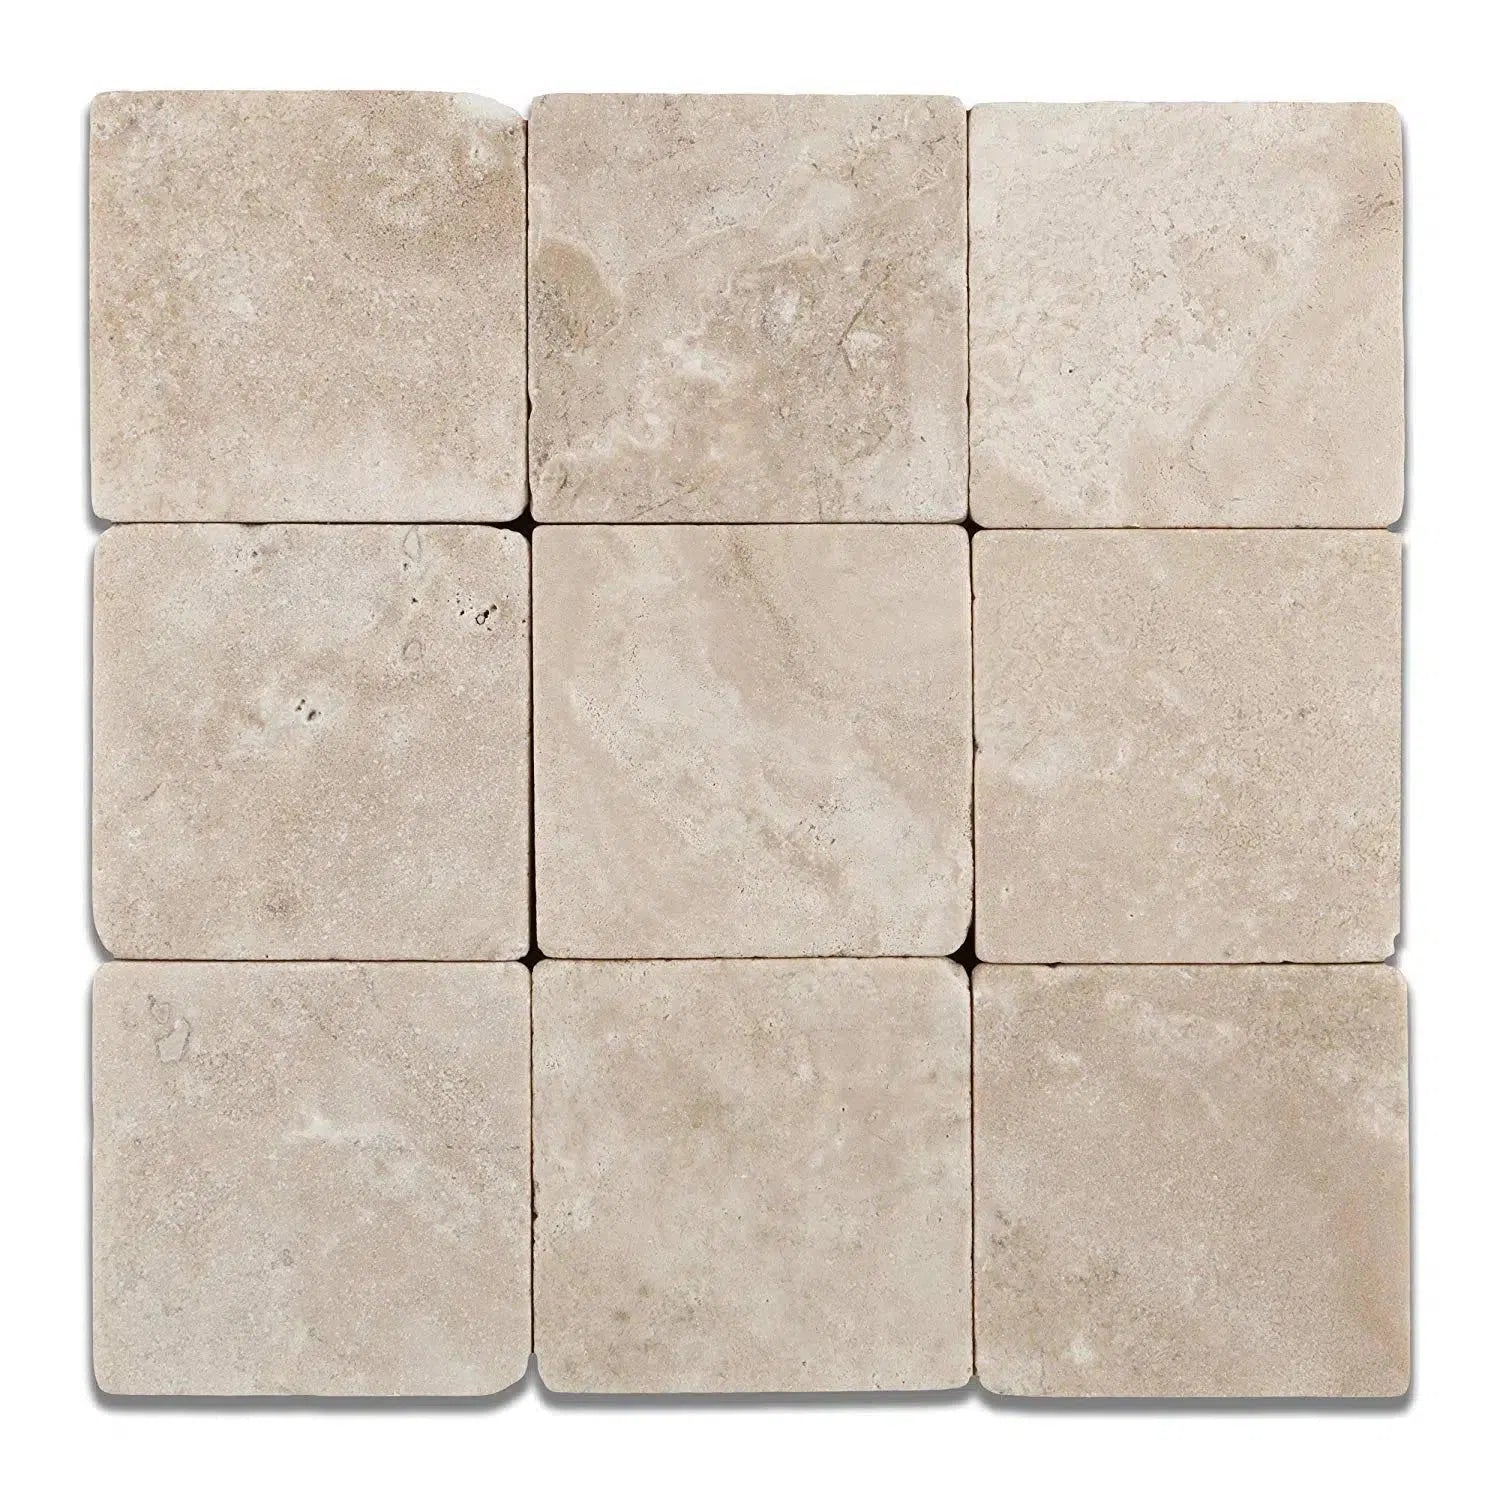 Durango Cream Traverine
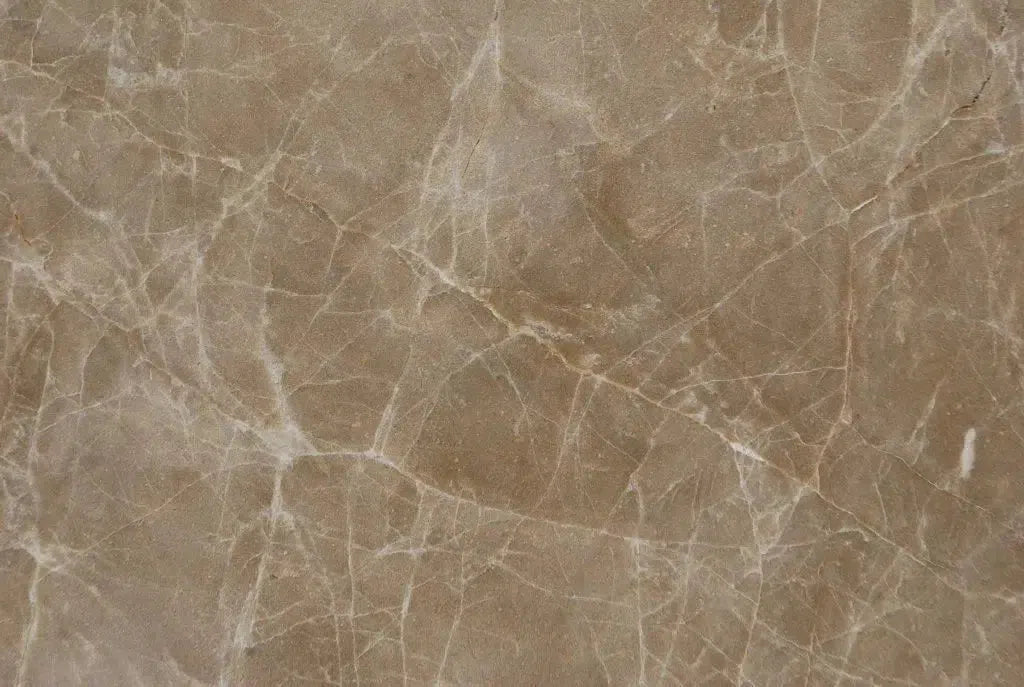 Emperador Light Marble
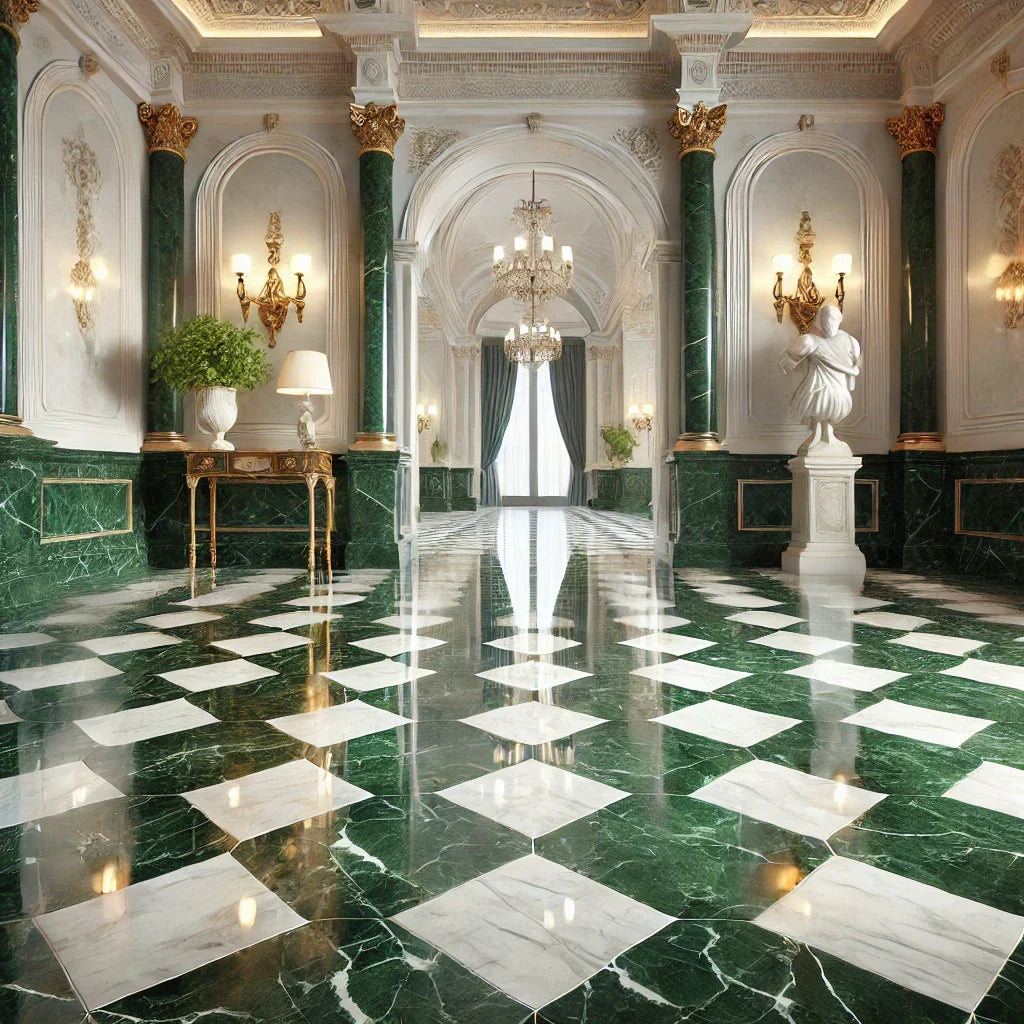 Empress Green Marble
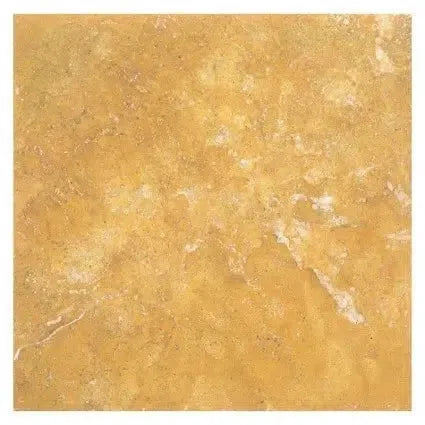 Gold/Yellow Travertine
 Green Onyx Marble
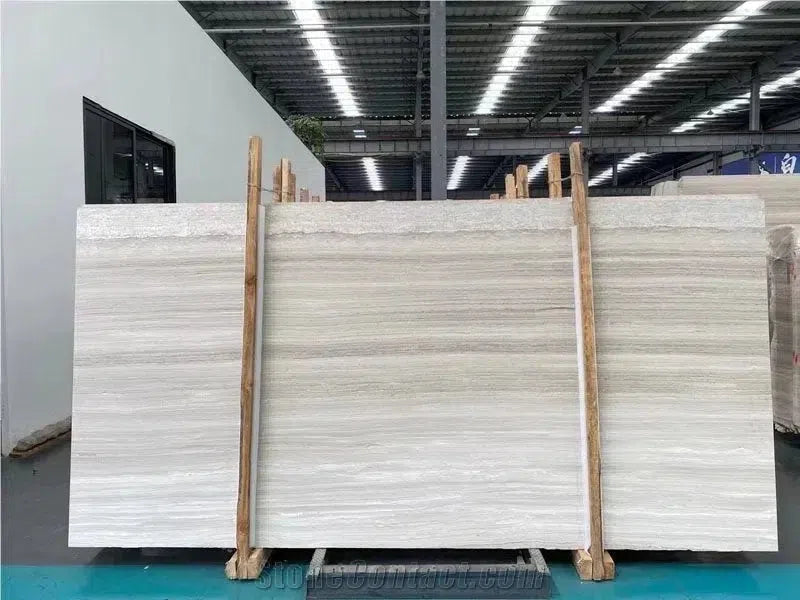 Haisa Light (White Wood) Limestone
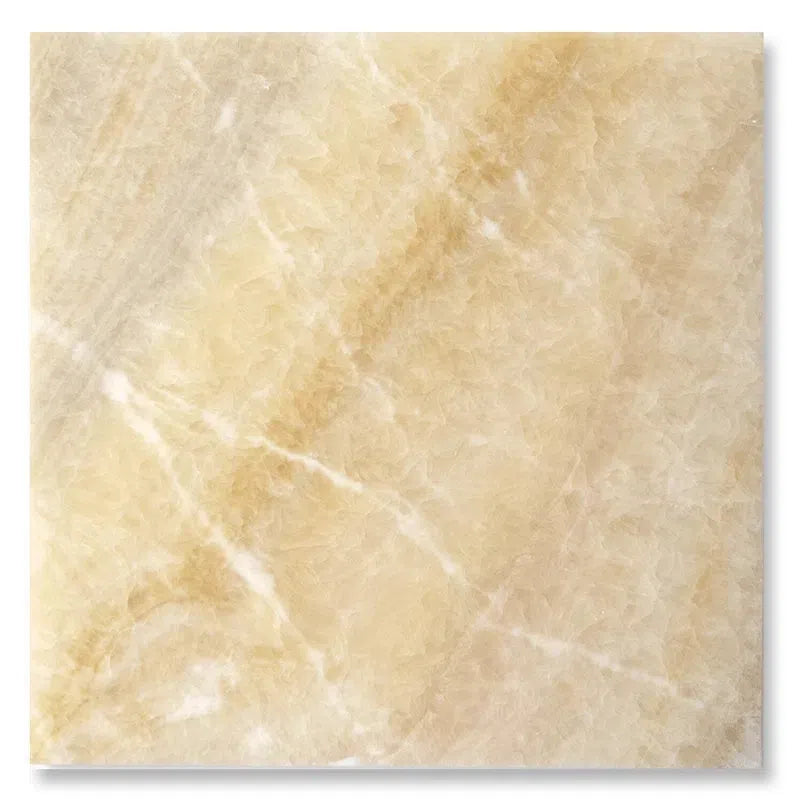 Honey Onyx Marble
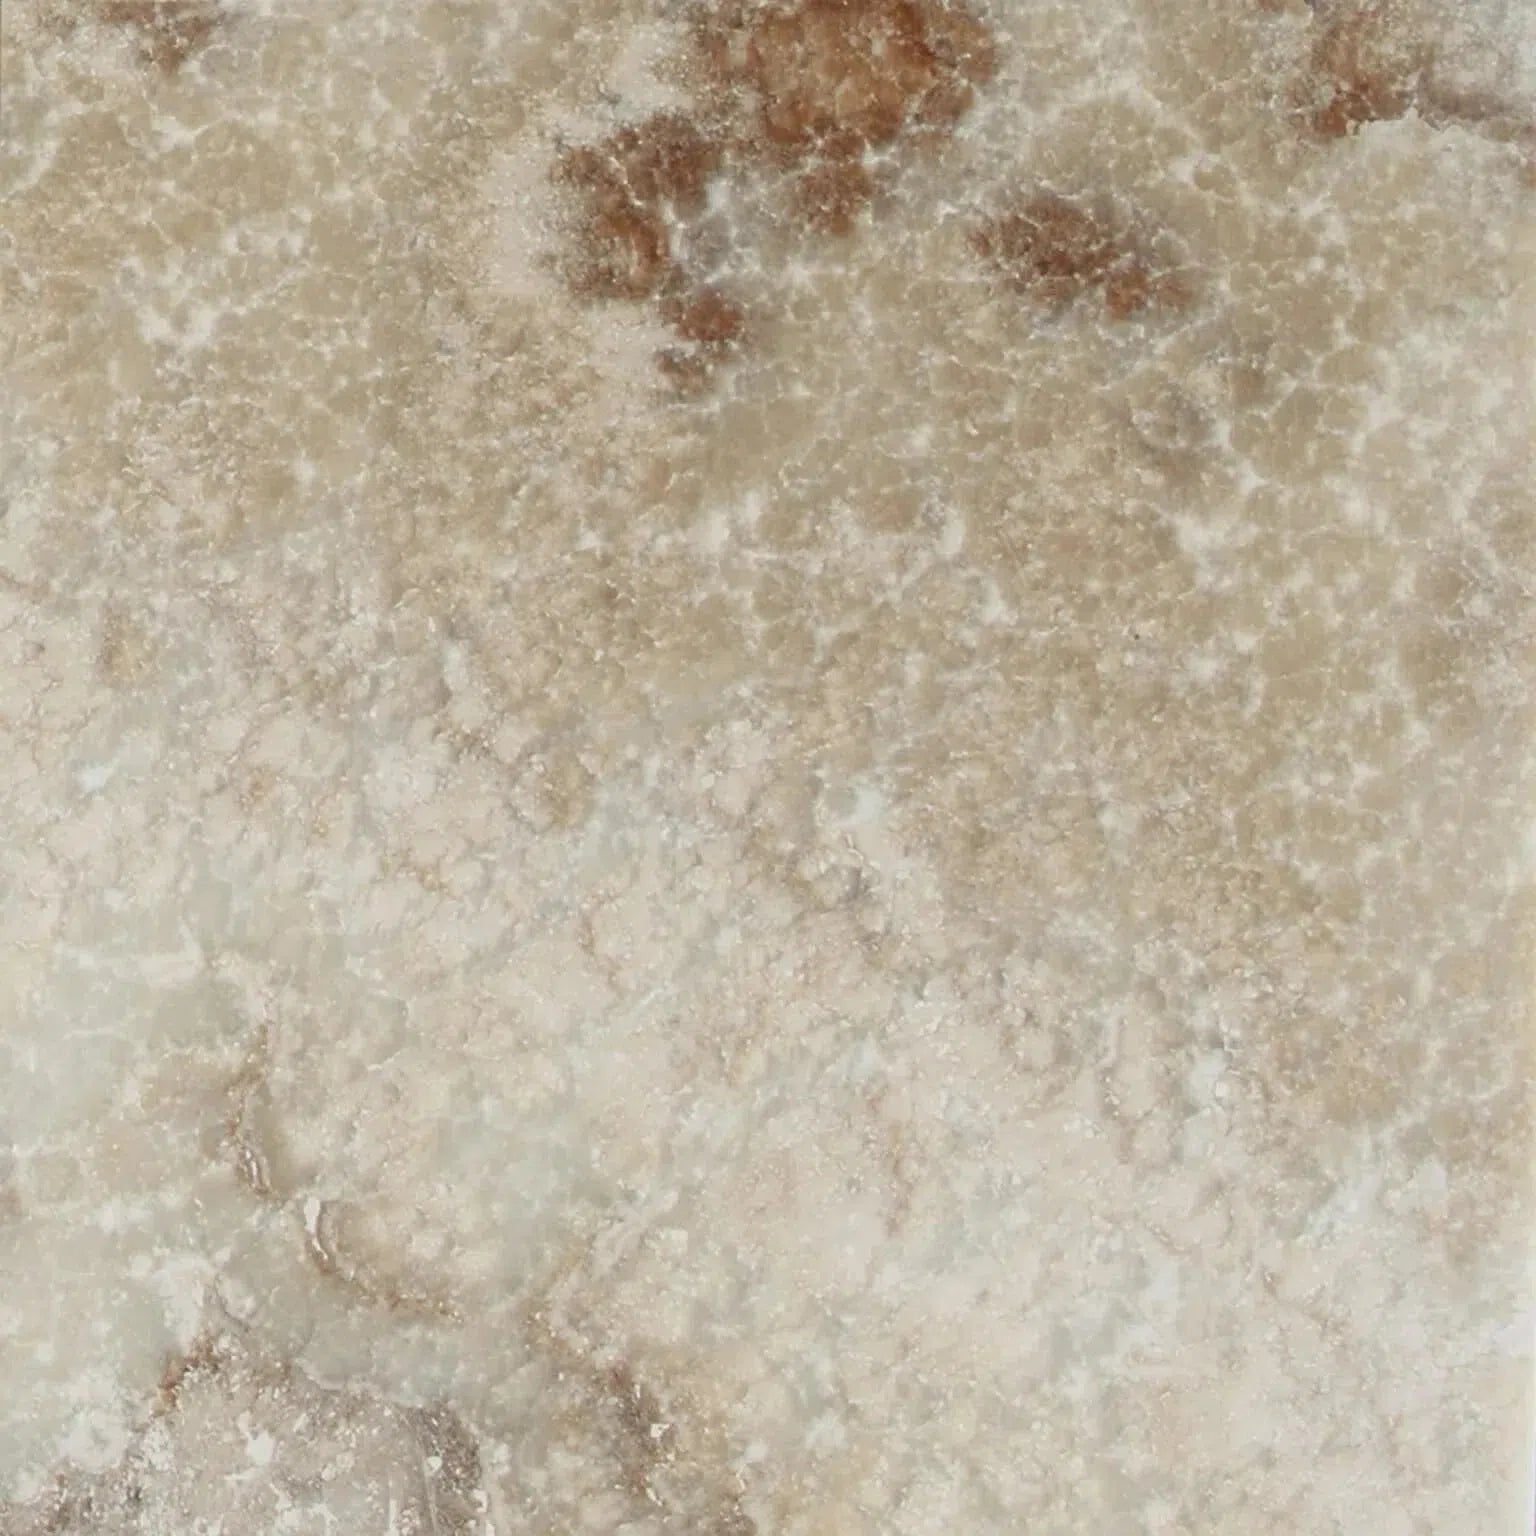 La Travonya Travertine
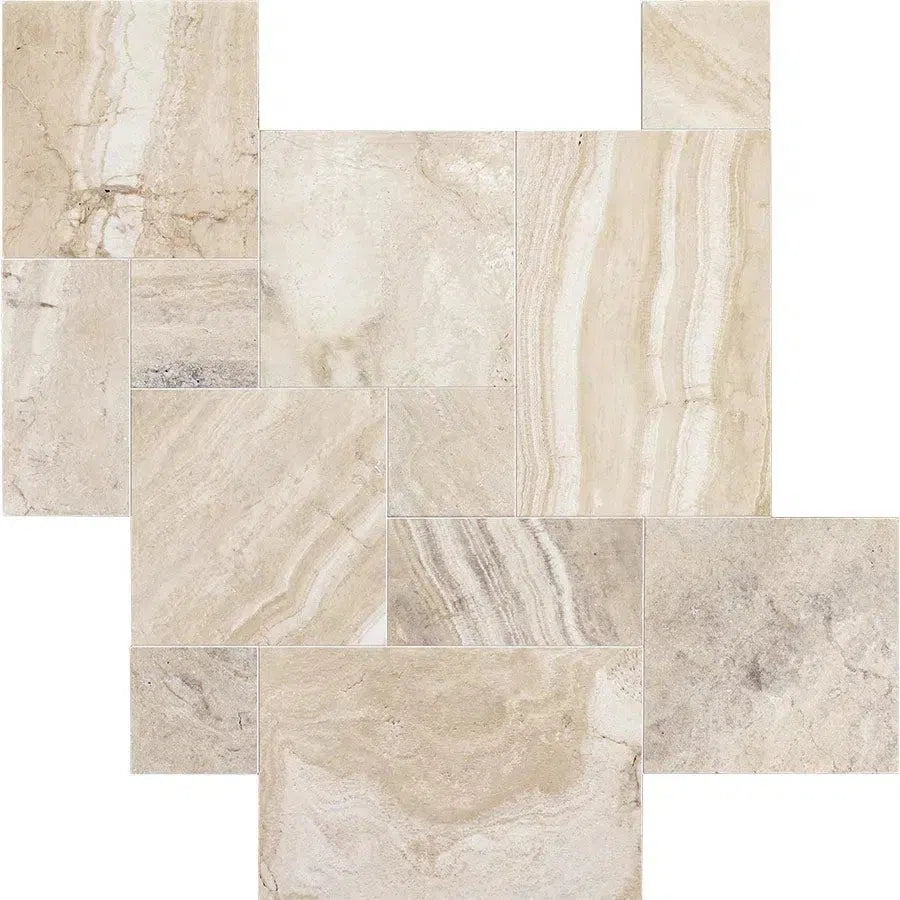 Malibu Travertine
 Mink (Equator) Marble
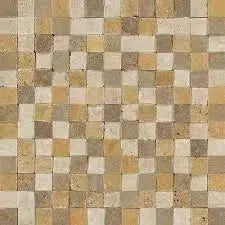 Mixed (Ivory-Noce-Gold) Travertine
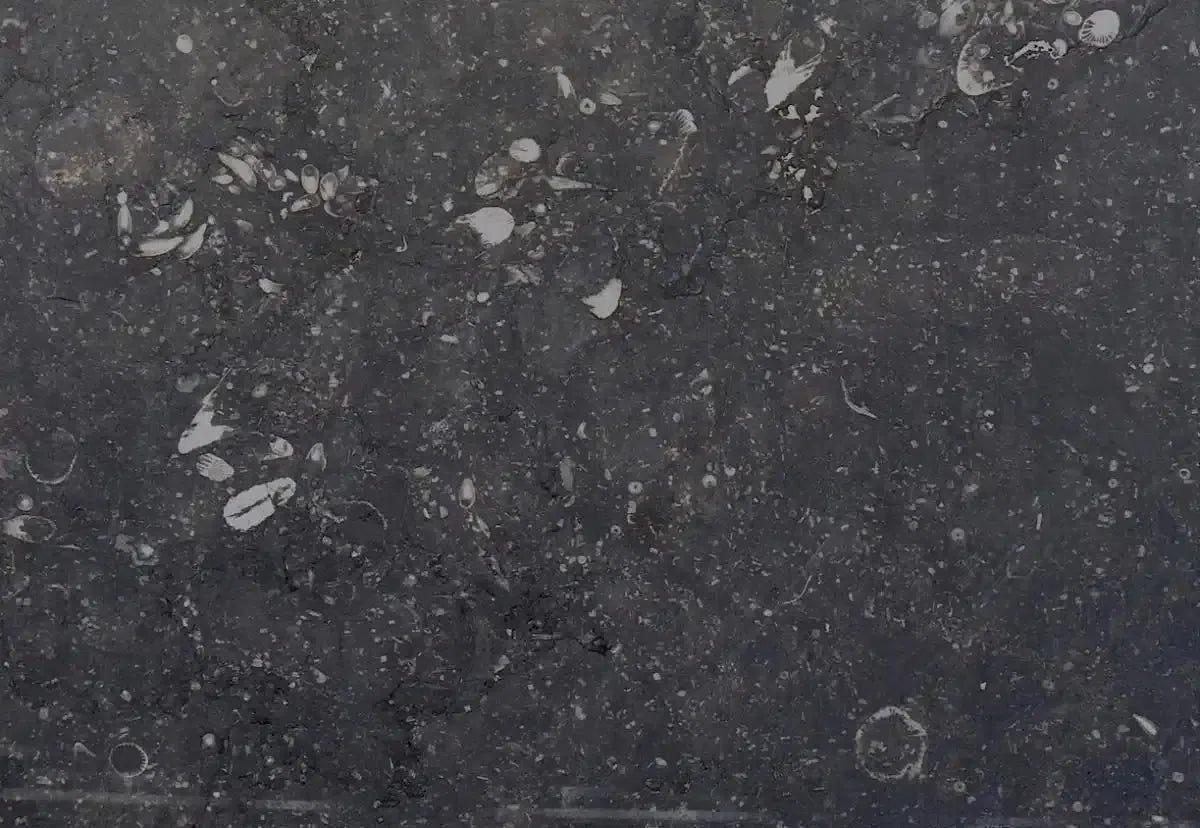 Pierre Bleue (Pierre Blue) Marble
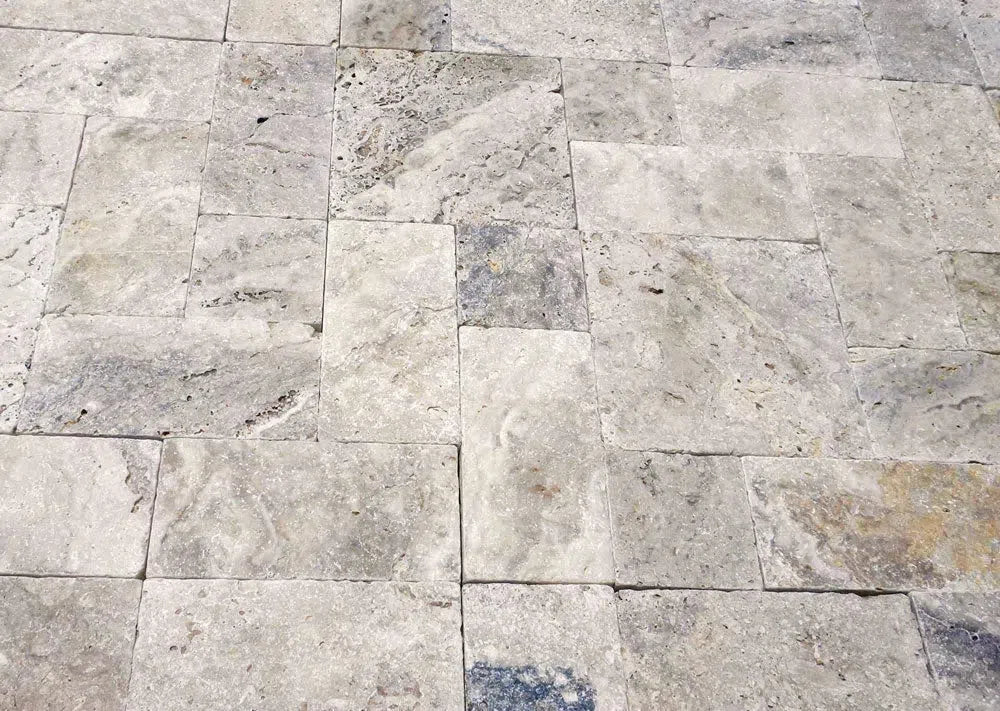 Philadelphia Travertine
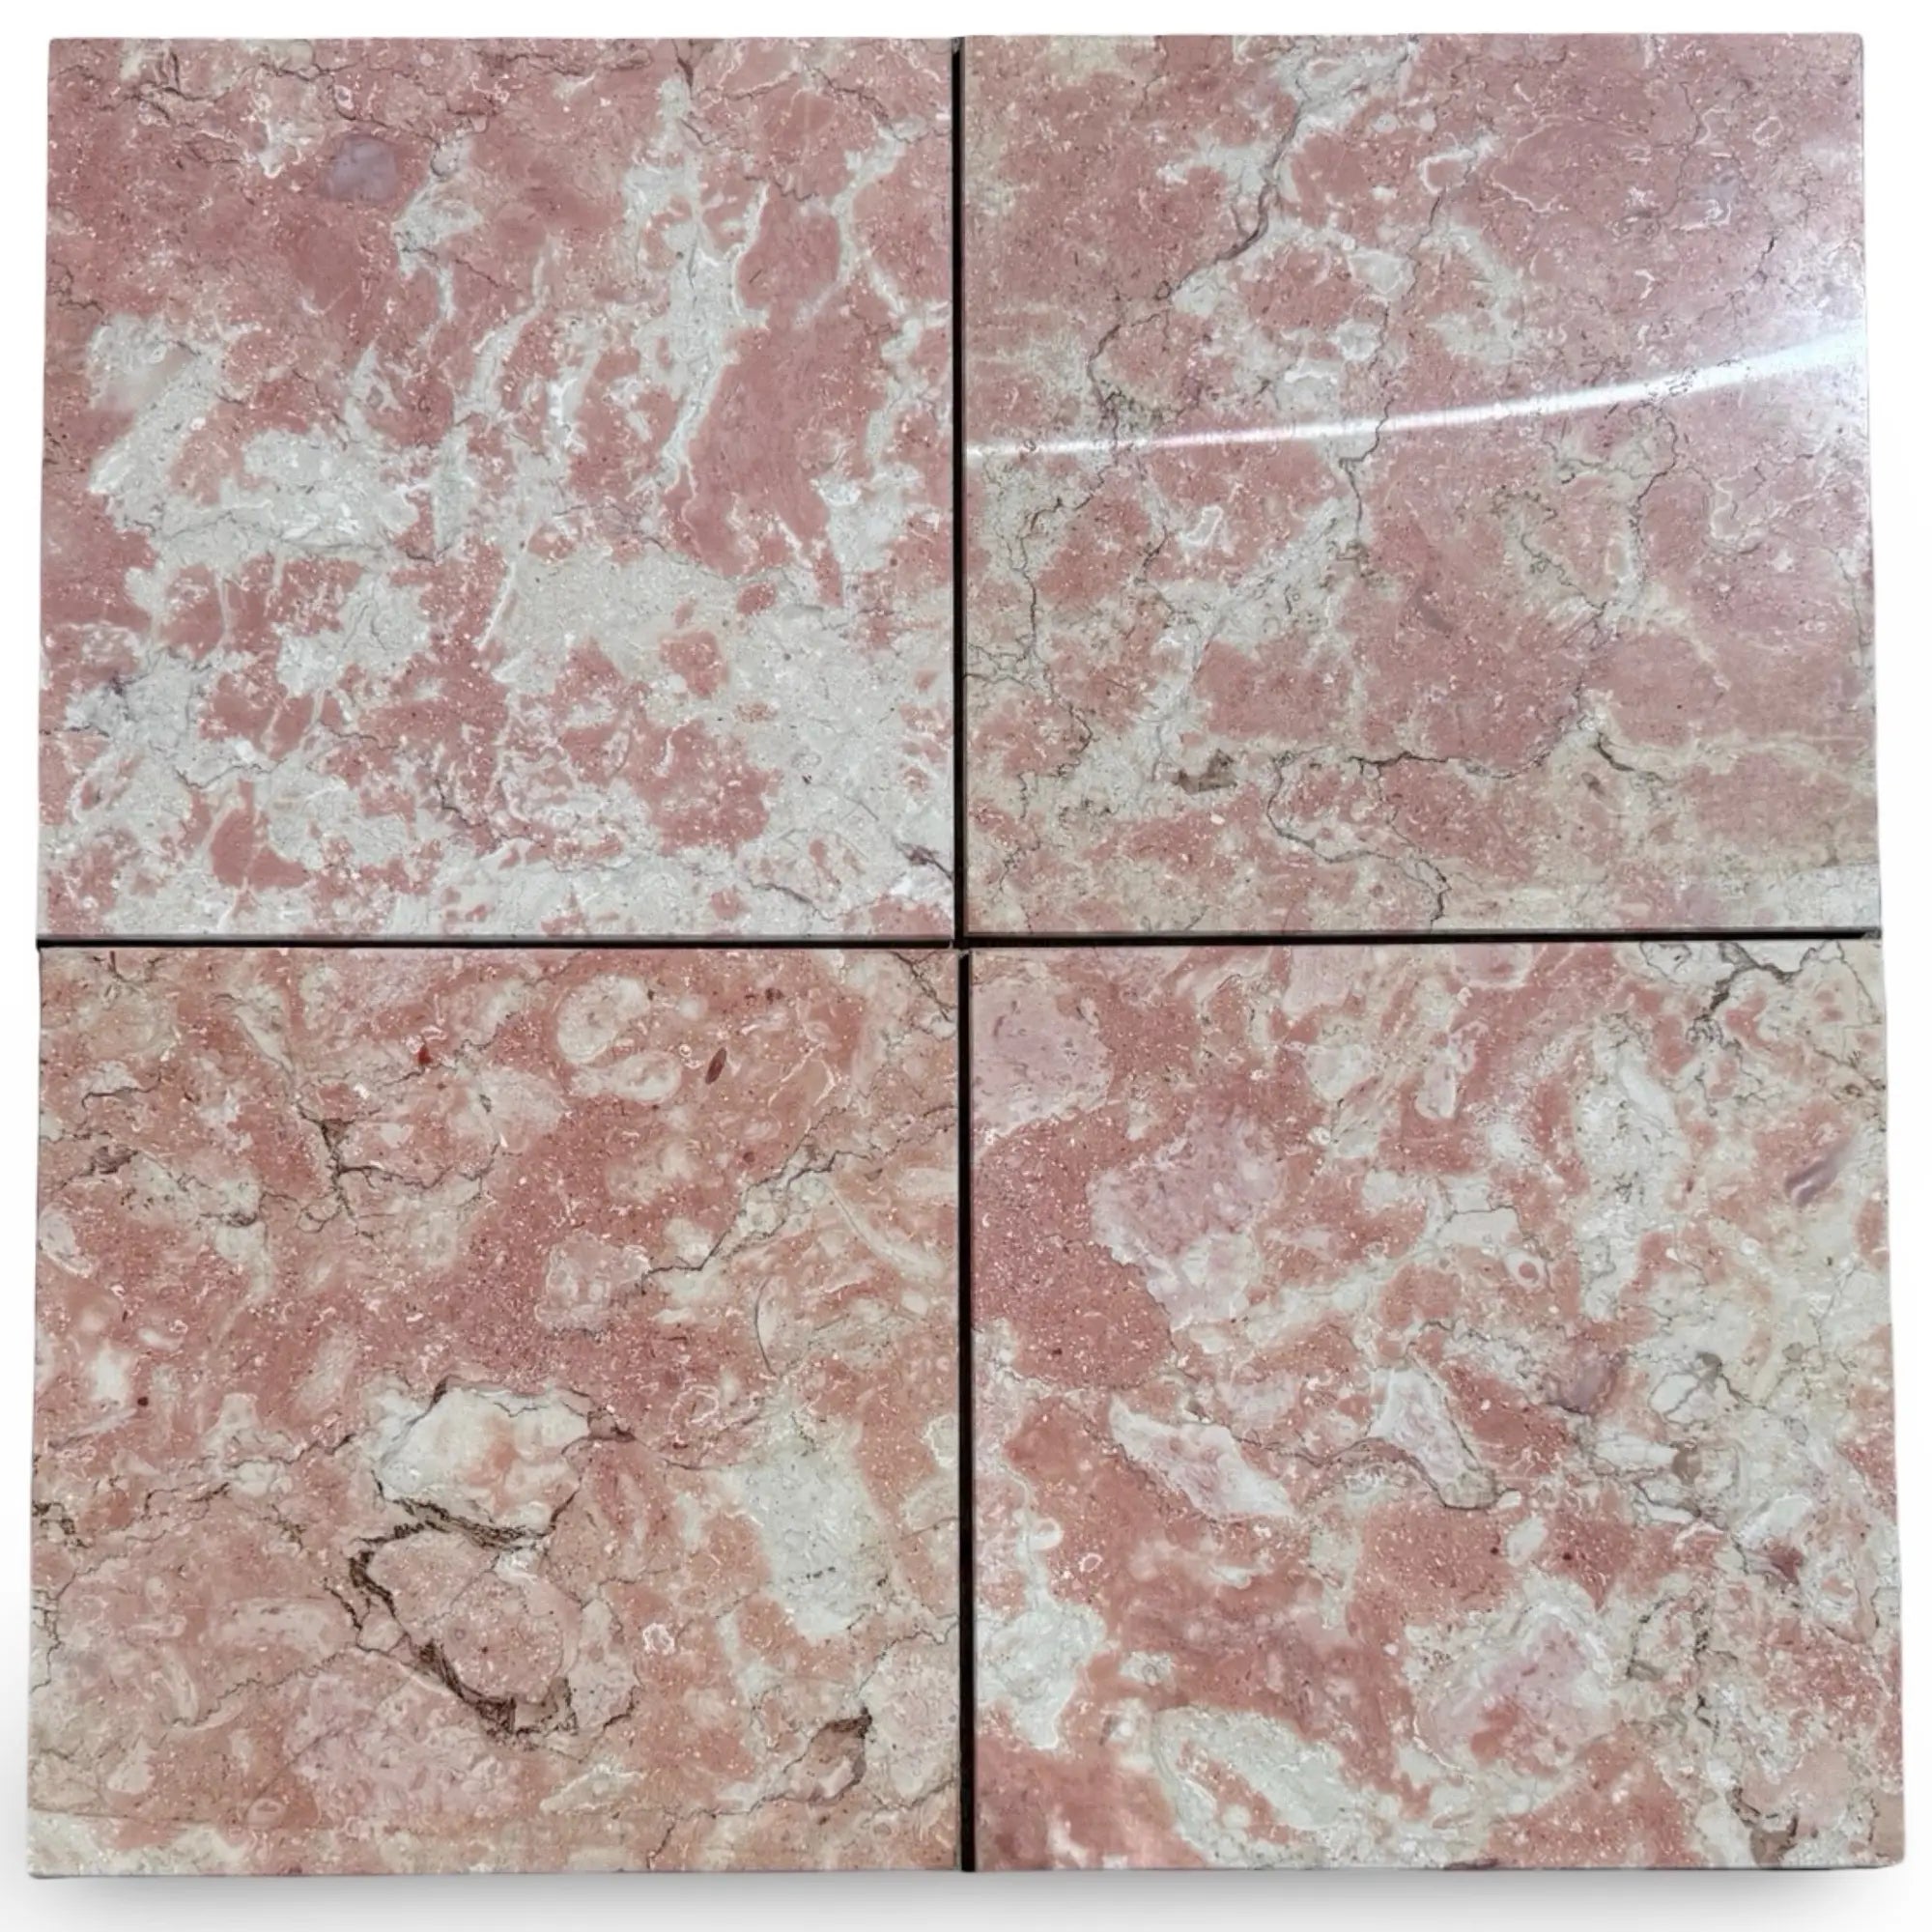 Rosé Aurora Marble
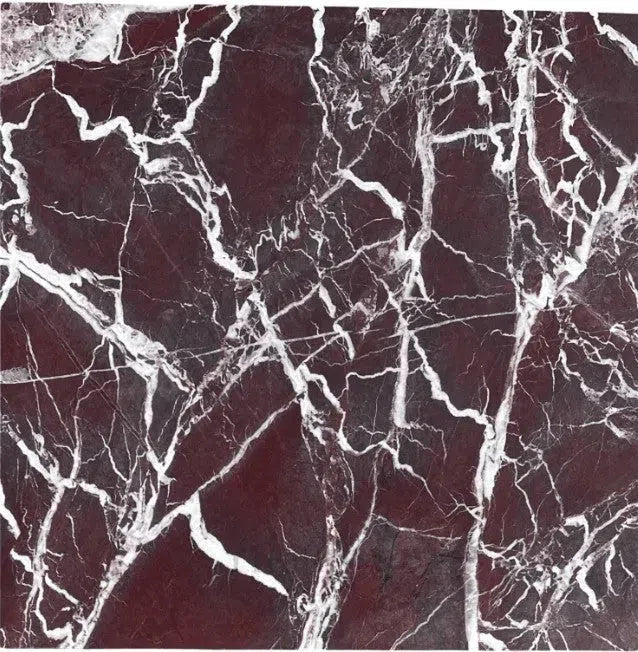 Rosso Levanto Marble
 Rojo Alicante Marble
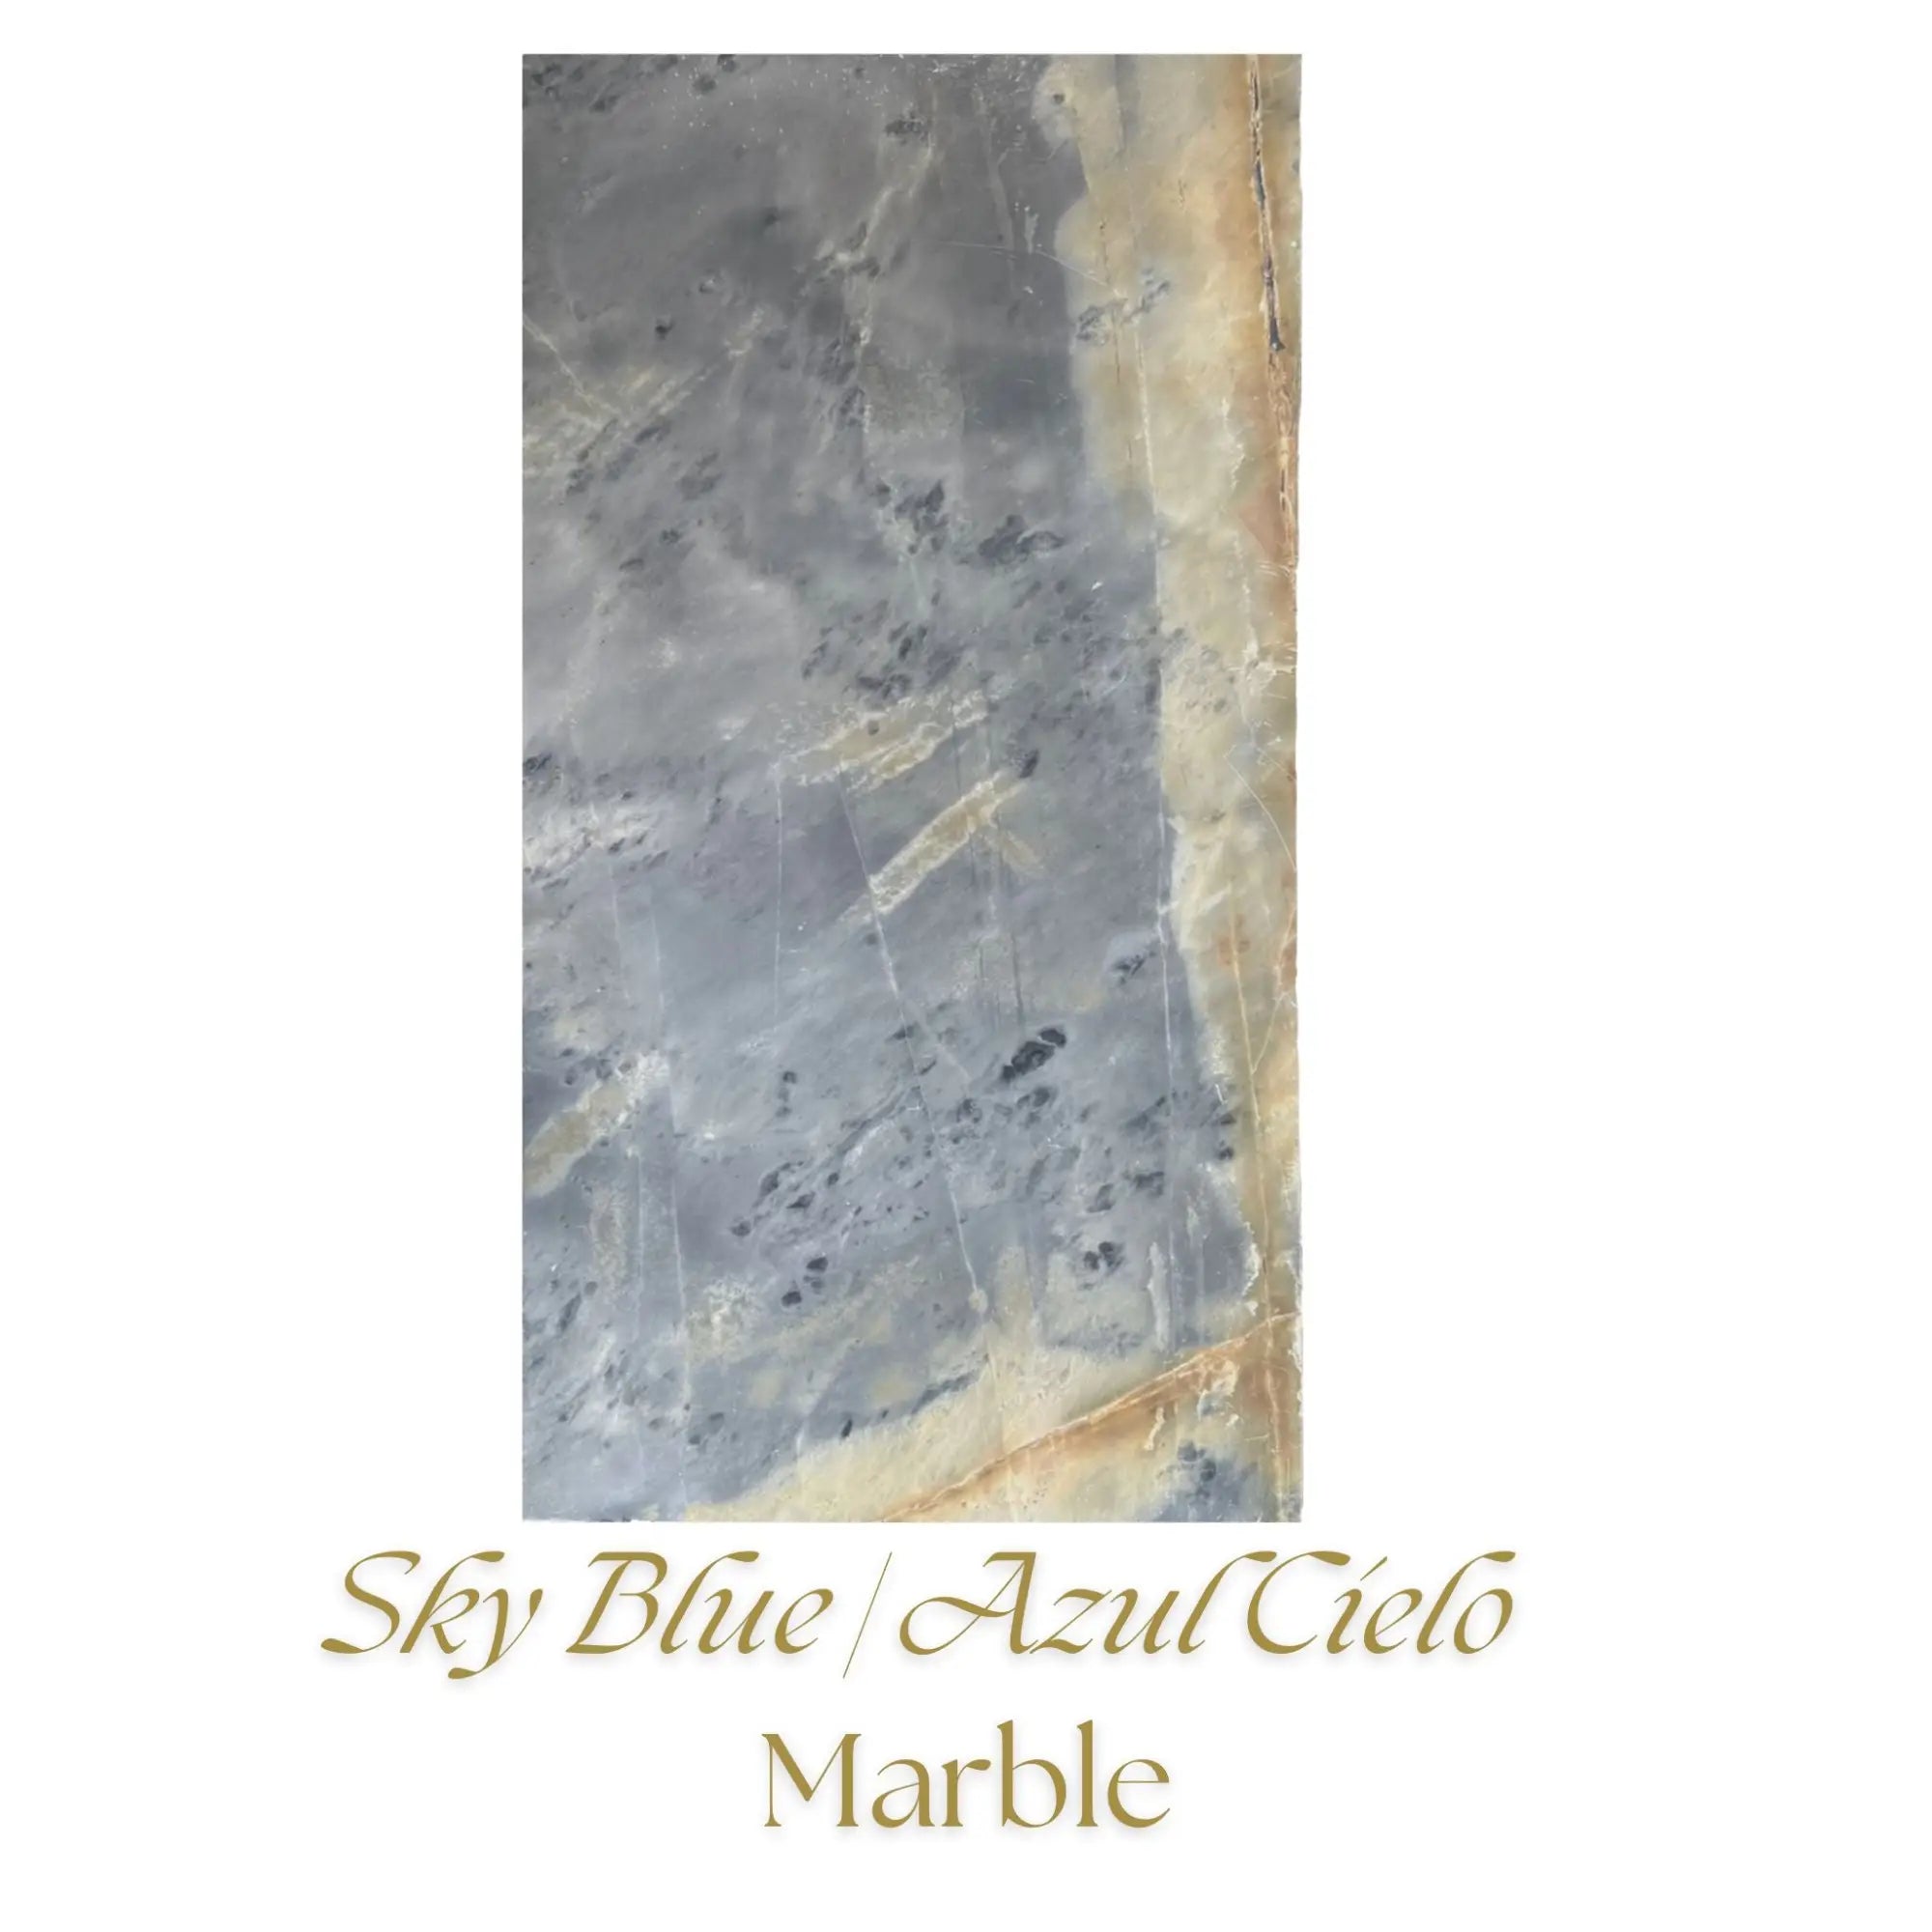 Sky Blue | Azul Cielo Marble
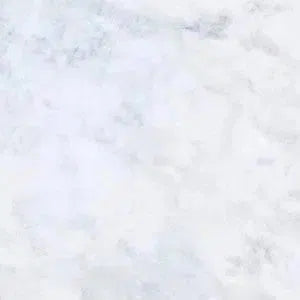 Snow White (Afyon White) Marble
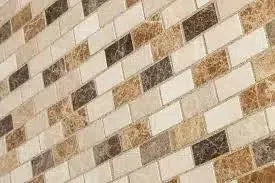 Spanish Mix Marble
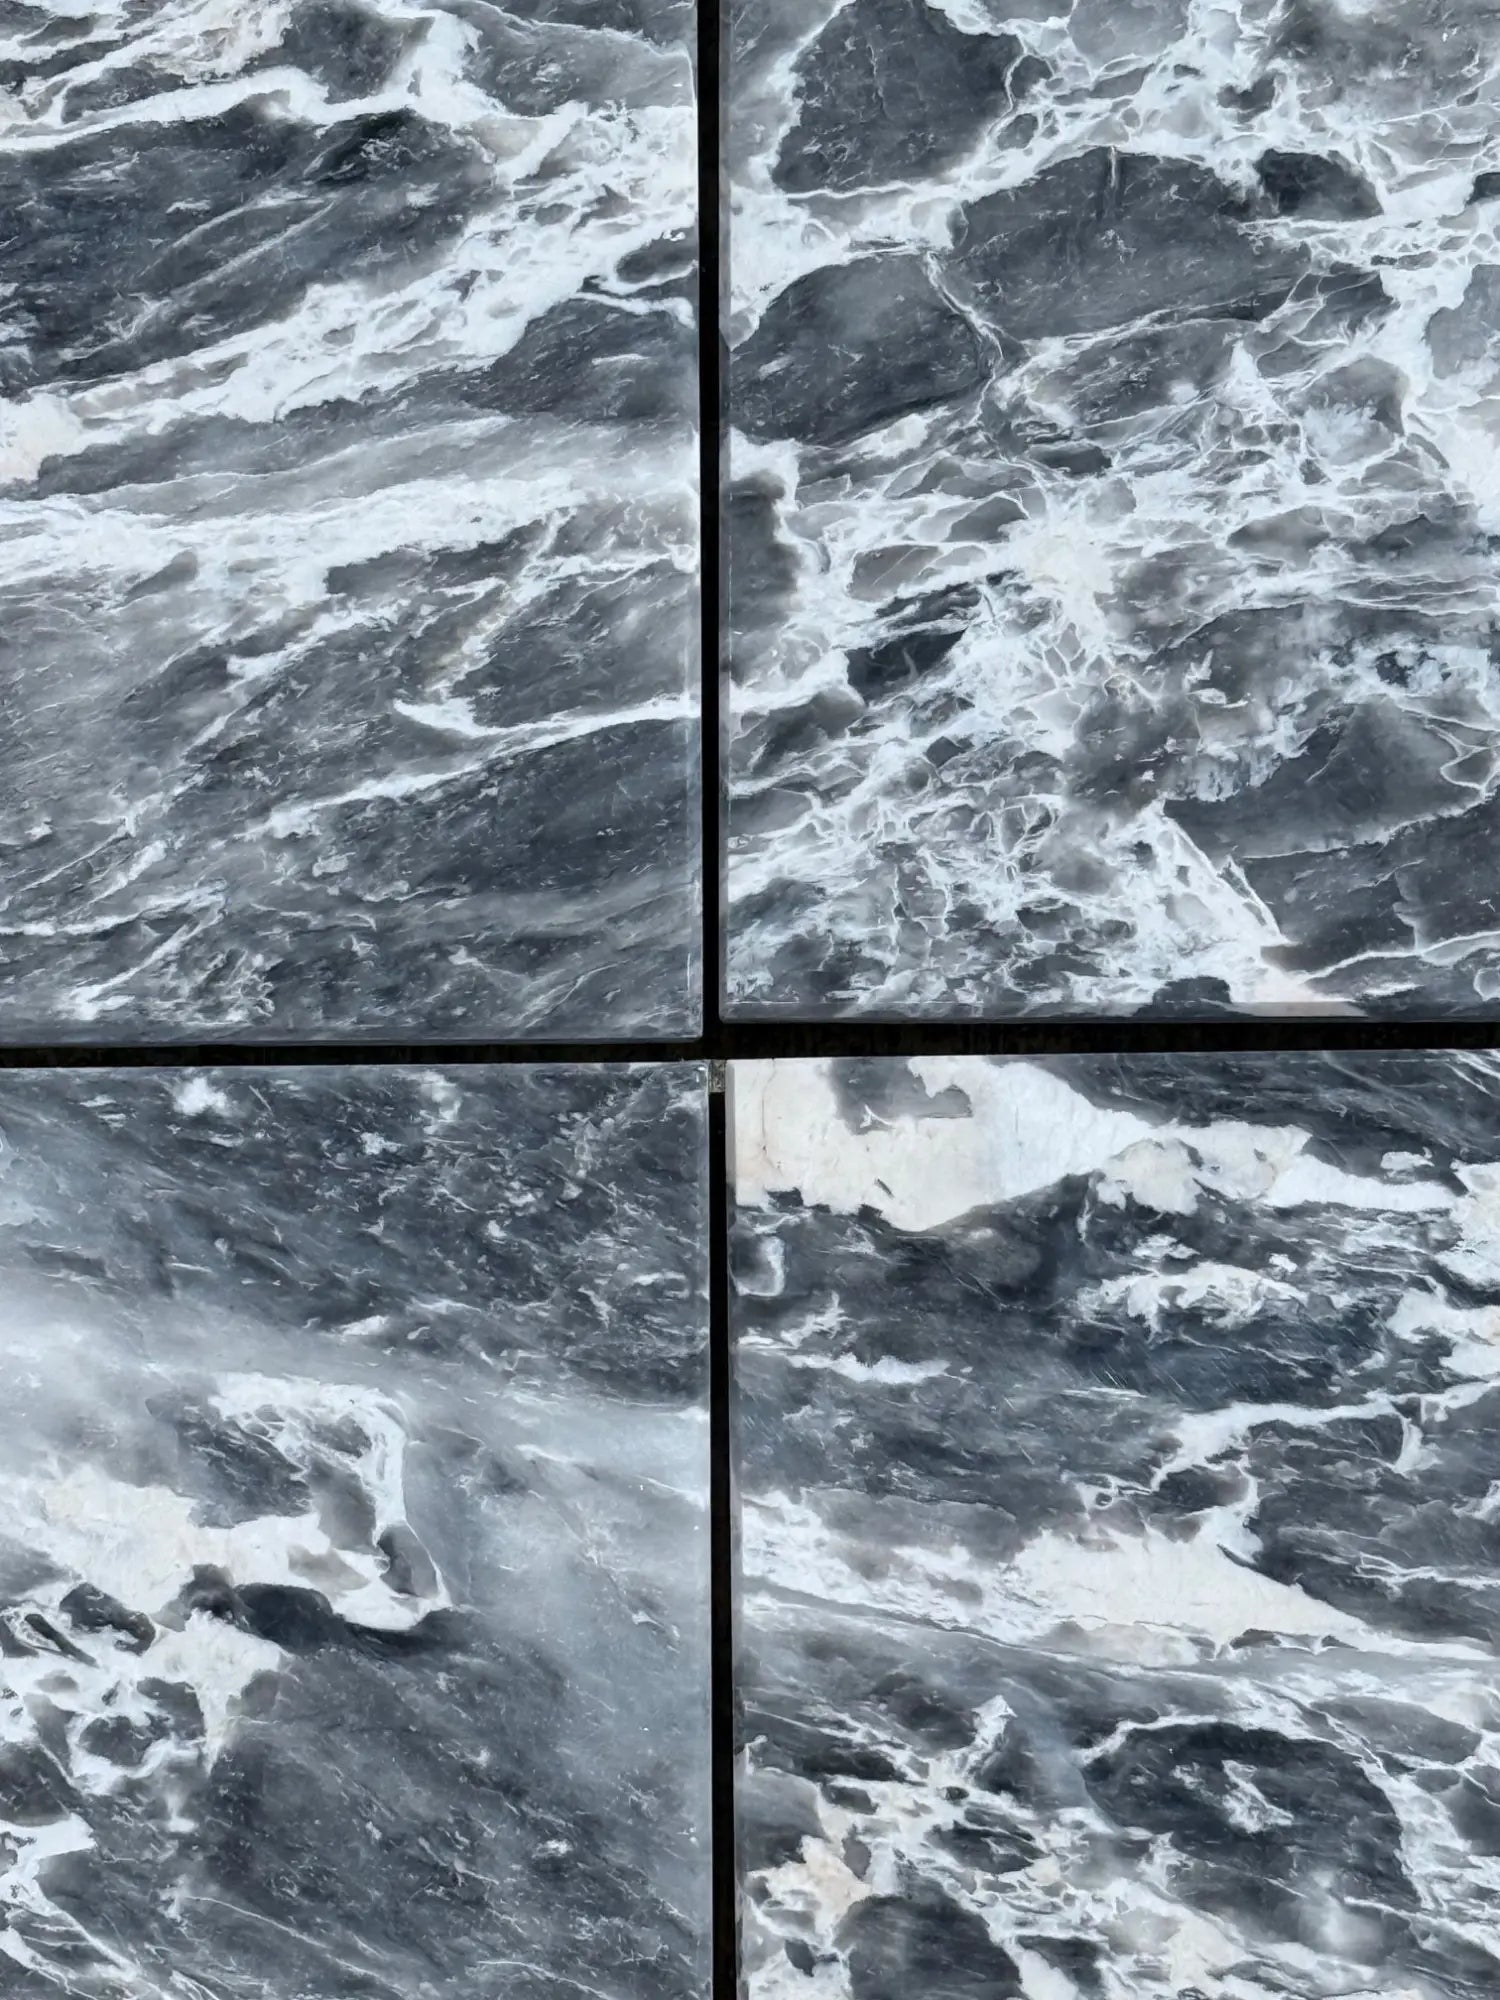 Storm Gray Marble
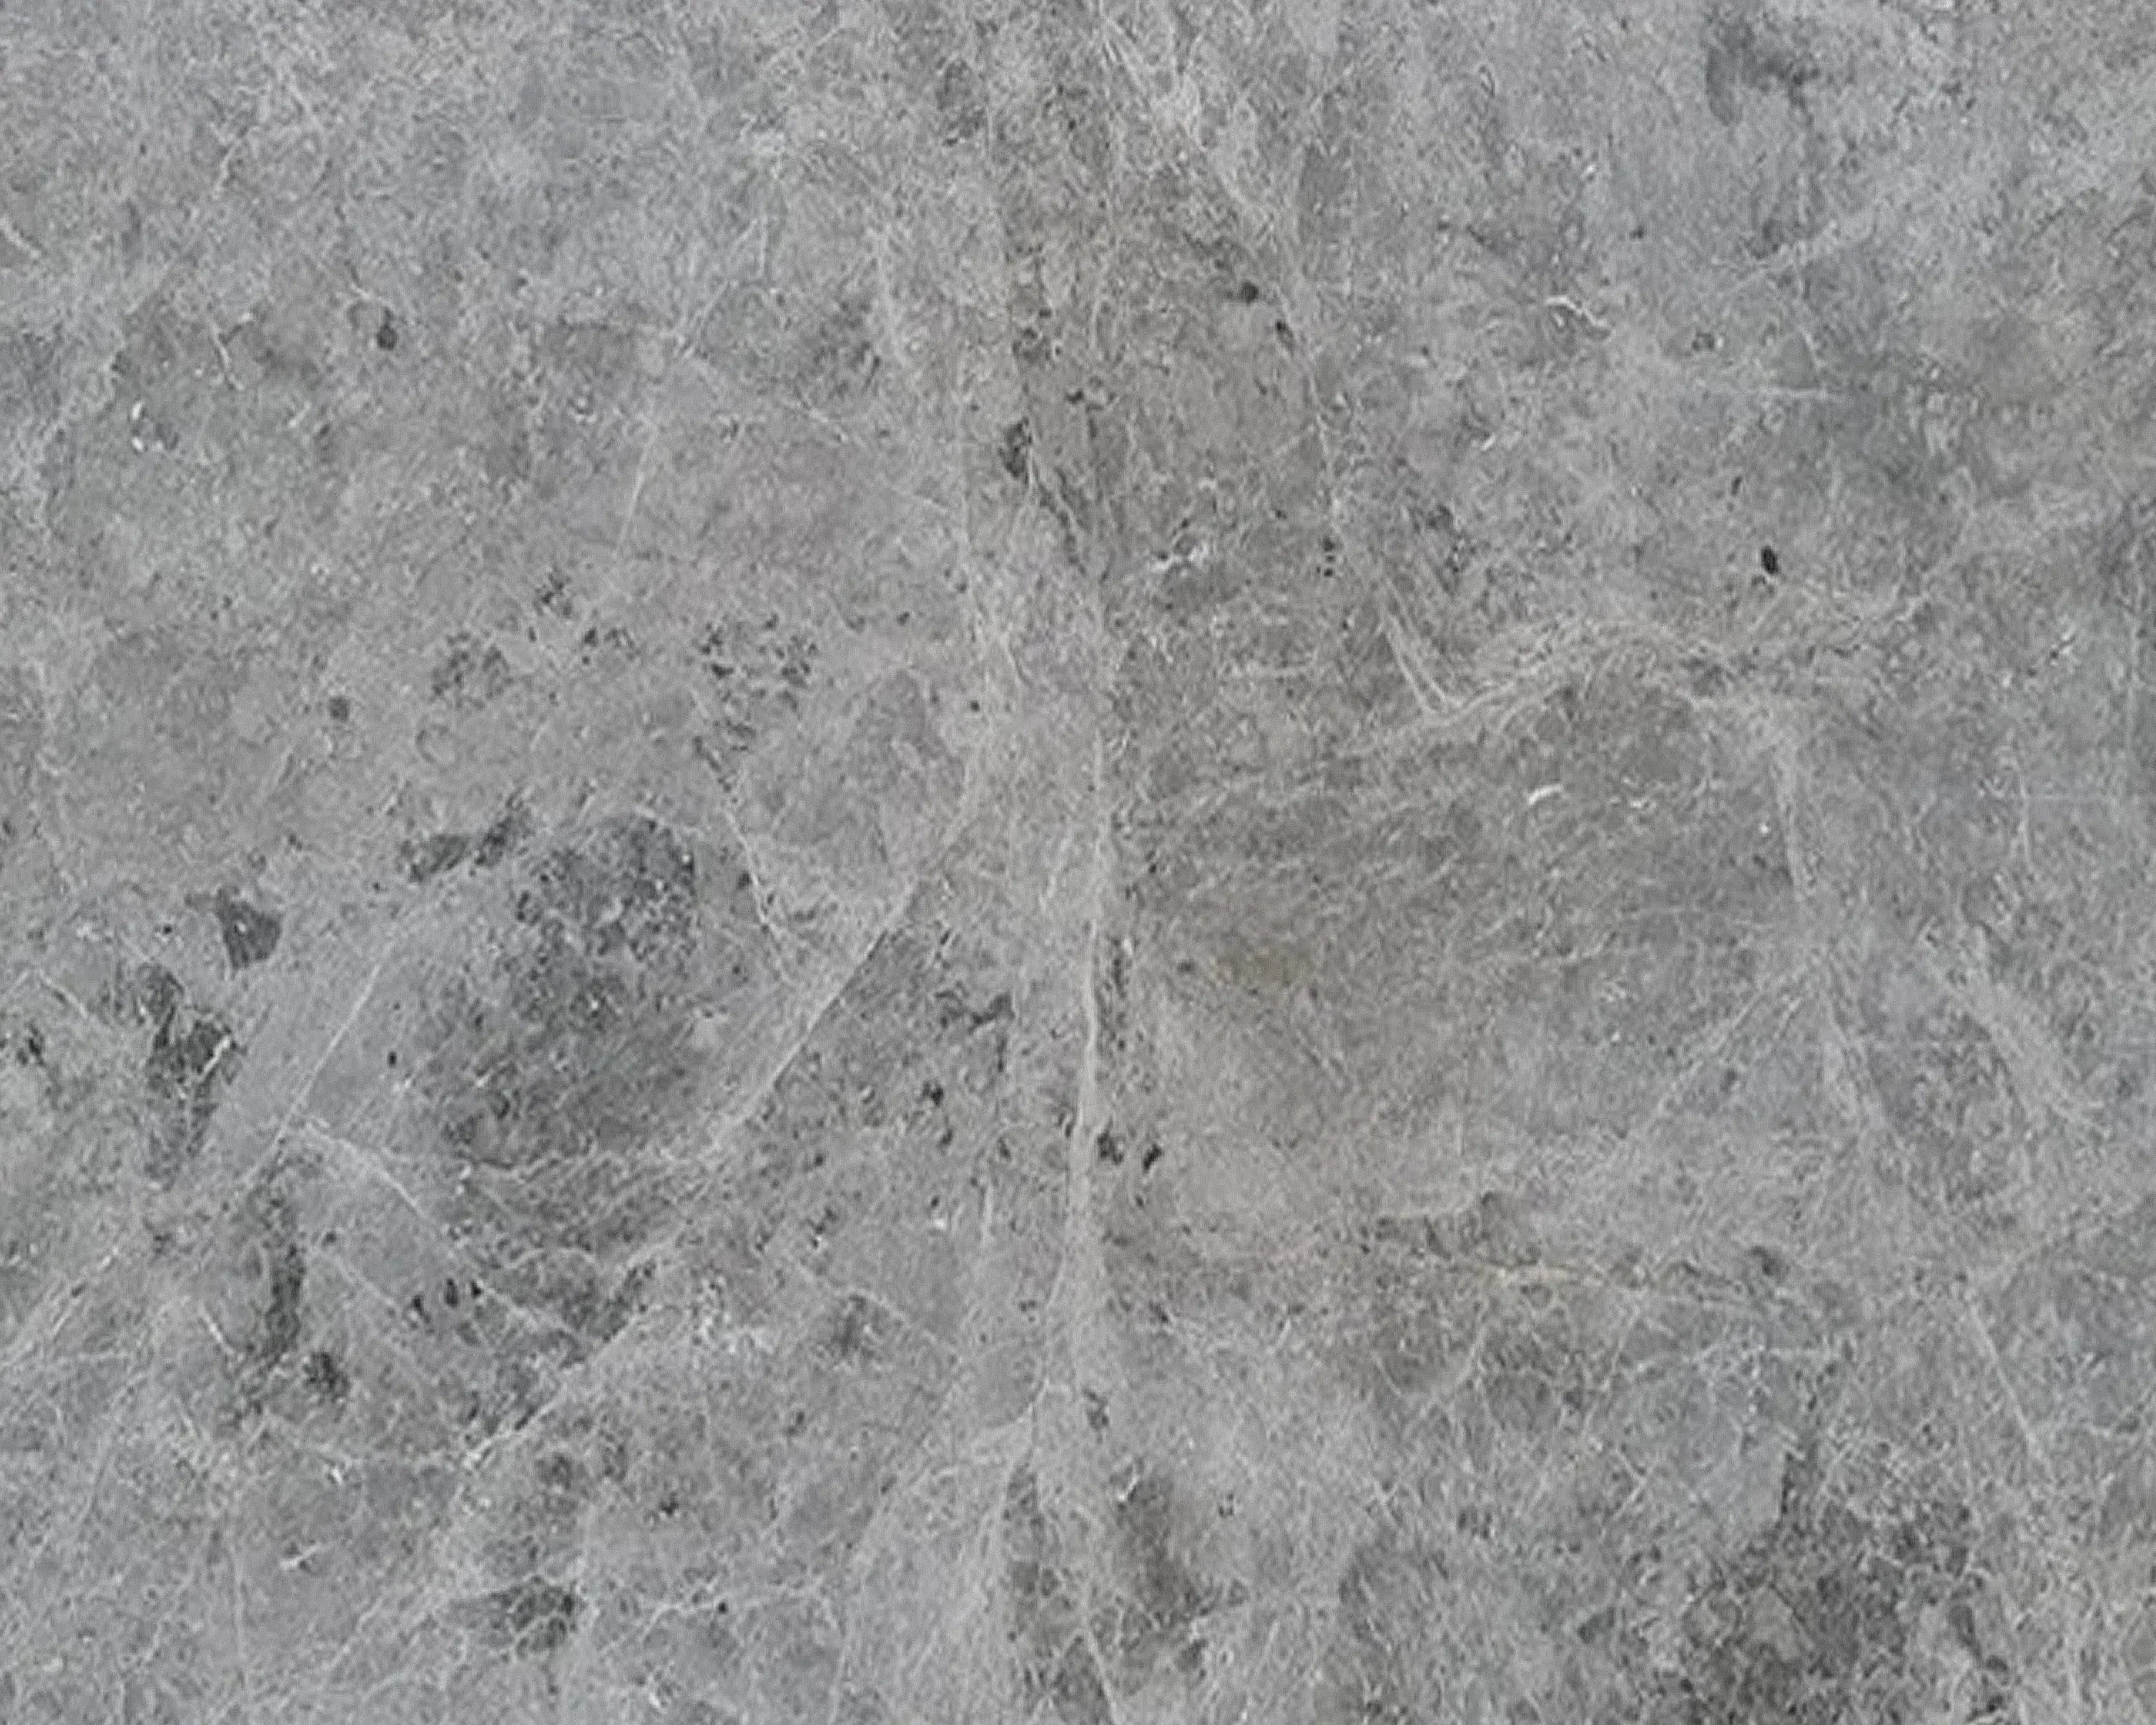 Tundra Gray (Atlantic Gray) Marble
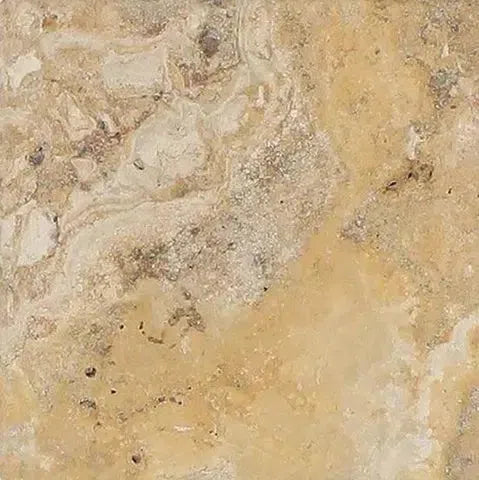 Valencia Travertine
 Valerenga Travertine
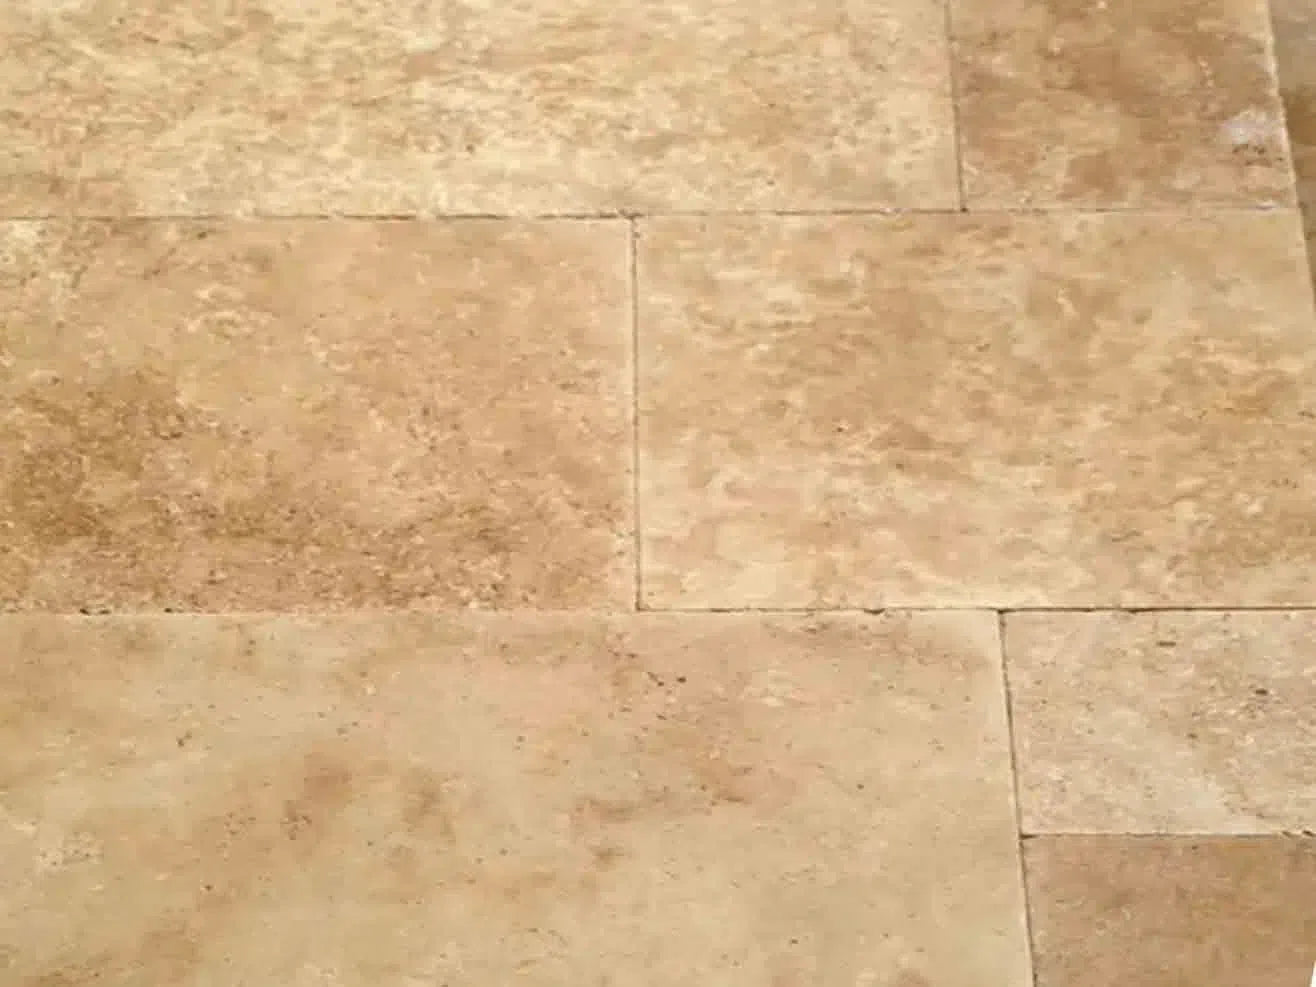 Walnut Travertine
 White Onyx Marble
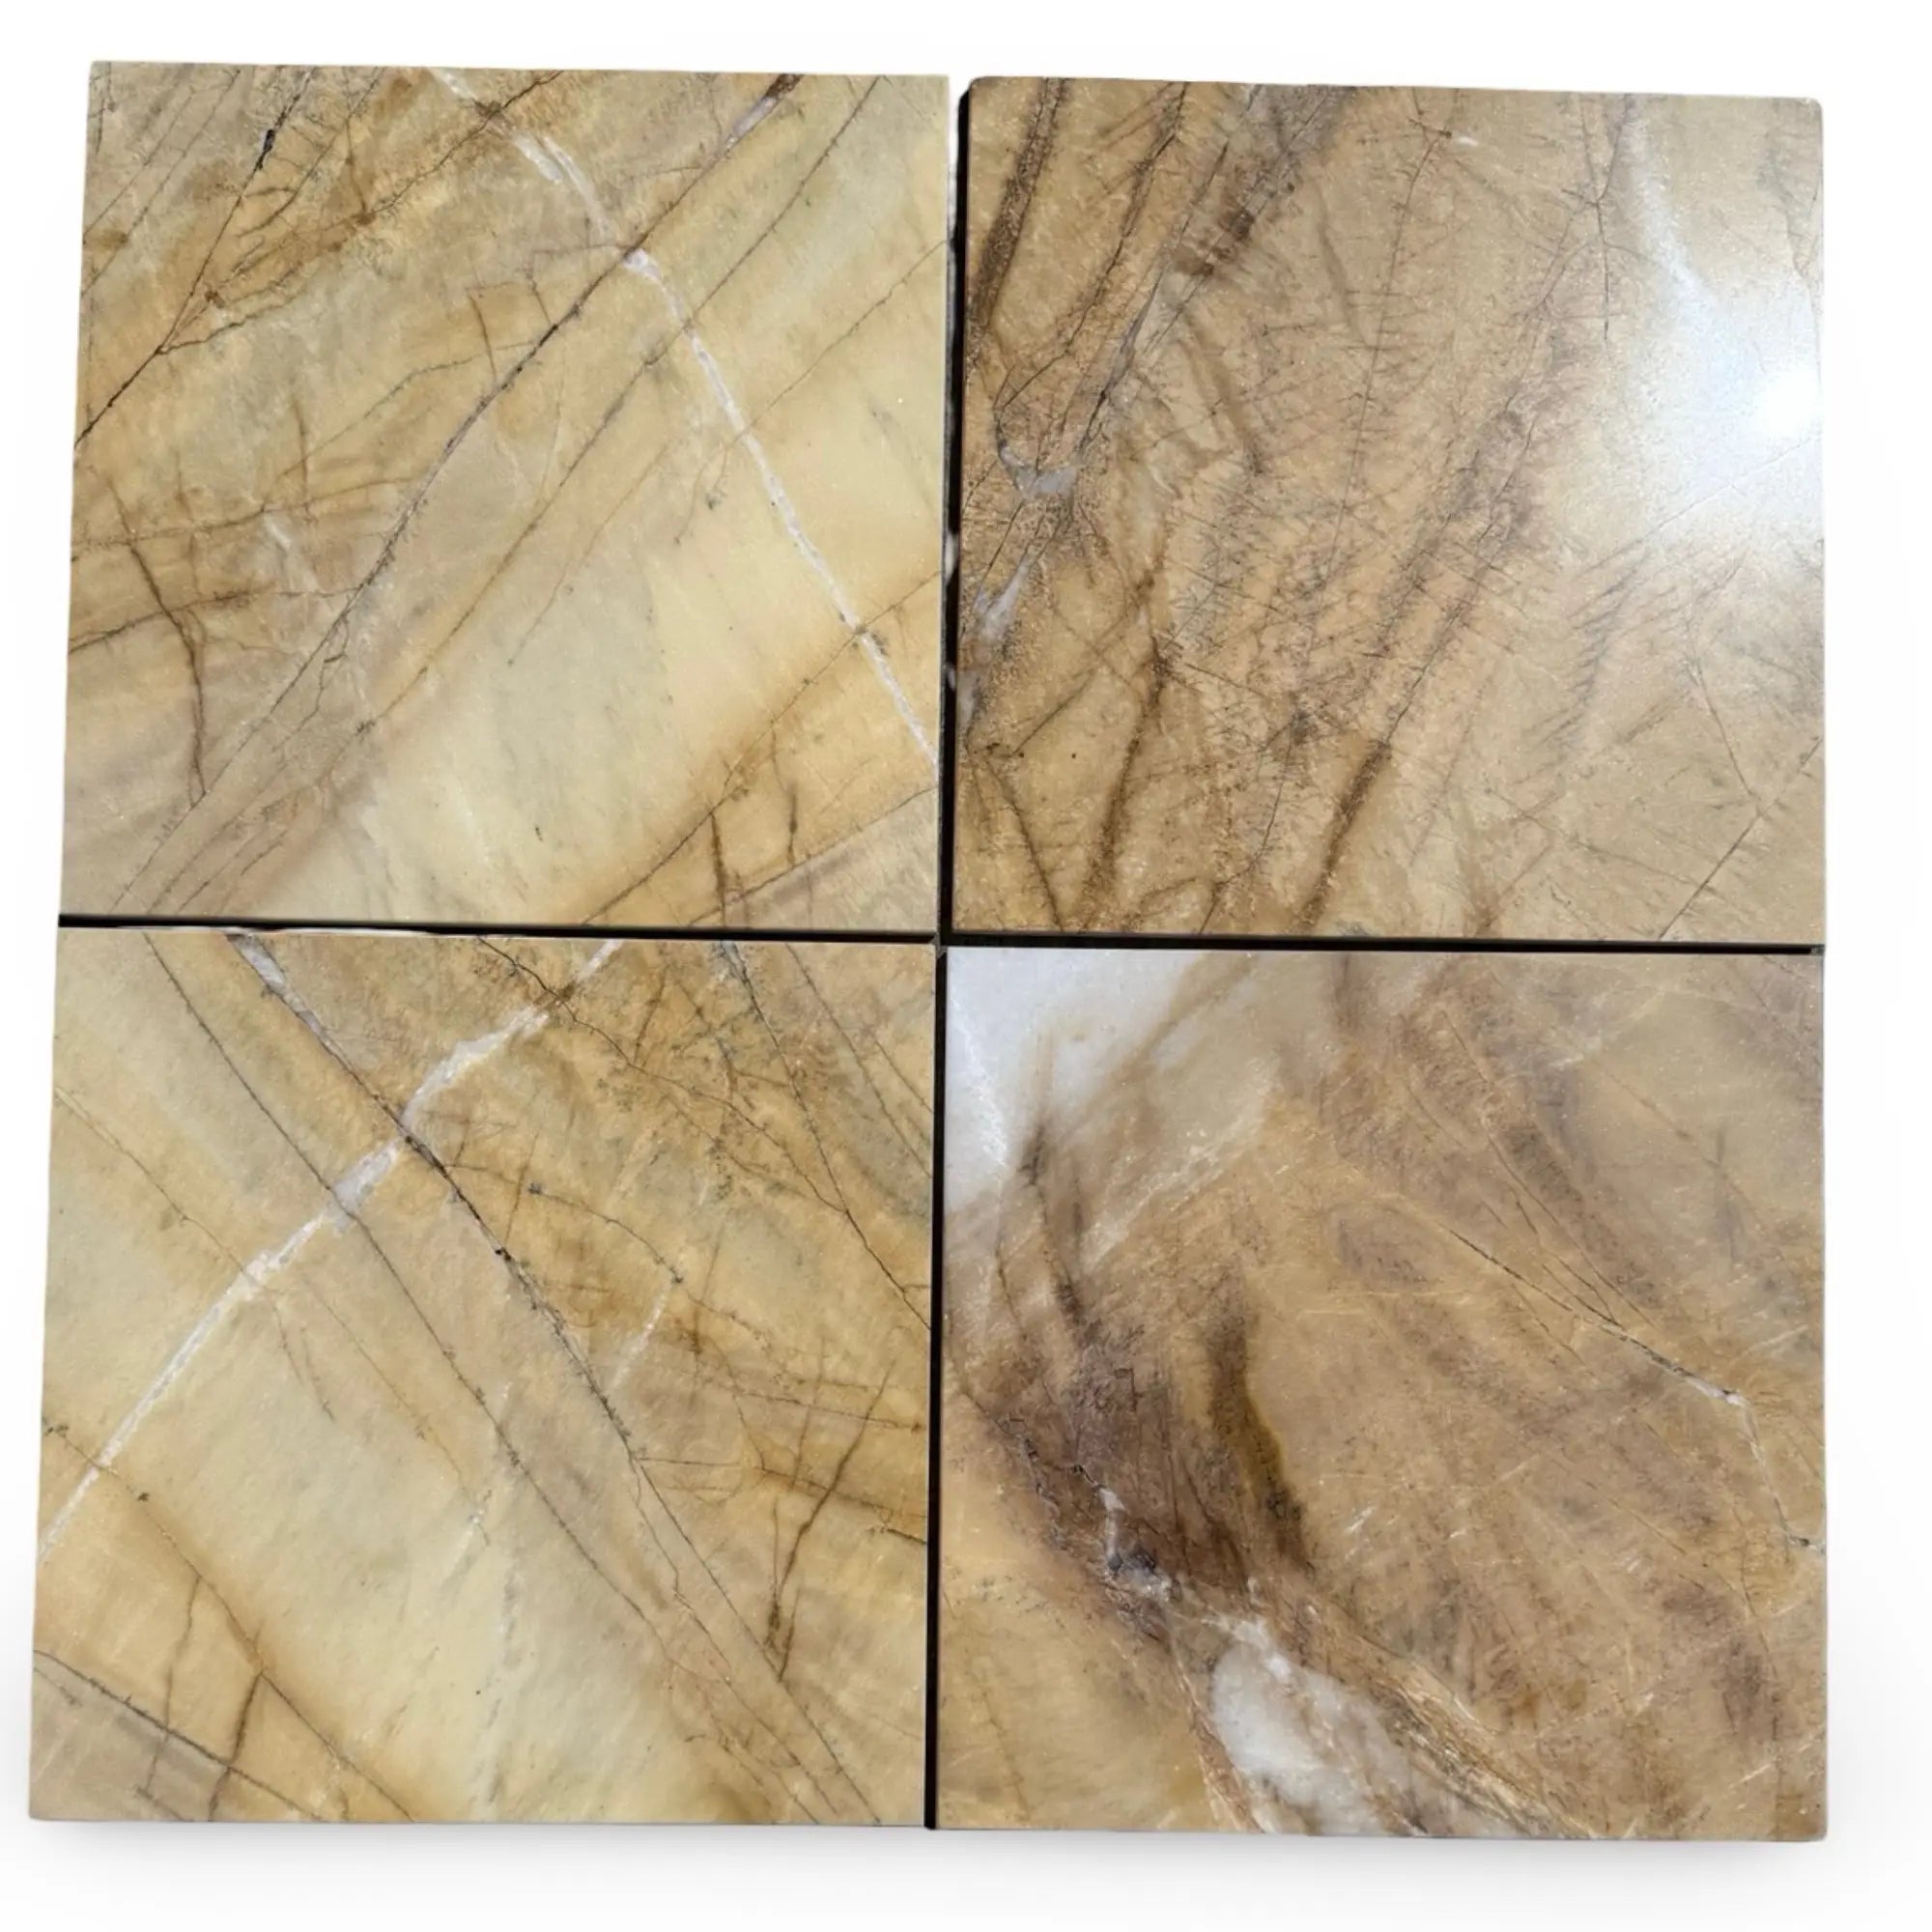 Golden Horizon Marble
 Marble Tiles
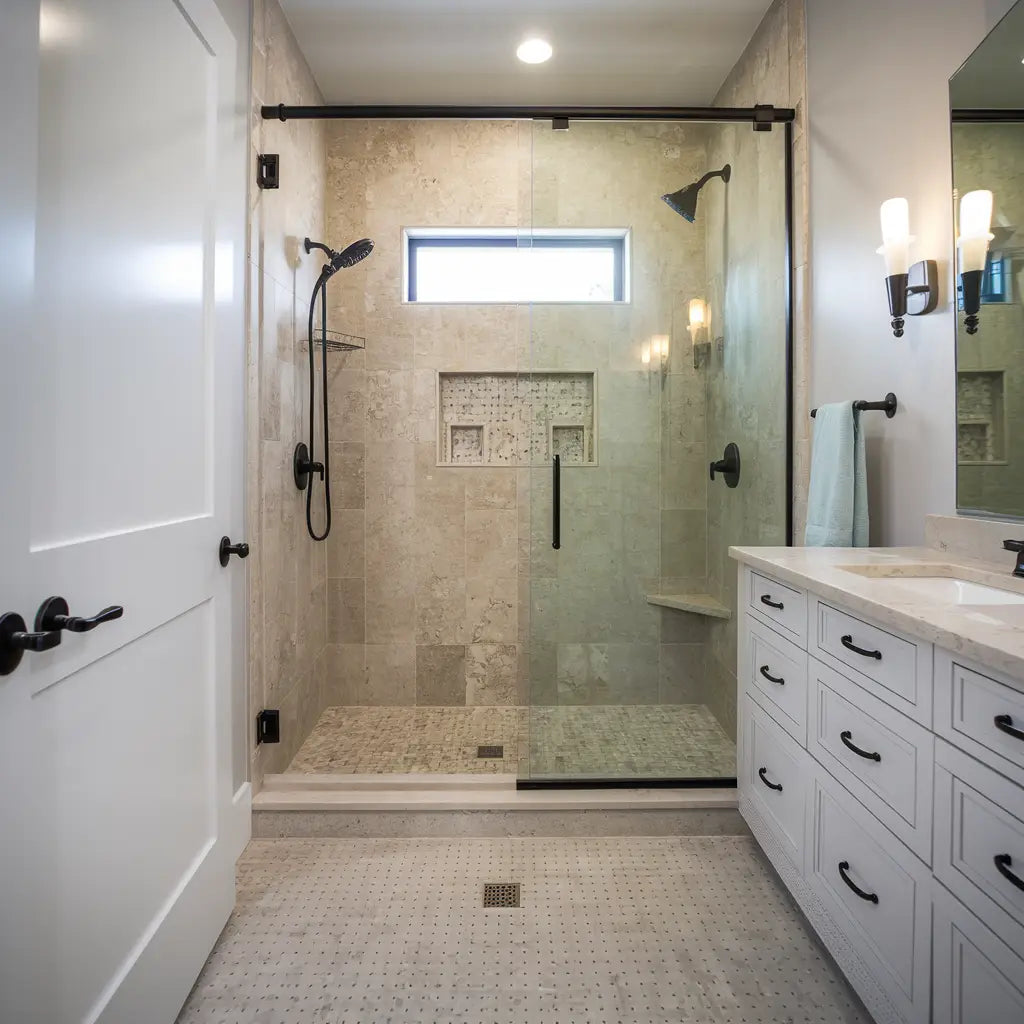 Marble Mosaic
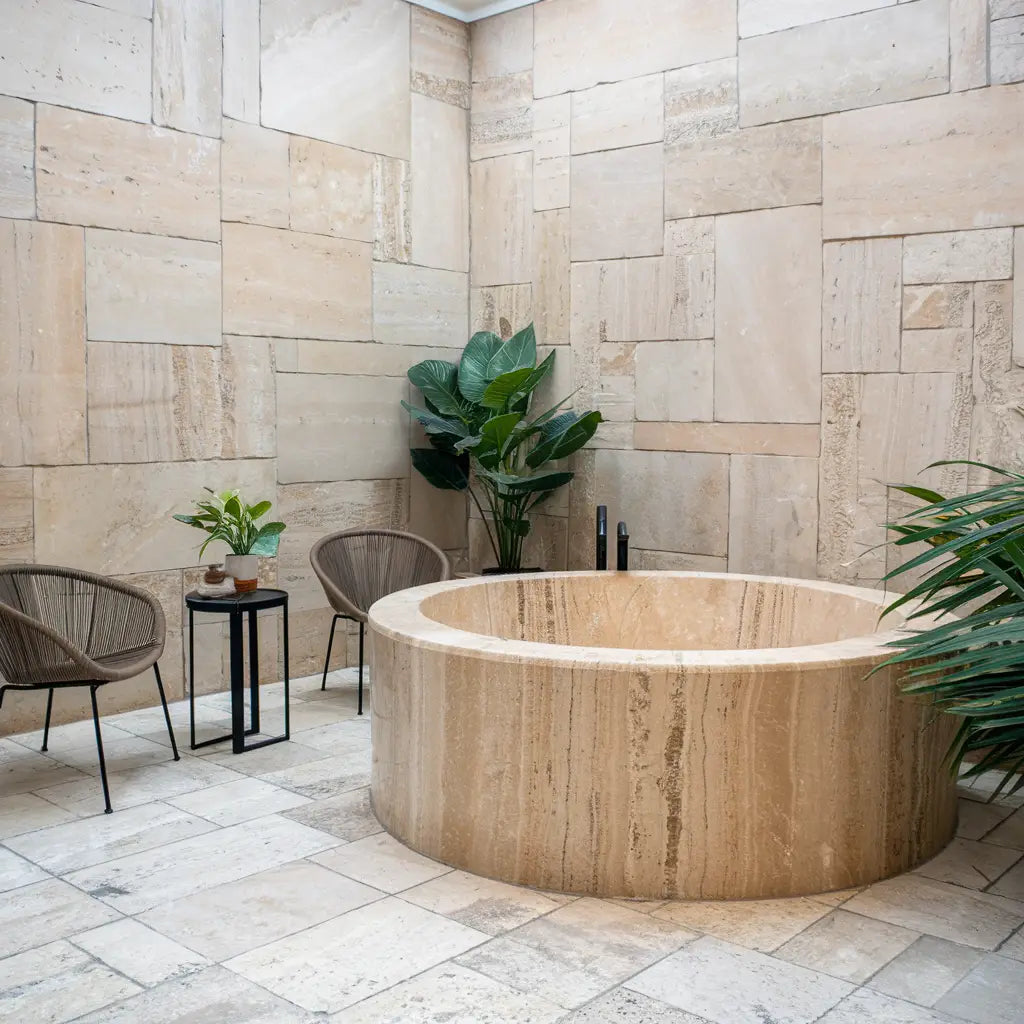 Travertine Tiles
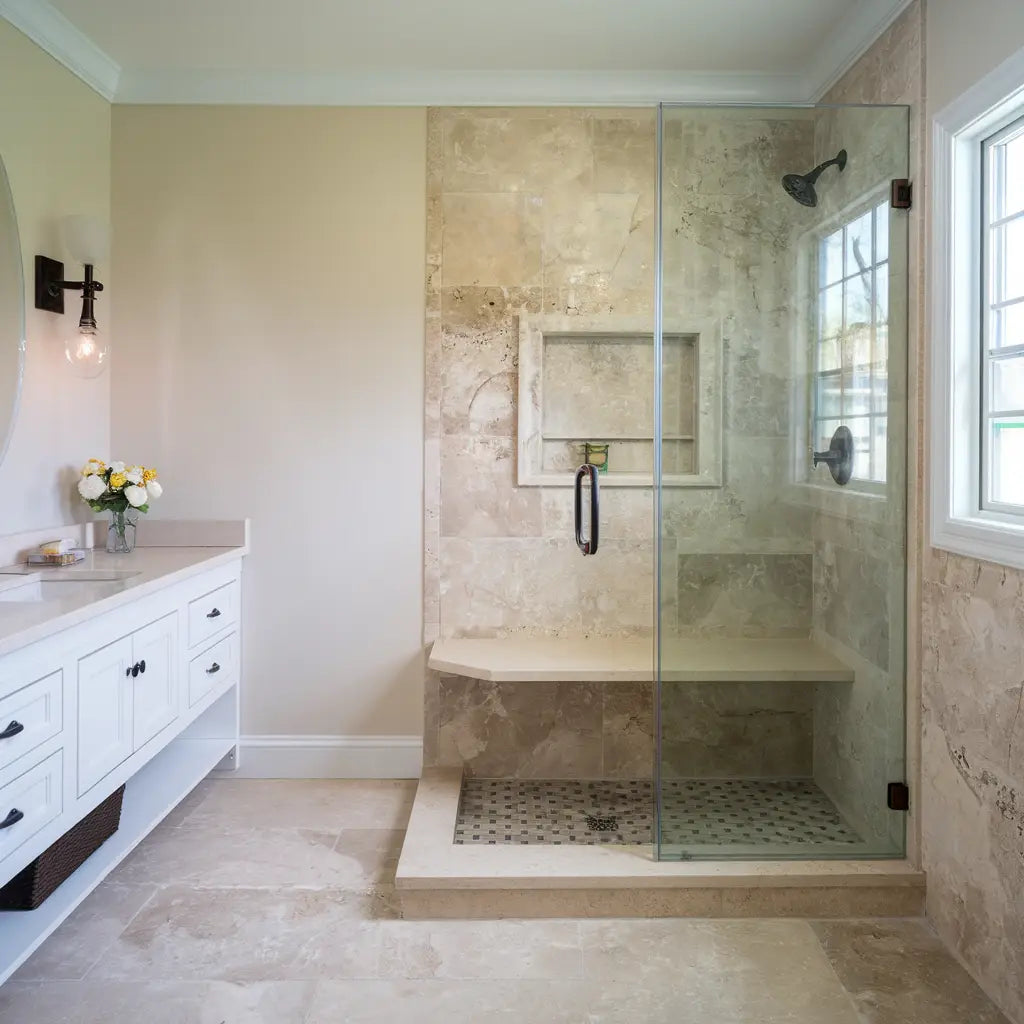 Travertine Mosaic
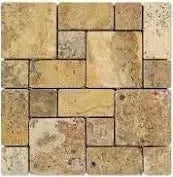 4 pcs Versailles Pattern / French Pattern Set
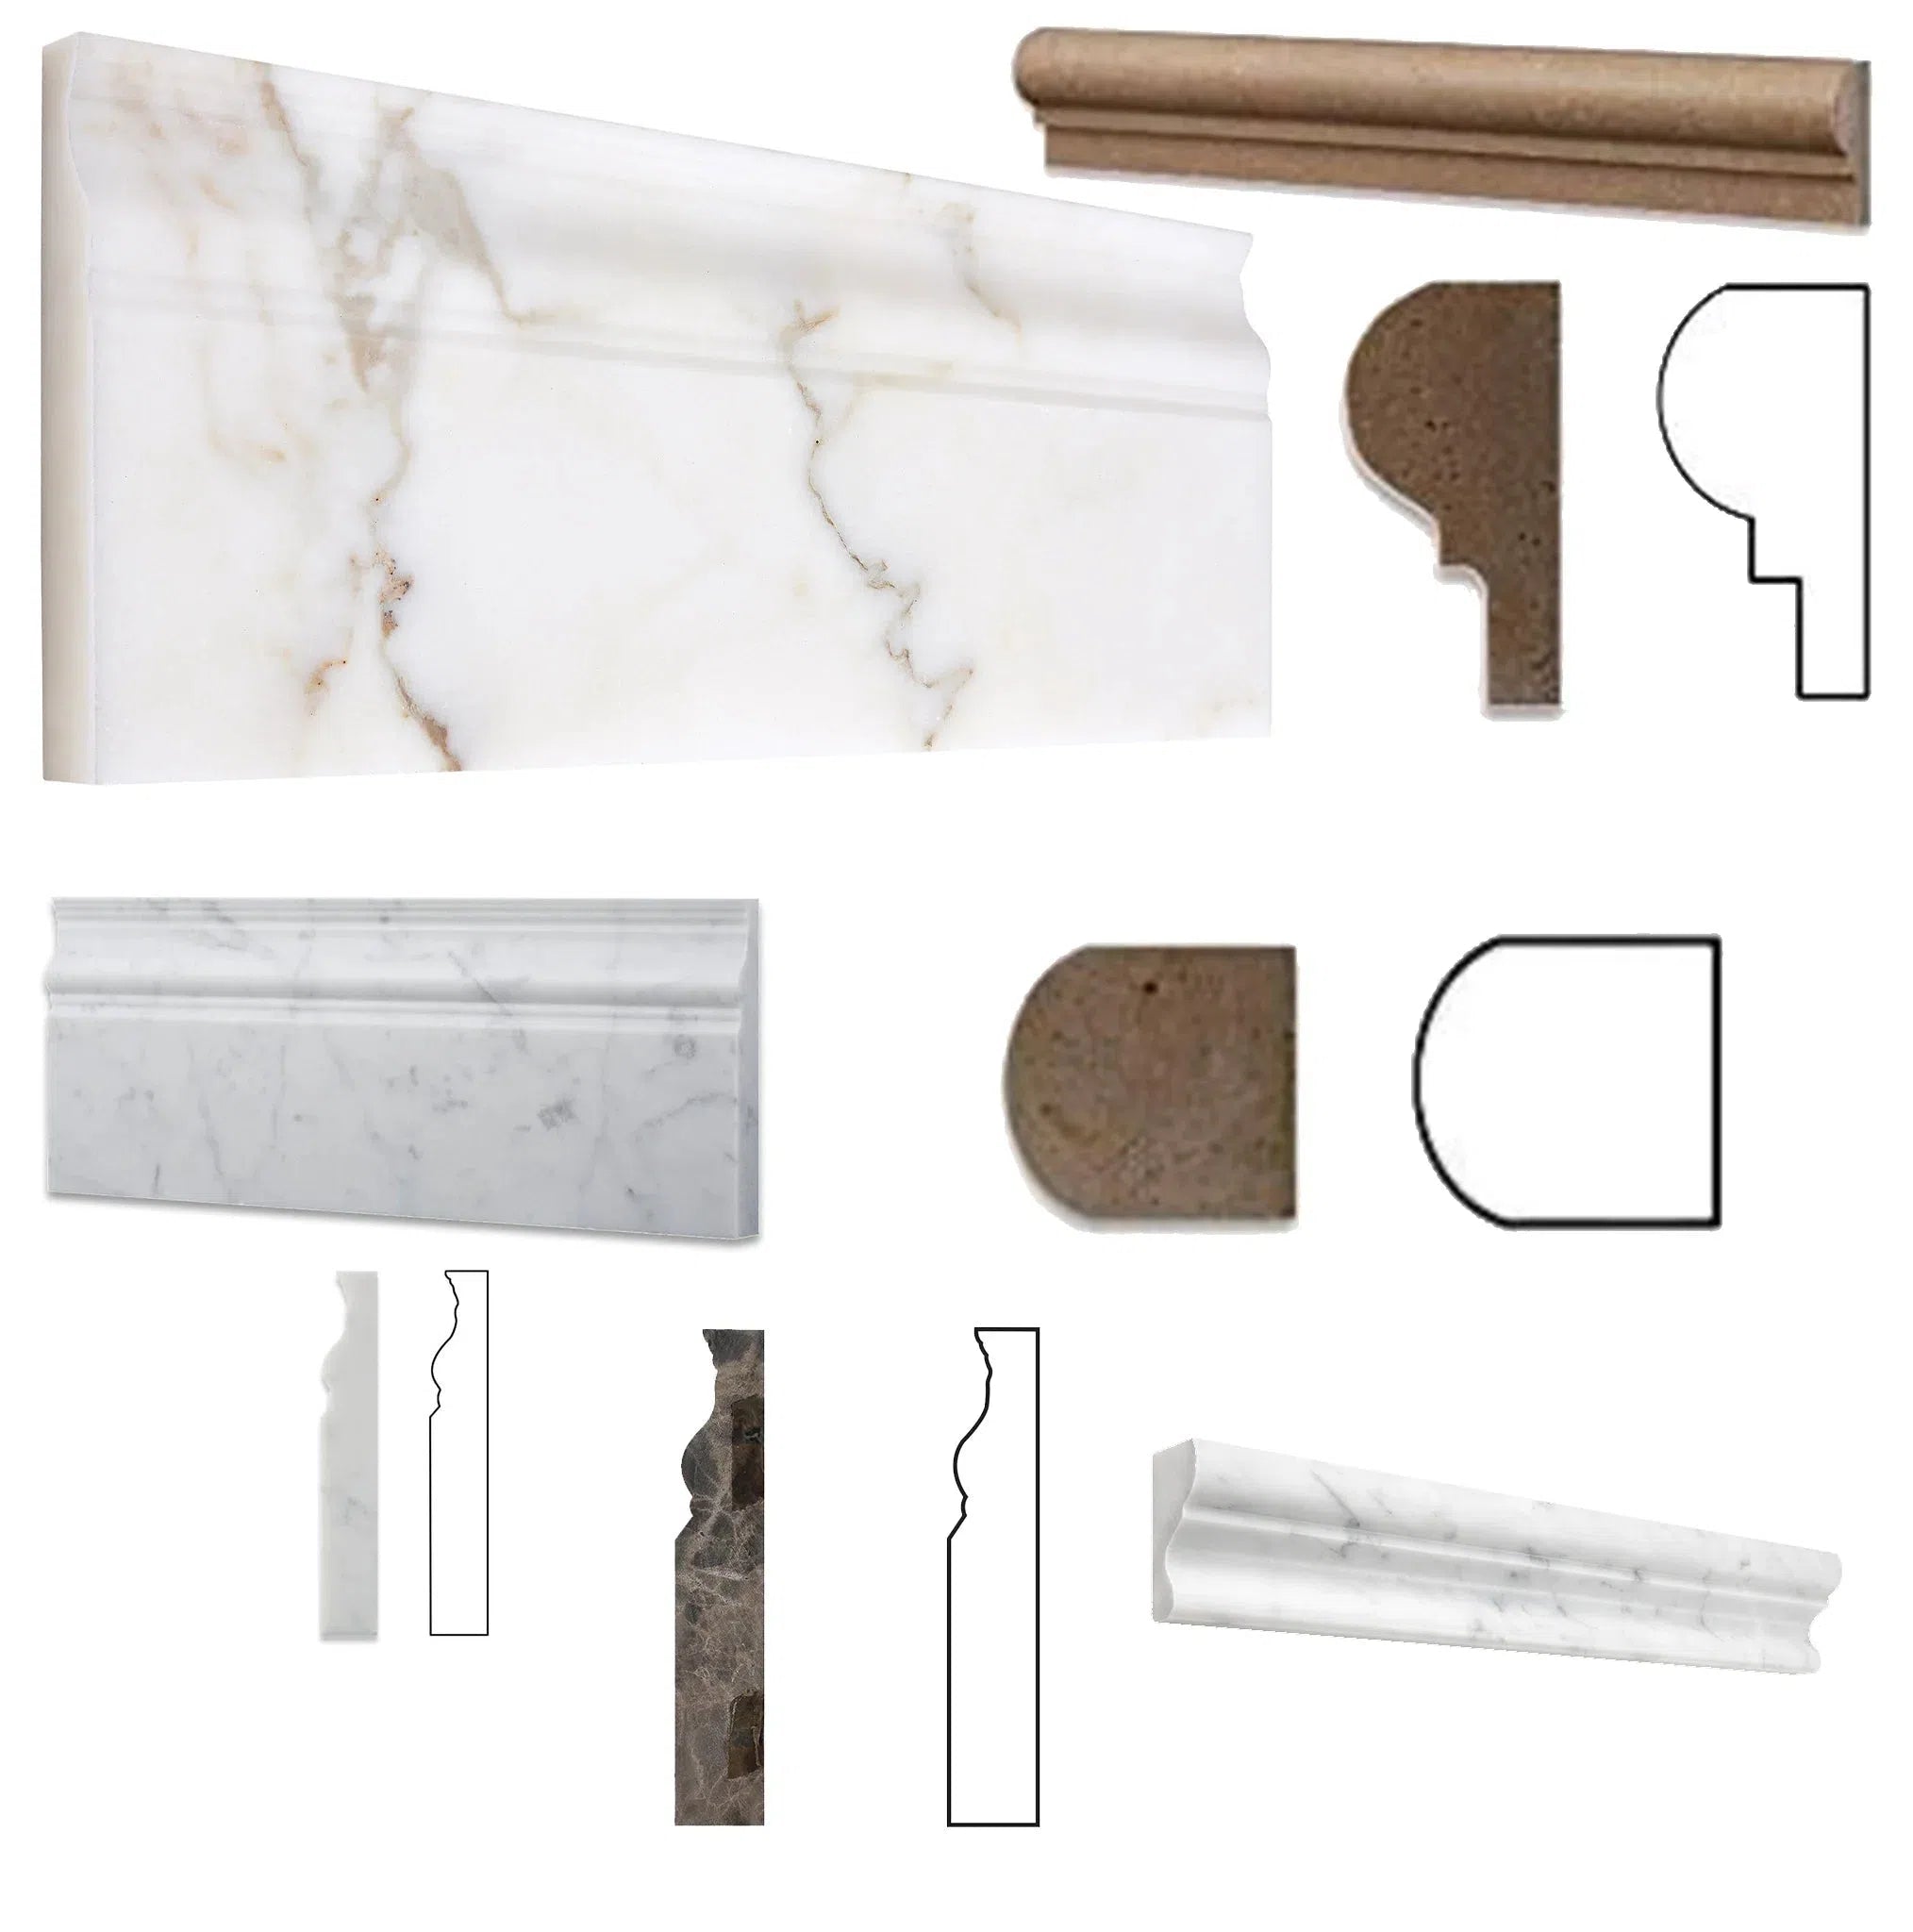 Molding/Trim
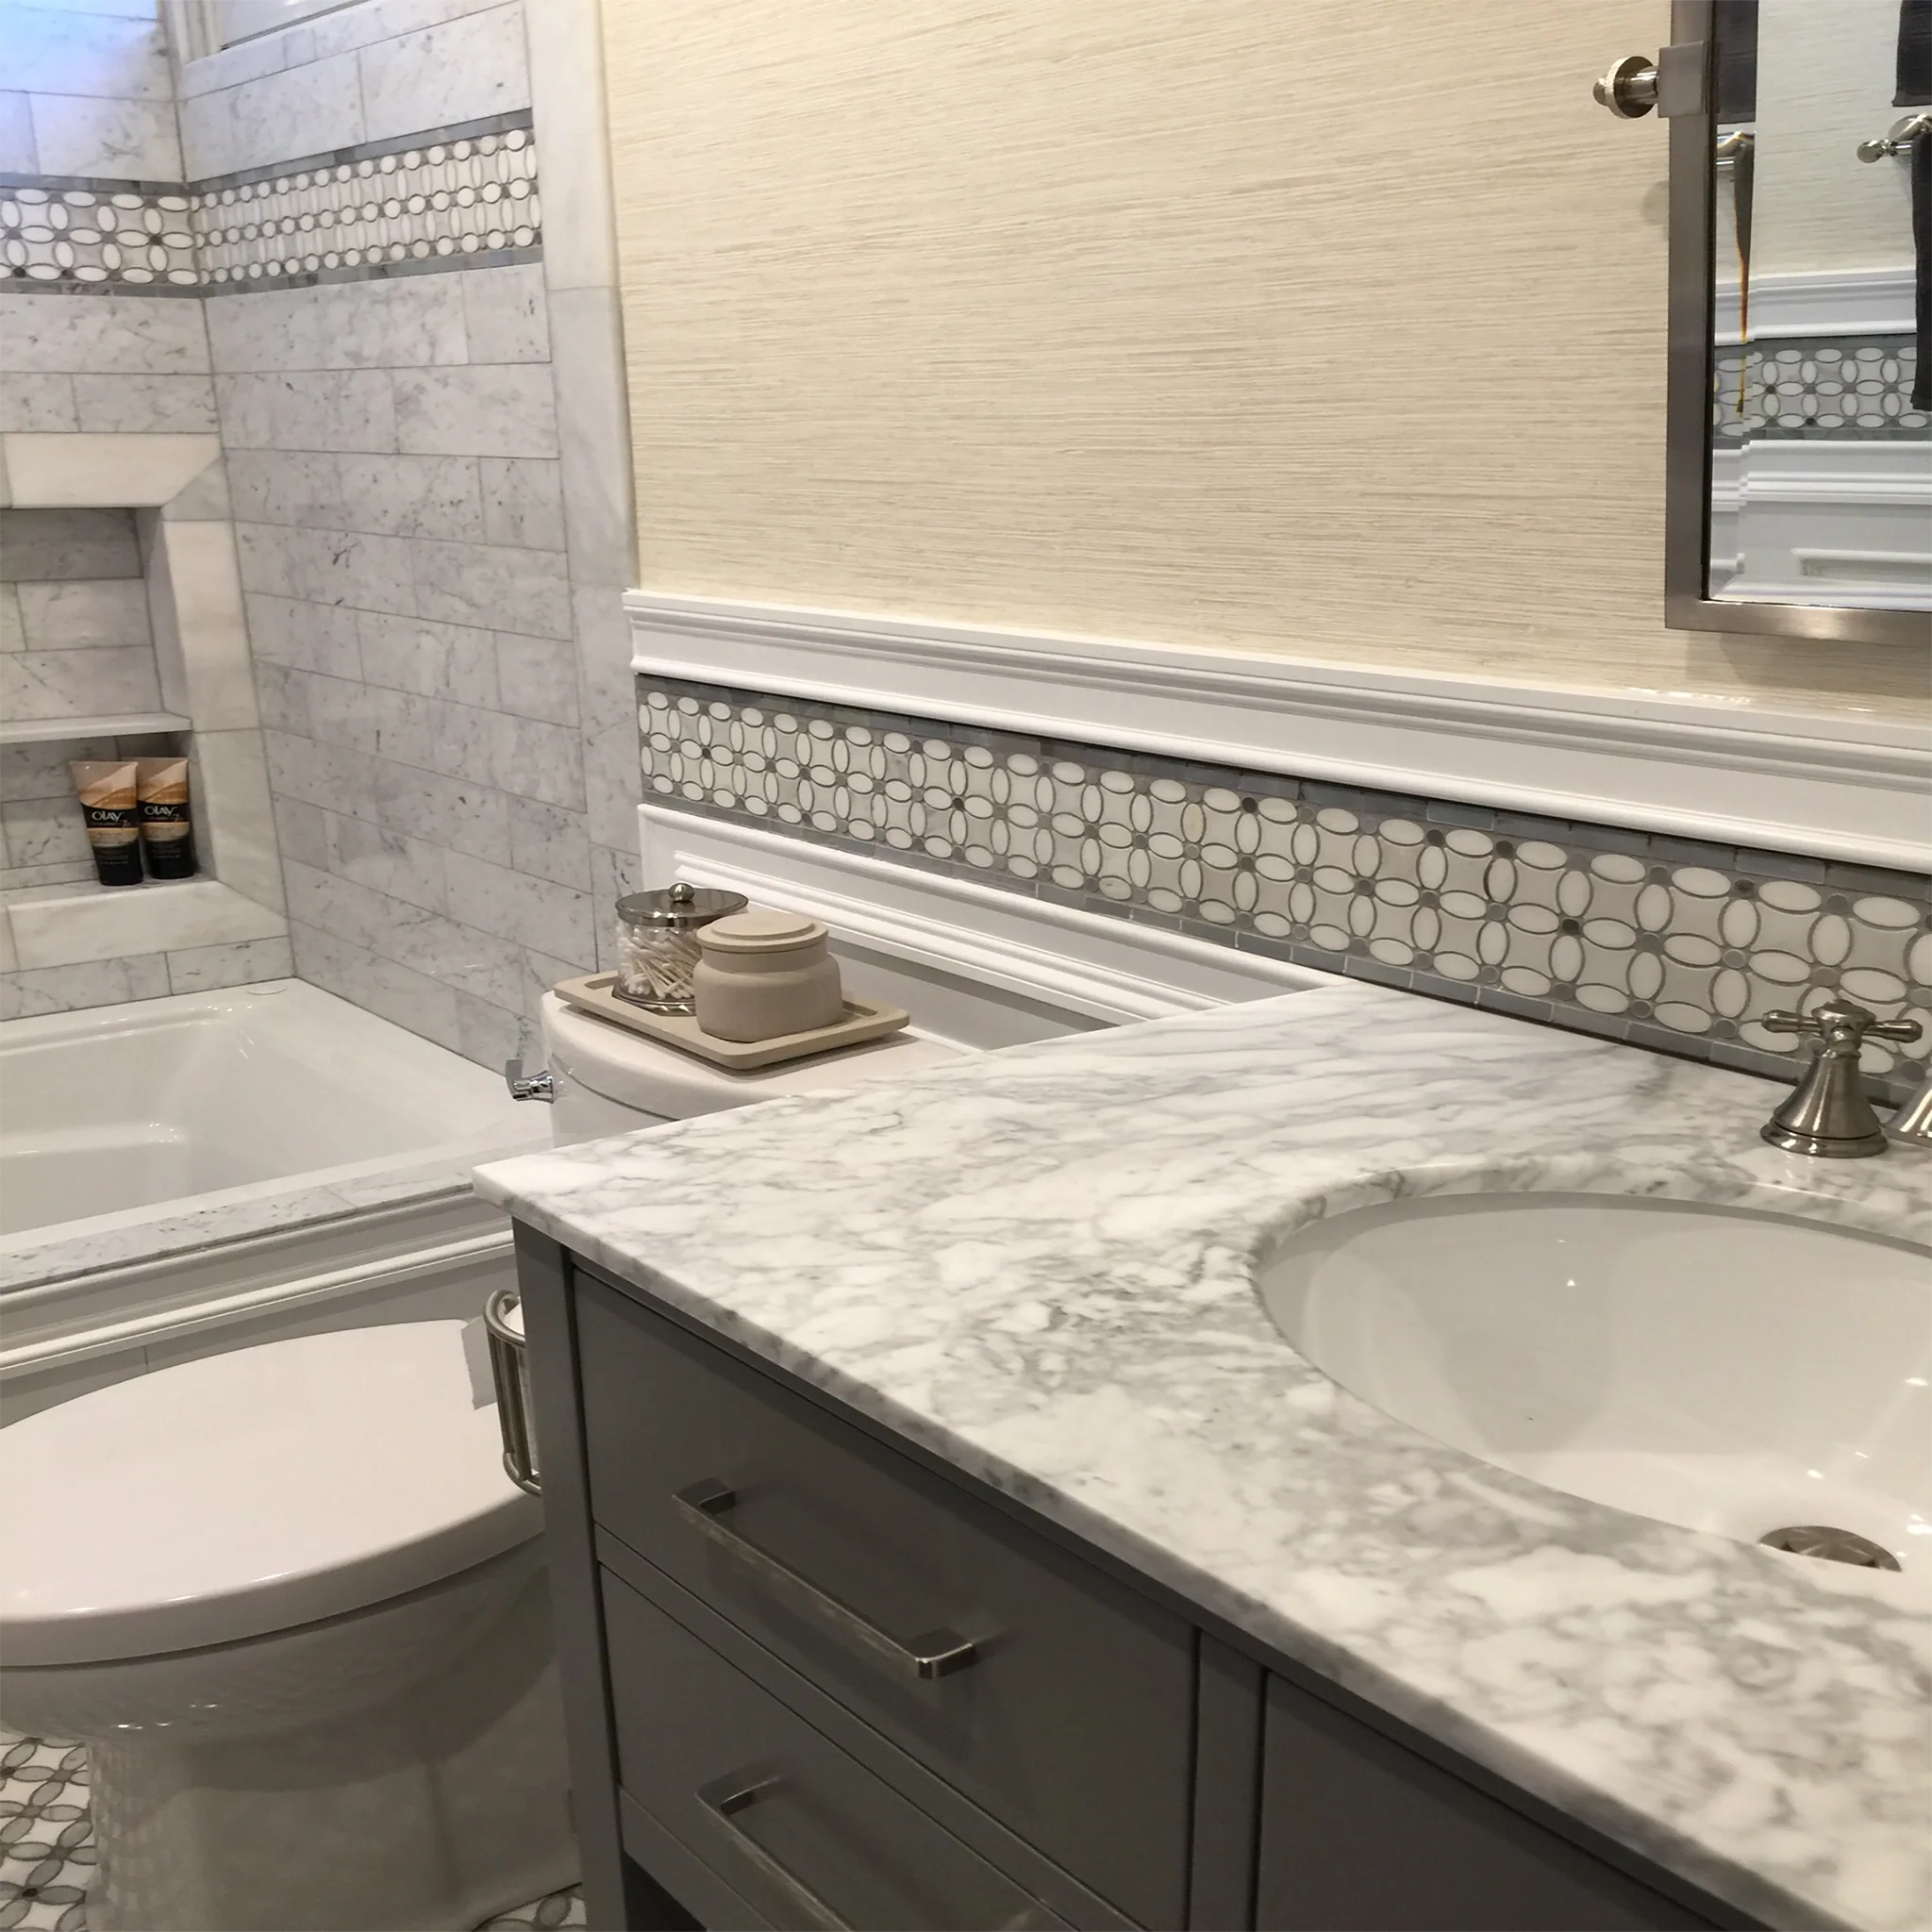 Border/Listello
 Ledger-Panel
 Checkerboard
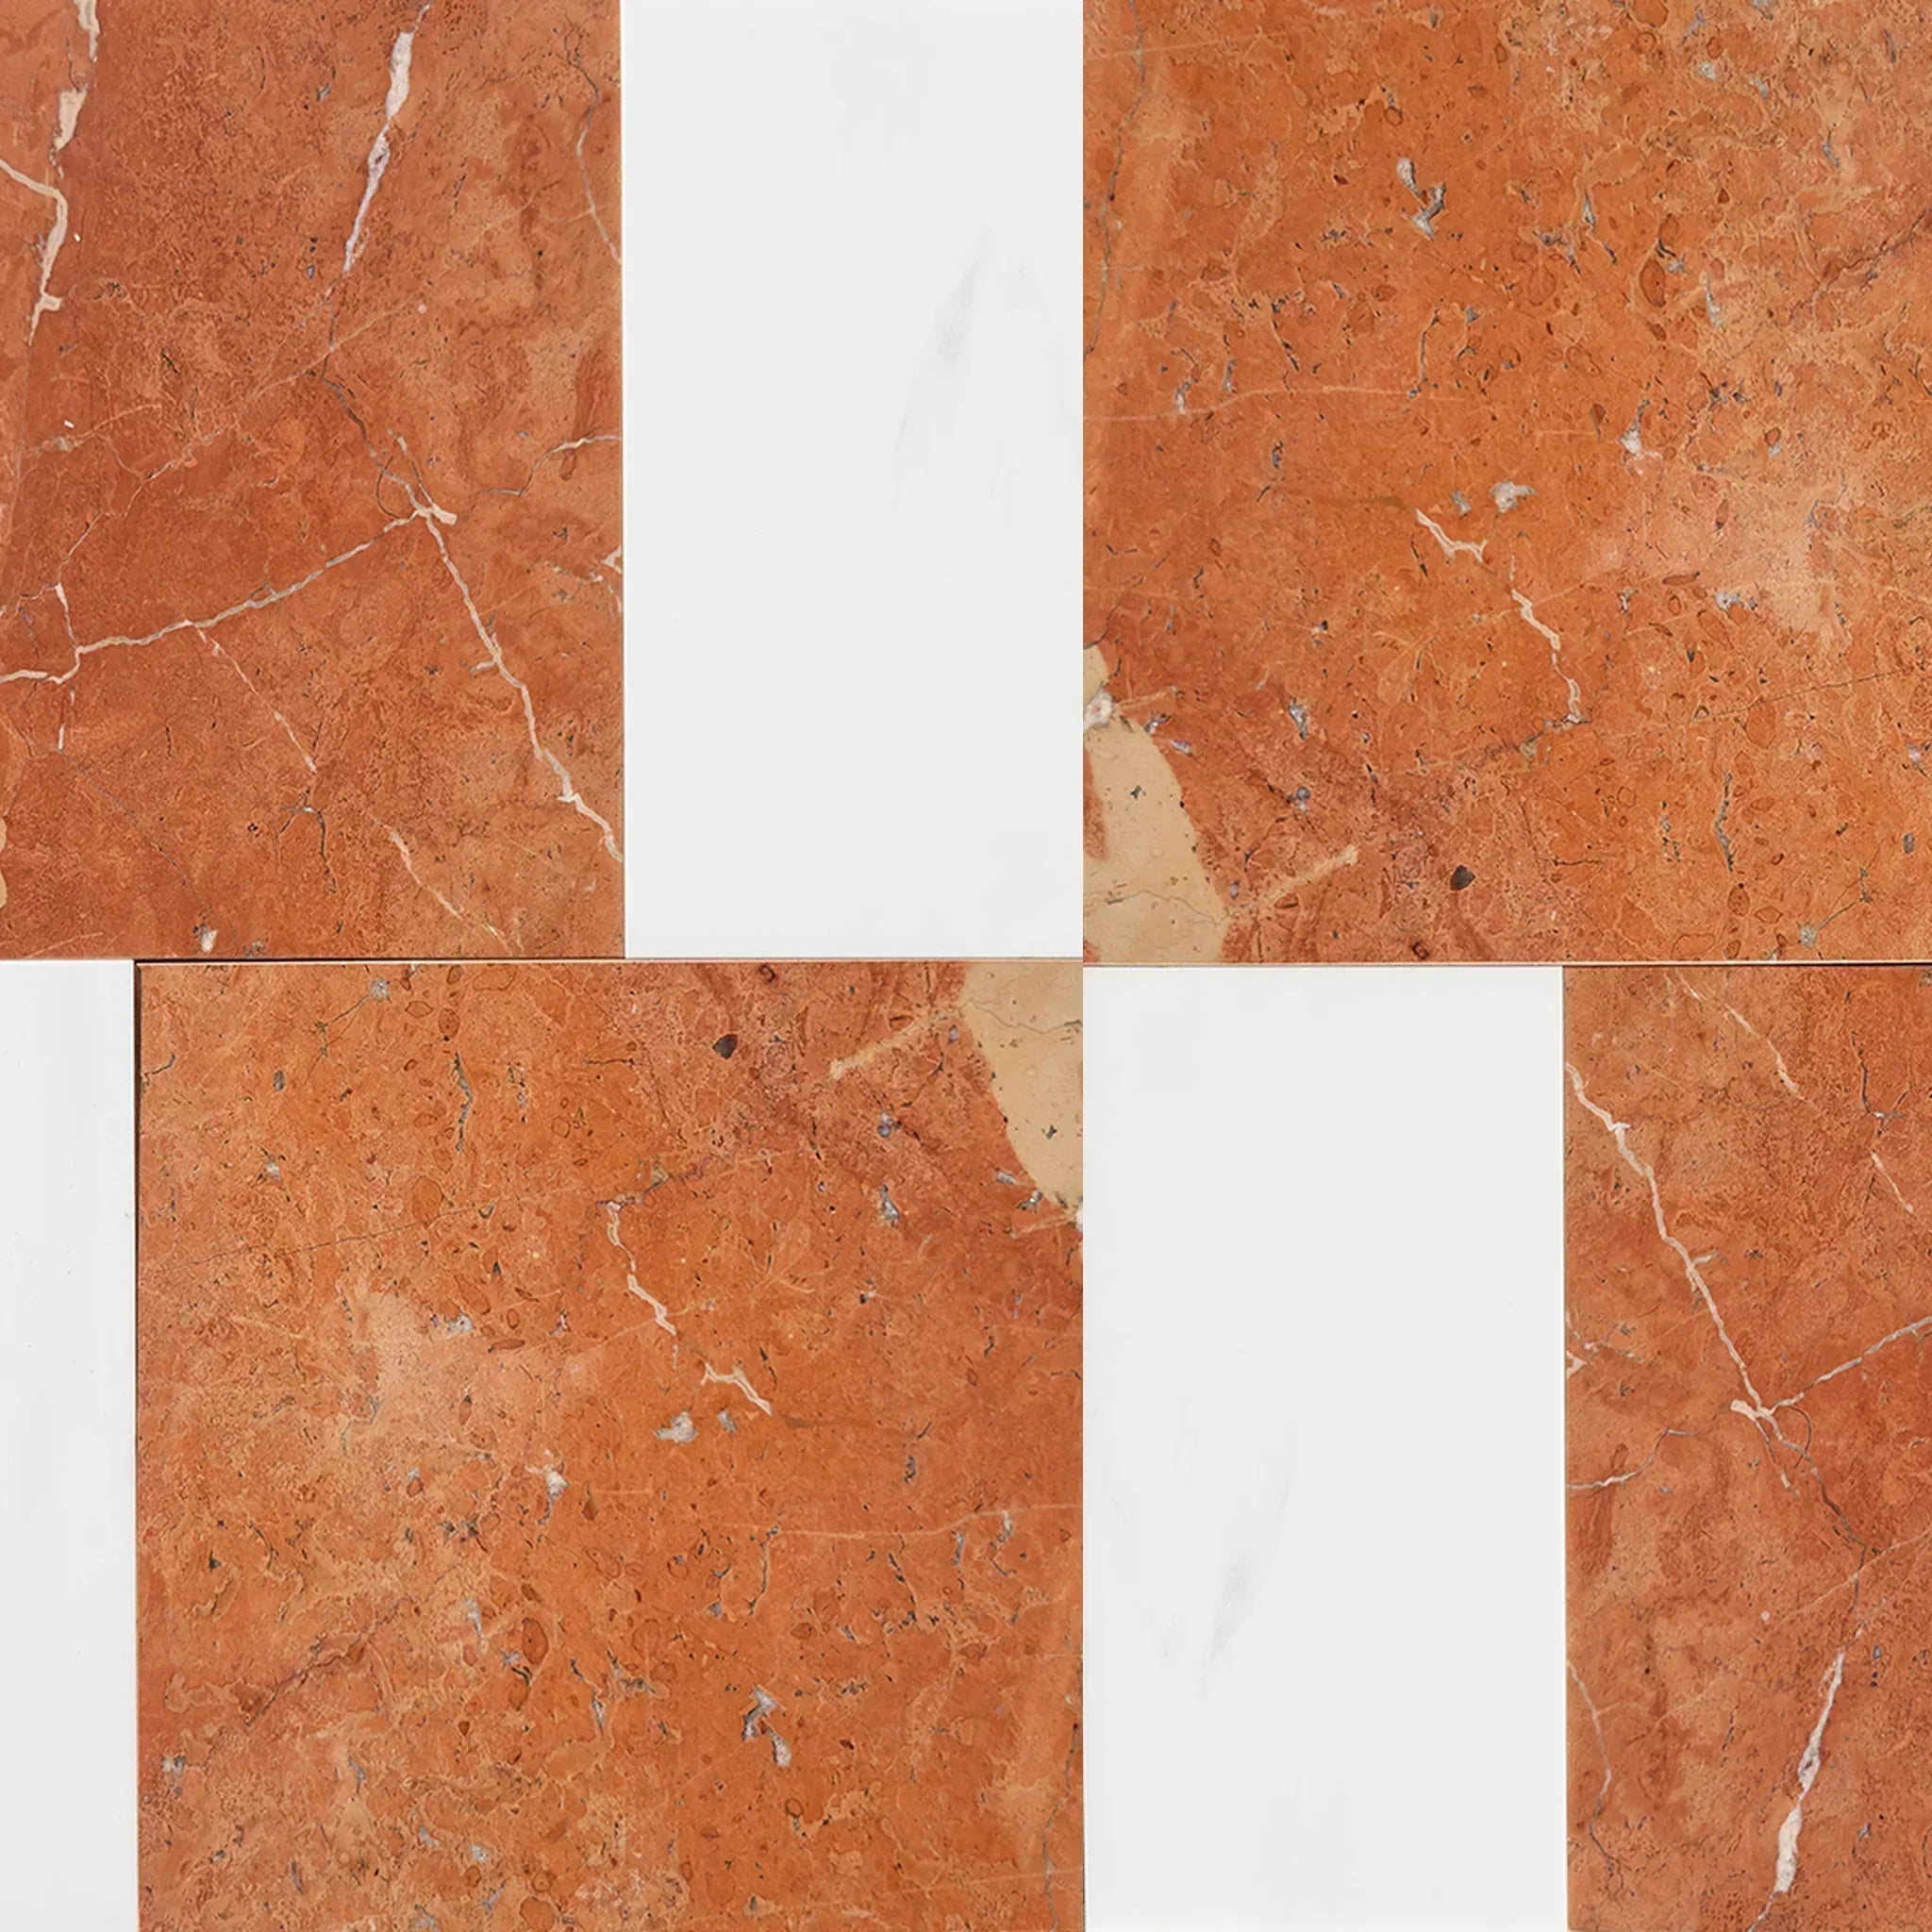 Patterned Tile Collection
 Polished
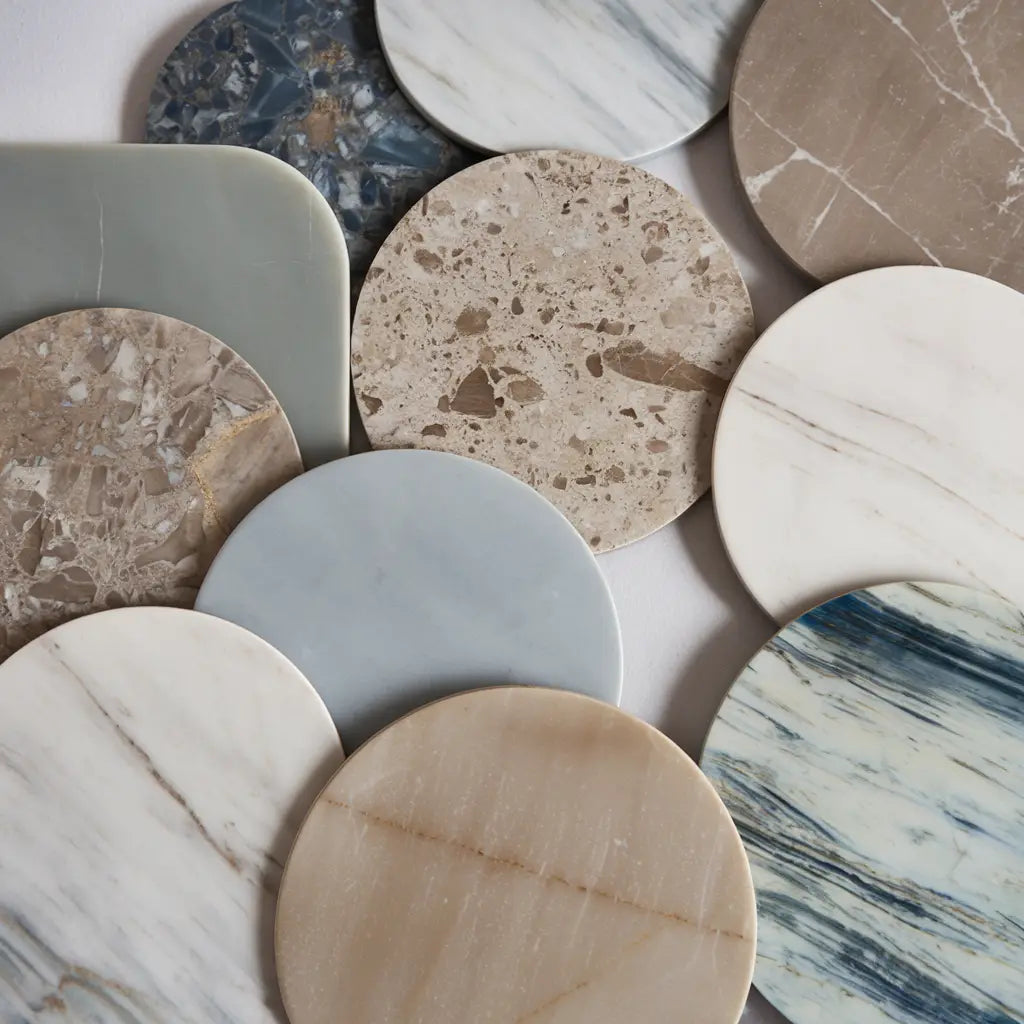 Honed
Honed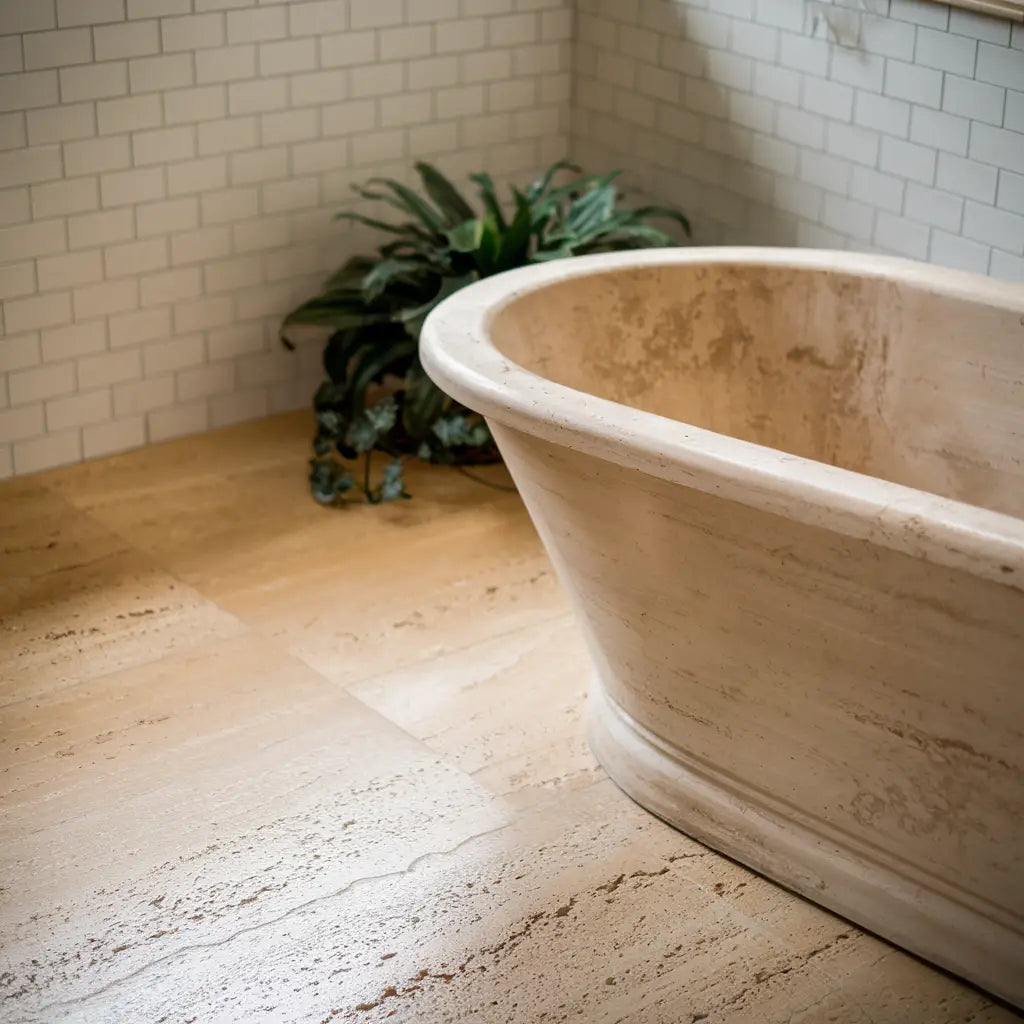 Brushed
 Split Face
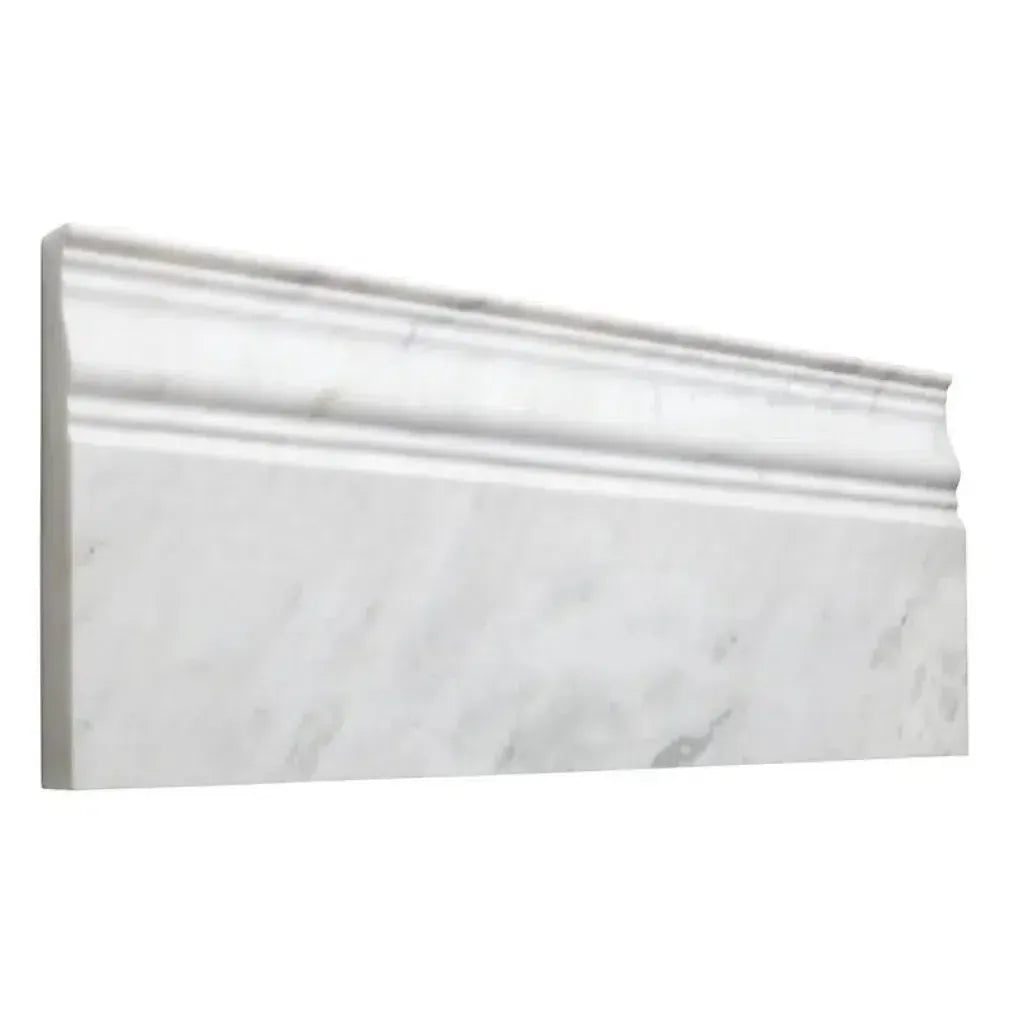 Textured
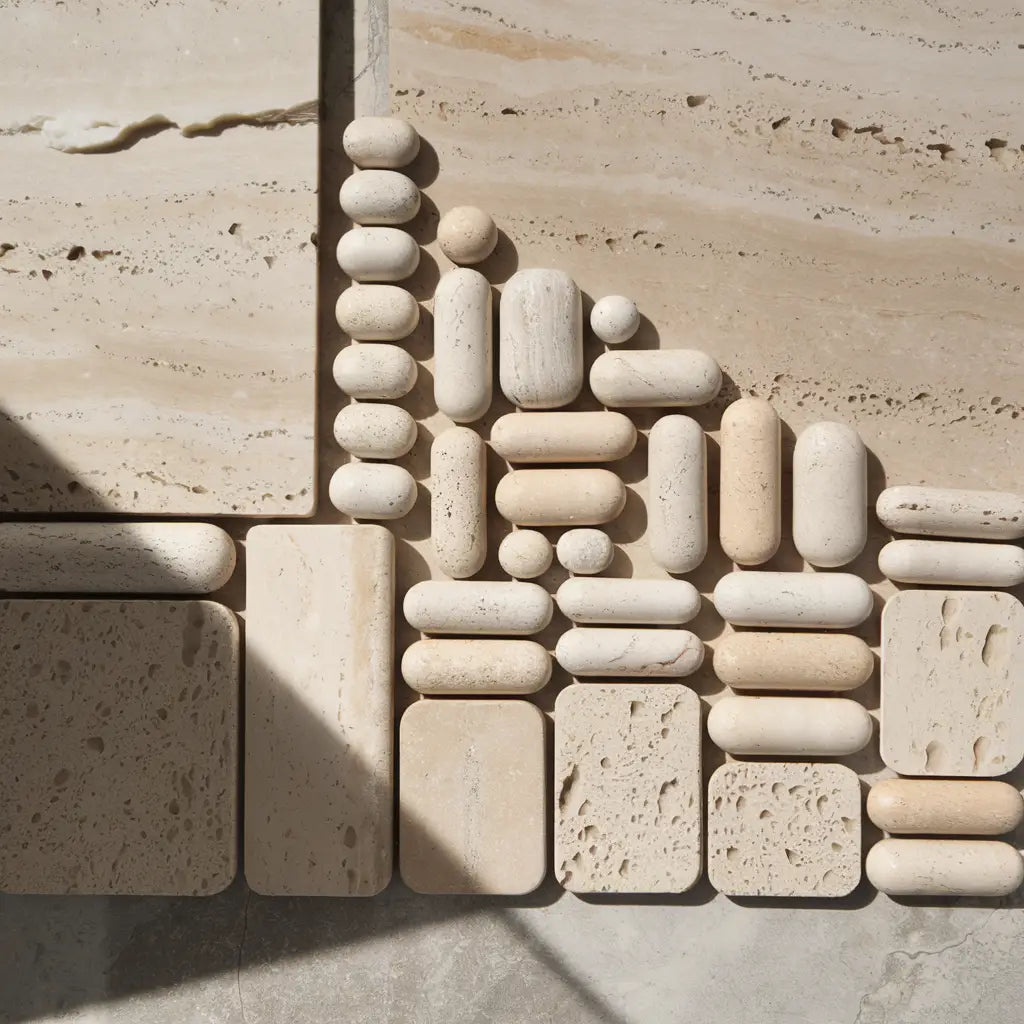 Tumbled
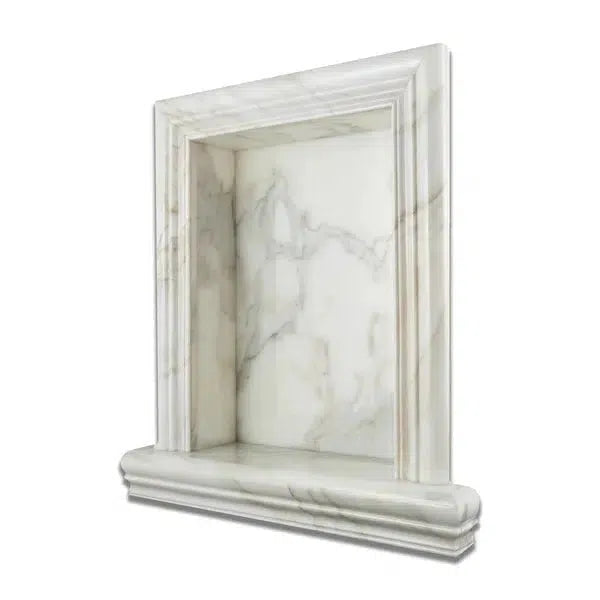
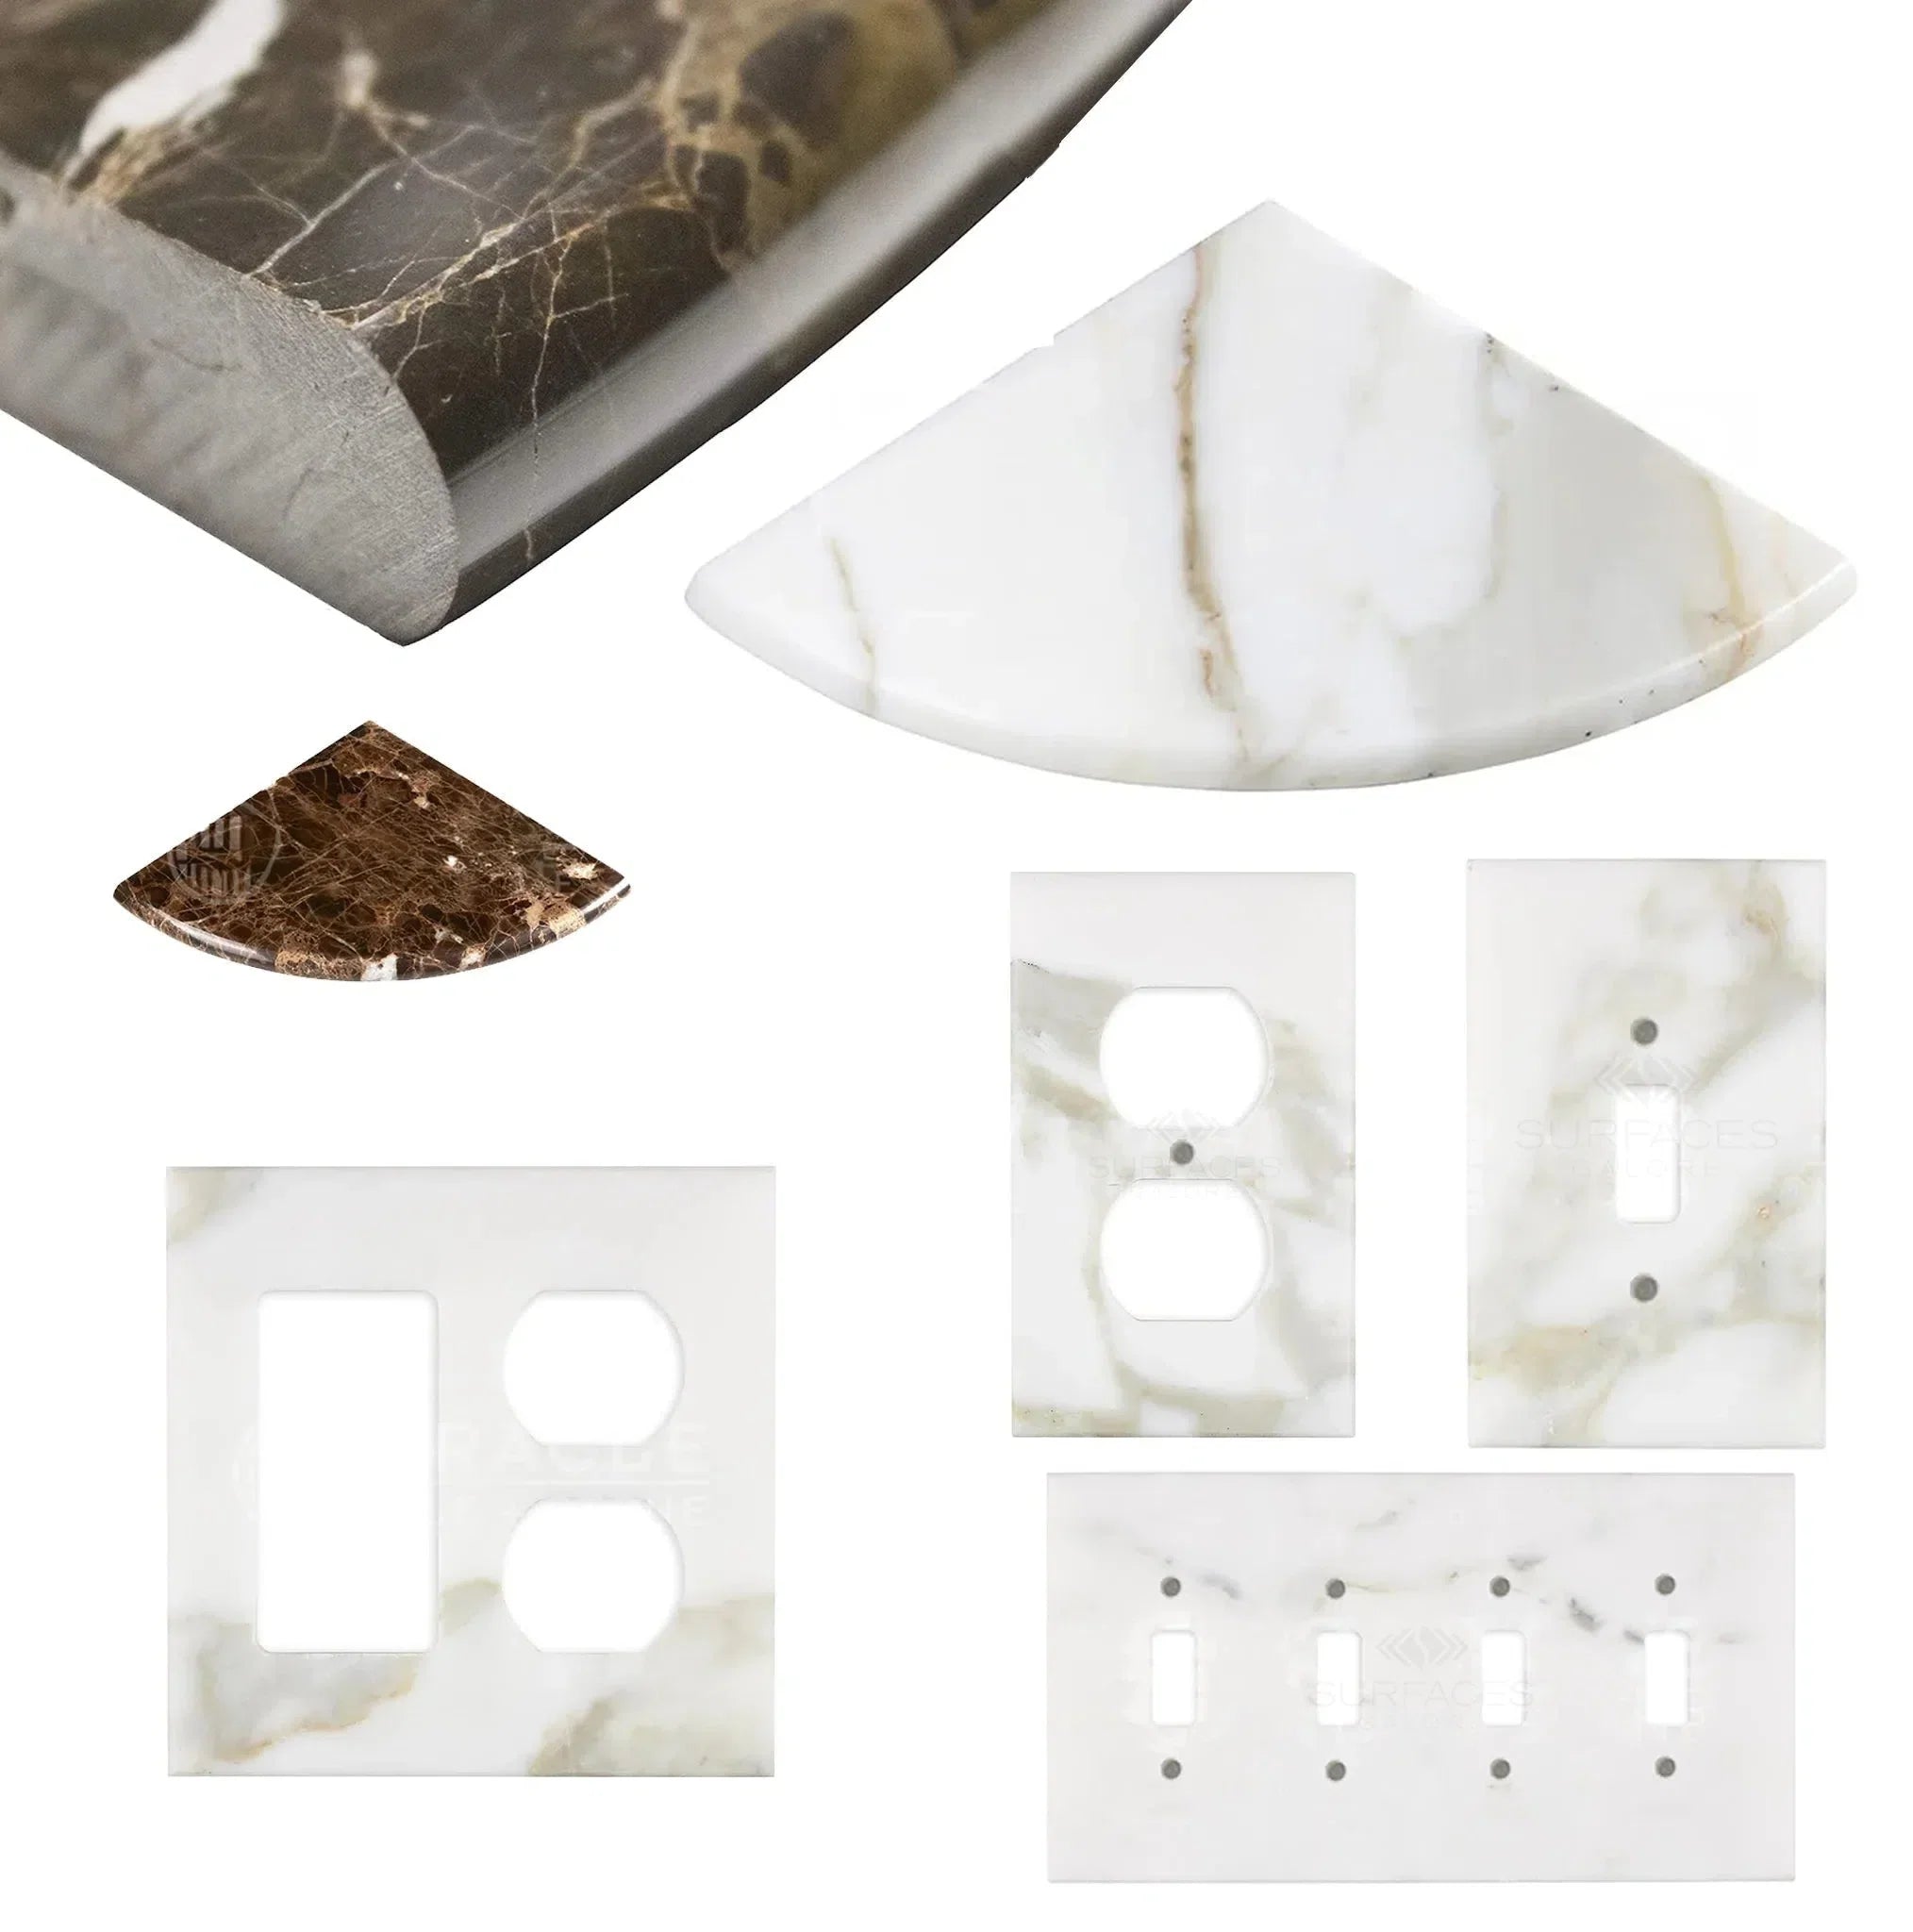 Wall Plate / Switch Plate
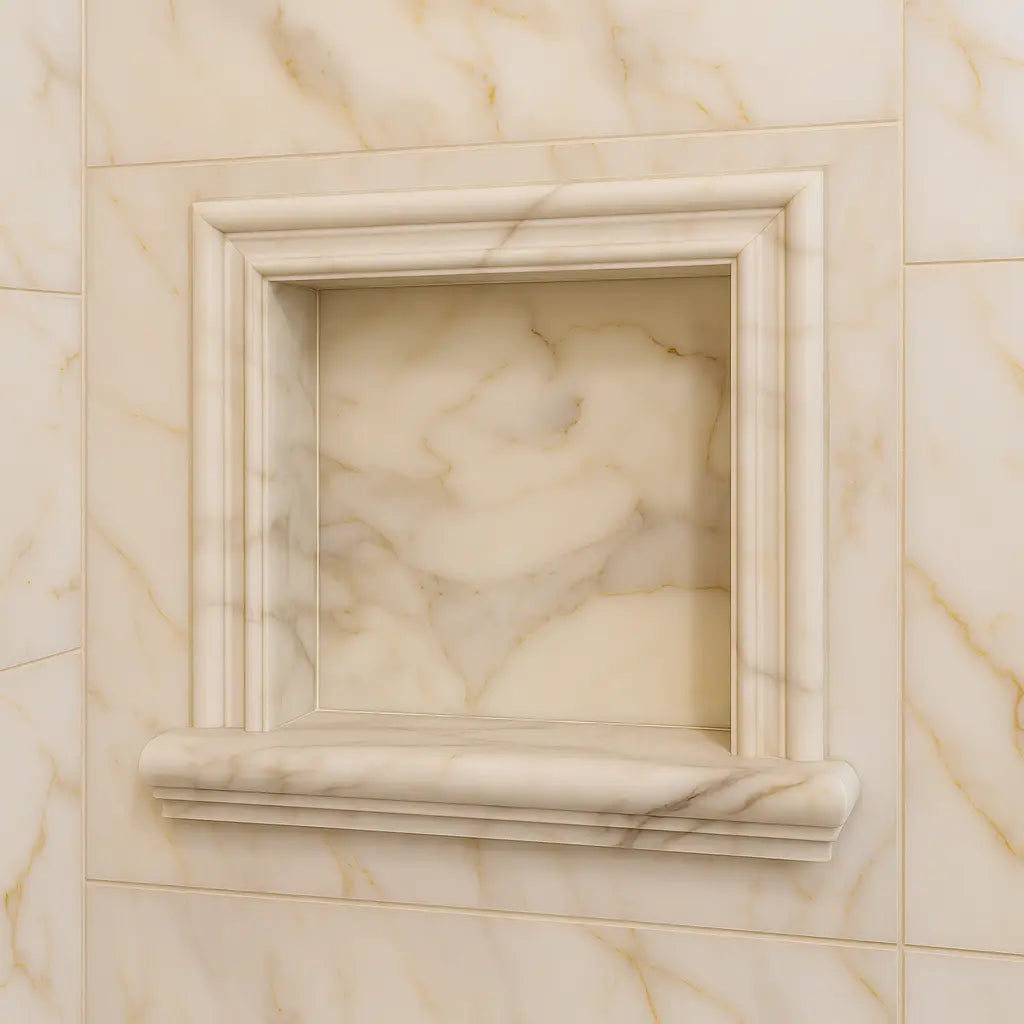 Shampoo Niche
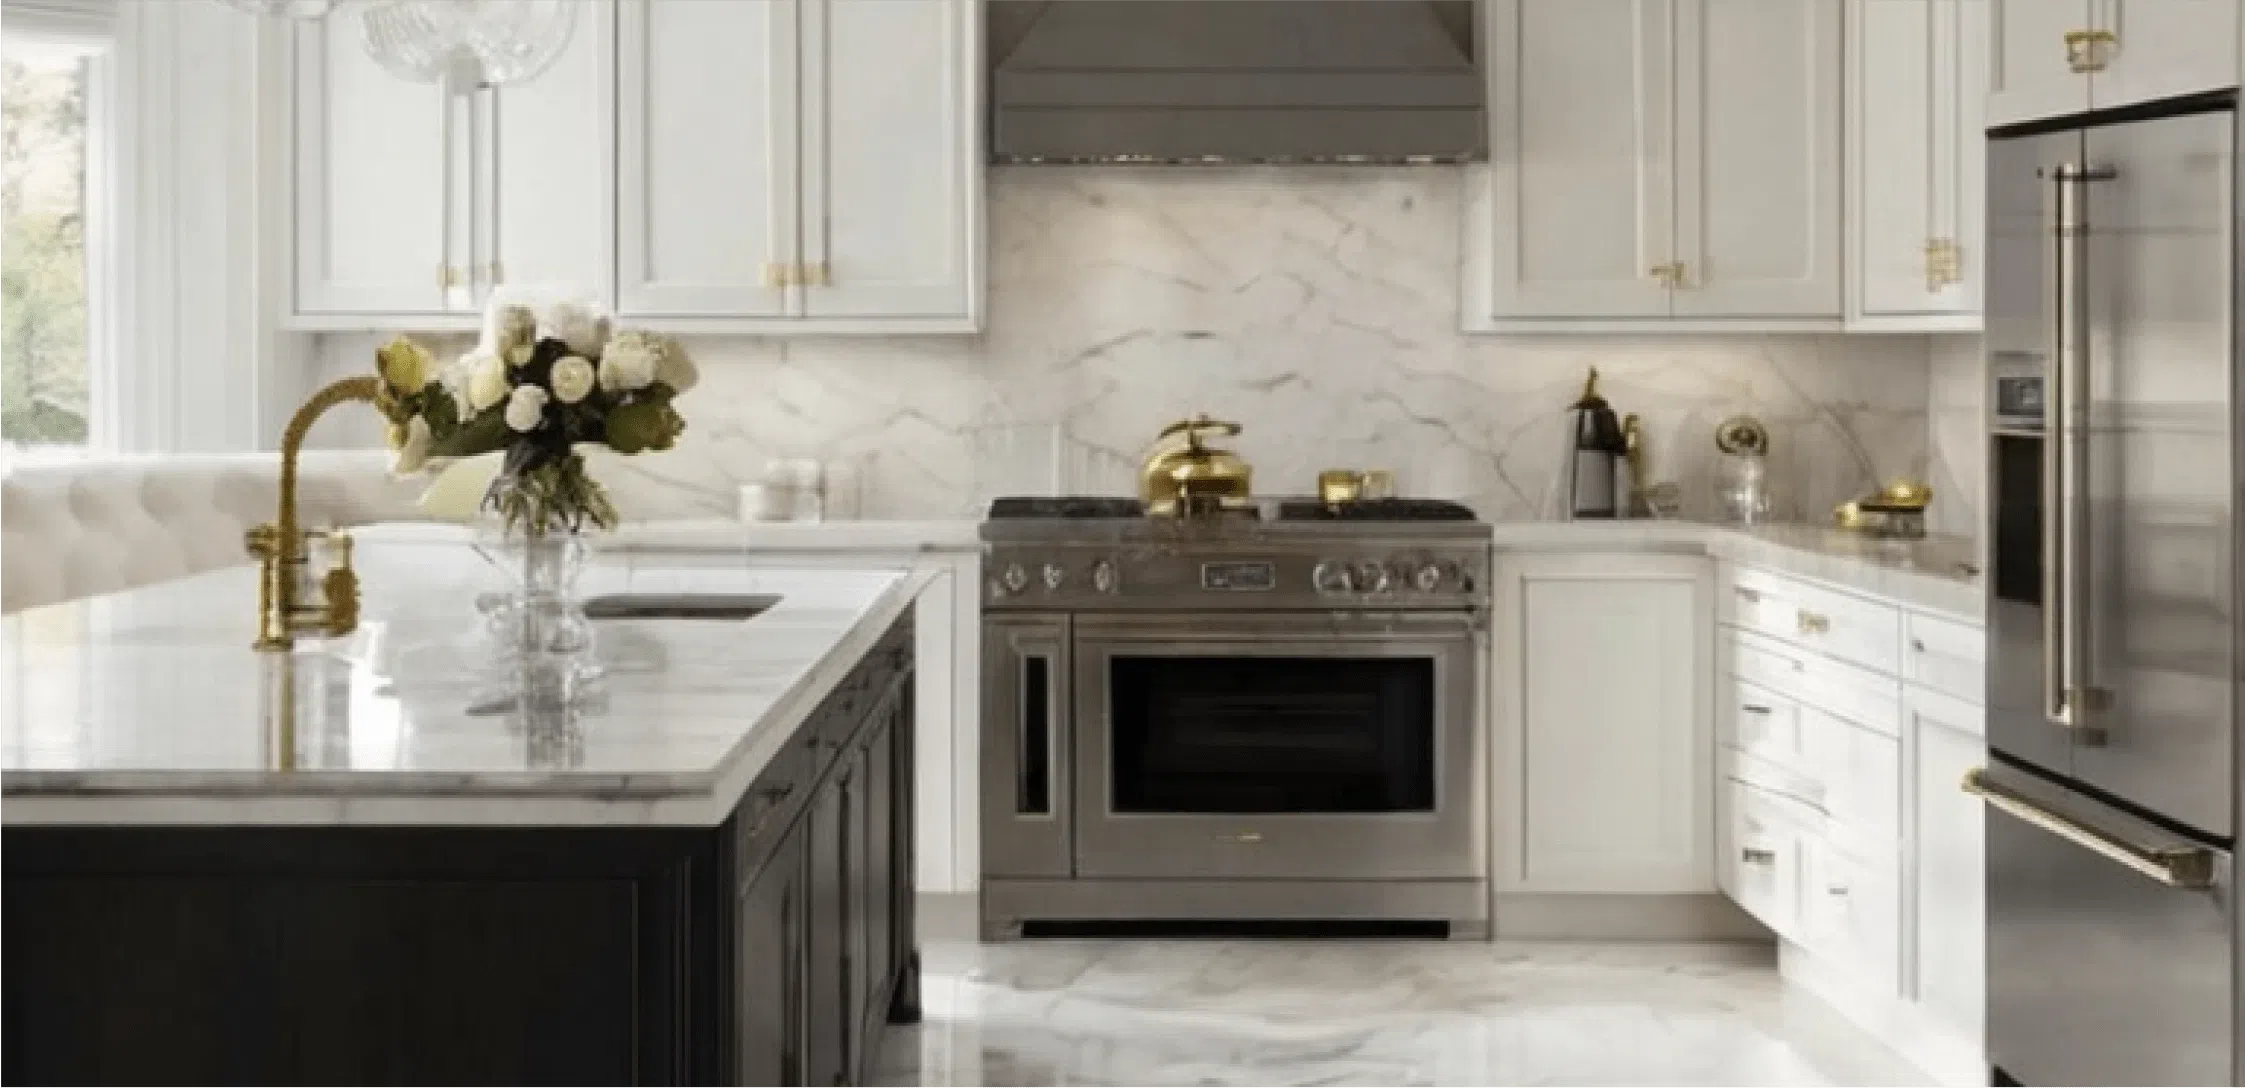 Corner Shelf
How to Install Marble and Travertine Tiles Like a Pro: Step-by-Step Guide
Introduction
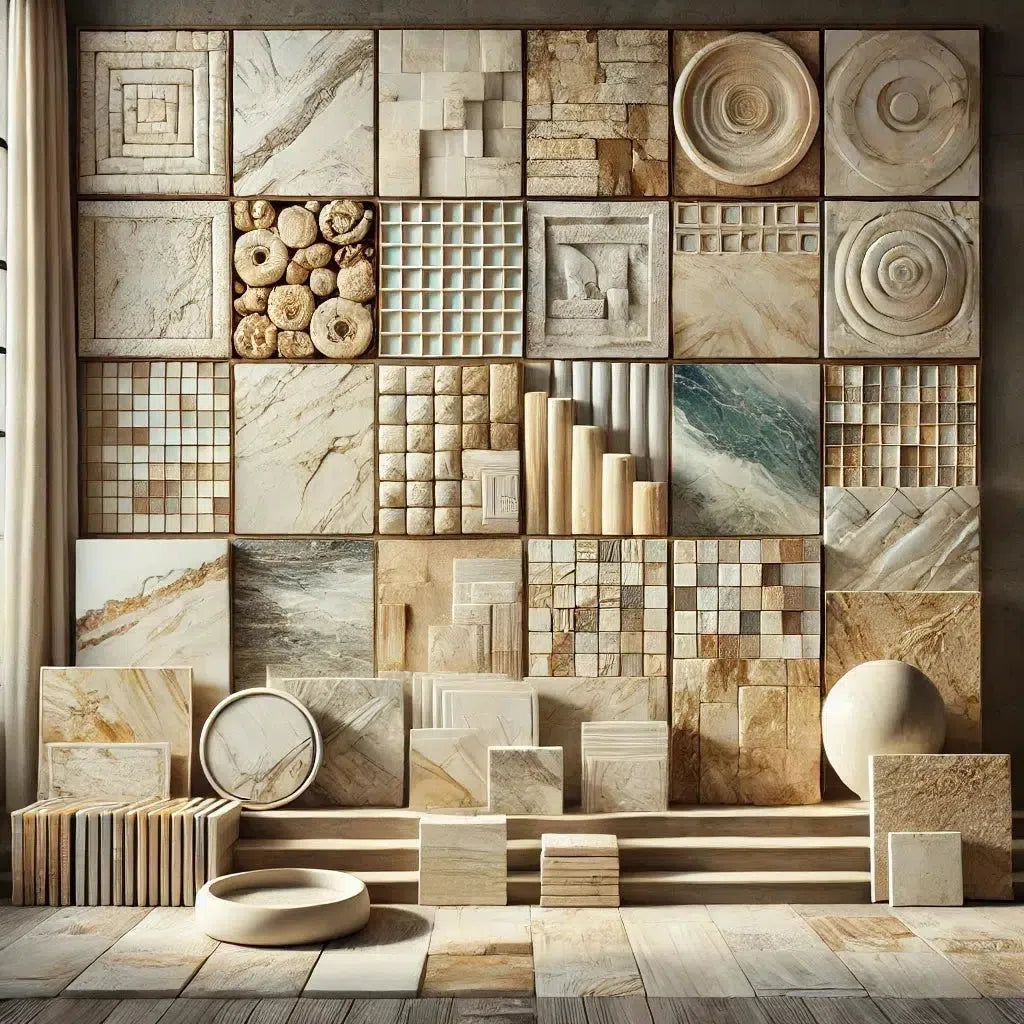
Installing marble and travertine tiles can elevate the beauty of any space, whether it’s a bathroom, kitchen, or living area. While these natural stones add elegance and durability, proper installation is essential for long-lasting results. This comprehensive guide will walk you through every step of installing marble and travertine tiles like a pro, from surface preparation to sealing and finishing.
1. Understanding the Nature of Marble and Travertine
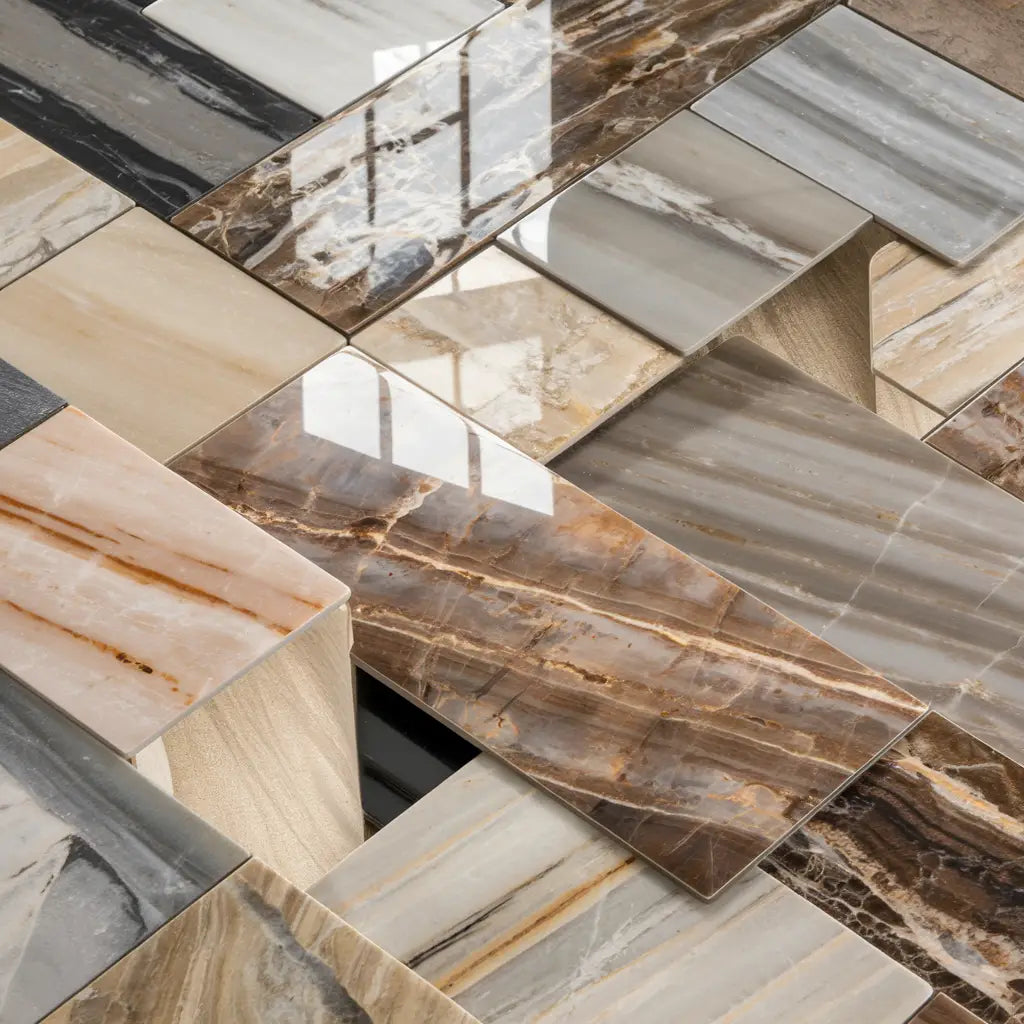
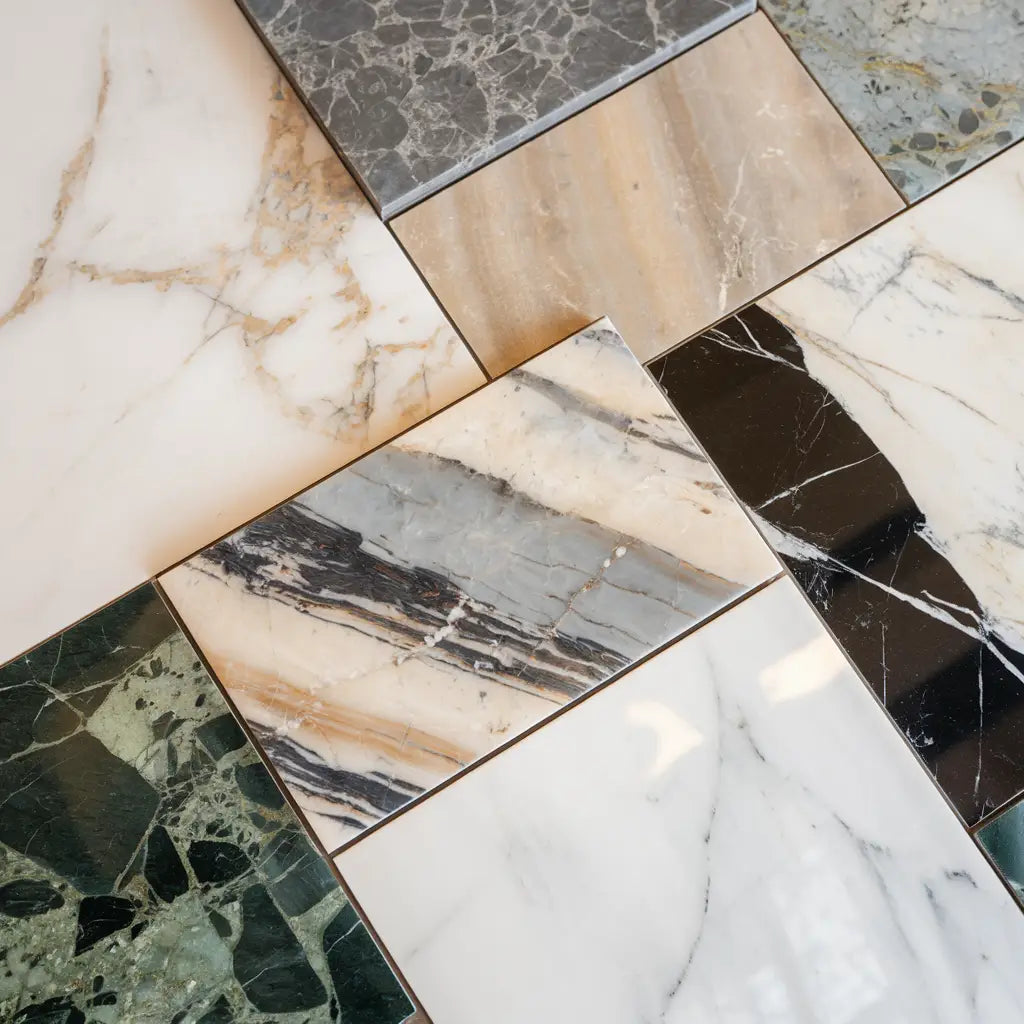
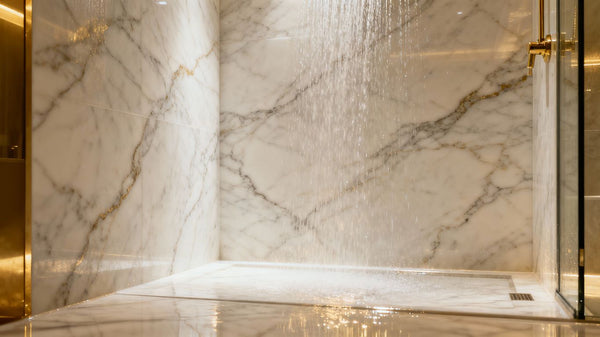
Marble: Elegant and Durable
Marble is known for its polished, luxurious look and smooth veining. It’s often used for floors, walls, and showers.
Popular Marble Types for Installation:
-
Thassos White (Greek) Marble – Bright white, minimal veining.
-
Calacatta Gold Marble – Bold, striking gold and gray veins.
-
Carrara White Marble – Classic soft white with gray veining.
-
Emperador Dark Marble – Deep brown with intricate veining.
-
Nero Marquina Marble – Black with contrasting white veins.
-
Arabescato Marble – Dramatic veining and unique movement.
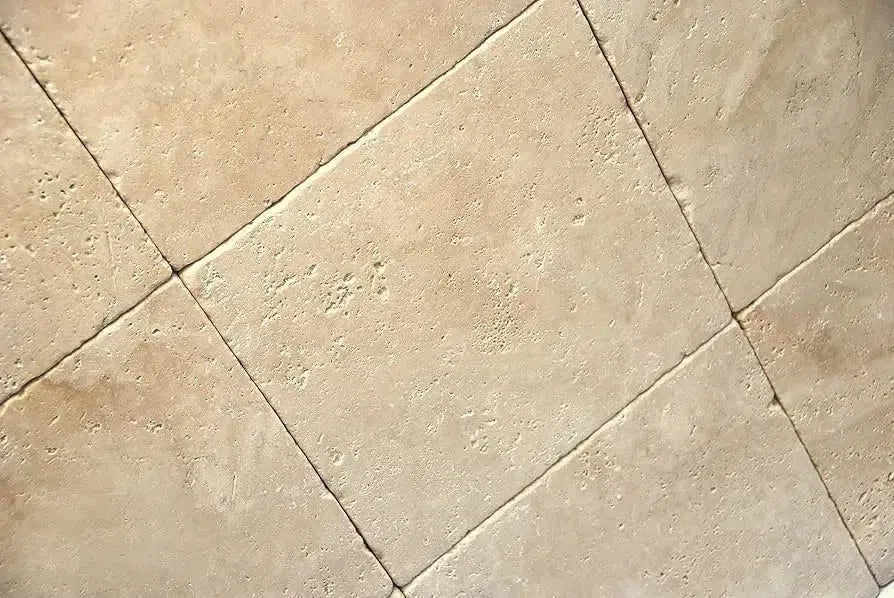
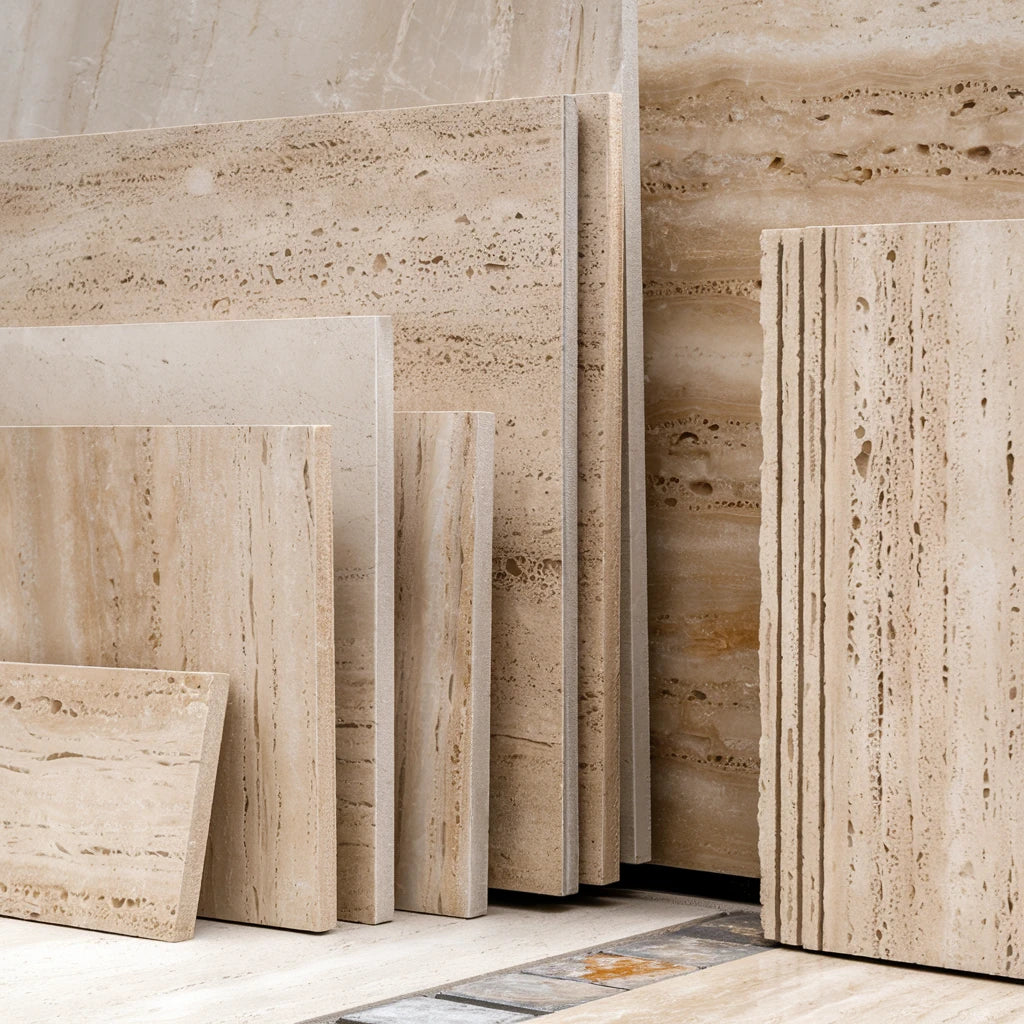
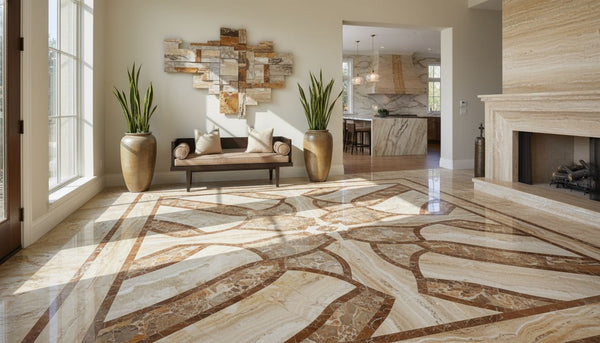
Travertine: Rustic and Versatile
Travertine has a more textured, porous surface compared to marble. It is ideal for both indoor and outdoor use.
Popular Travertine Types for Installation:
-
Ivory Light Travertine – Warm beige, soft texture.
-
Noce Travertine – Deep brown, rich natural tones.
-
Scabos Travertine – Vibrant mix of earthy hues.
-
Silver Travertine – Grayish shades with a modern appeal.
2. Tools and Materials You Will Need
Before you start the installation, gather the necessary tools and materials.
Tools:
✔️ Wet saw with a diamond blade ✔️ Notched trowel (¼-inch for floors, ⅜-inch for walls) ✔️ Rubber mallet ✔️ Tile spacers ✔️ Level ✔️ Sponge and bucket ✔️ Grout float ✔️ Chalk line for alignment
Materials:
✔️ Marble or travertine tiles ✔️ Thin-set mortar (white for marble, gray for darker travertine) ✔️ Tile backer board (for walls and showers) ✔️ Sealer (for protection against stains and moisture) ✔️ Sanded or unsanded grout (depending on grout line size) ✔️ Silicone caulk (for expansion joints)
3. Step-by-Step Installation Process
Step 1: Prepare the Surface
-
Ensure the subfloor or wall is clean, dry, and level.
-
Install a cement backer board if working in wet areas like showers.
-
Use a chalk line to mark tile layout for precision.
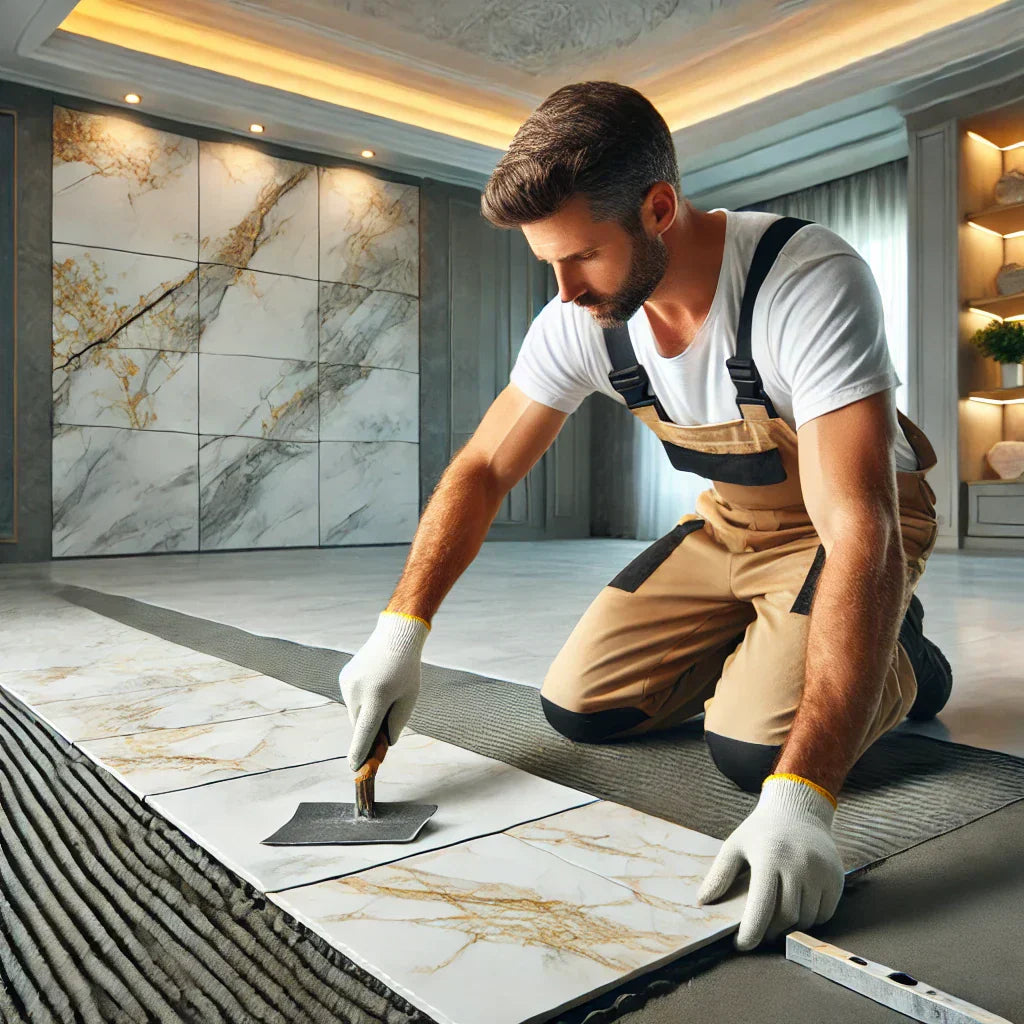
Step 2: Apply the Thin-Set Mortar
-
Mix thin-set mortar to a smooth, peanut butter consistency.
-
Apply it with a notched trowel in small sections to prevent drying.
-
Use the back buttering technique for marble tiles to improve adhesion.
Step 3: Lay the Tiles
-
Start from the center and work outward.
-
Use tile spacers to maintain even grout lines.
-
Tap tiles gently with a rubber mallet to ensure they are level.
Step 4: Cutting Tiles for Edges and Corners
-
Use a wet saw with a diamond blade to cut marble and travertine.
-
Smooth out edges with sandpaper or a polishing pad.
Step 5: Allow Tiles to Set
-
Let tiles cure for 24 hours before grouting.
-
Avoid walking on the tiles during this time.
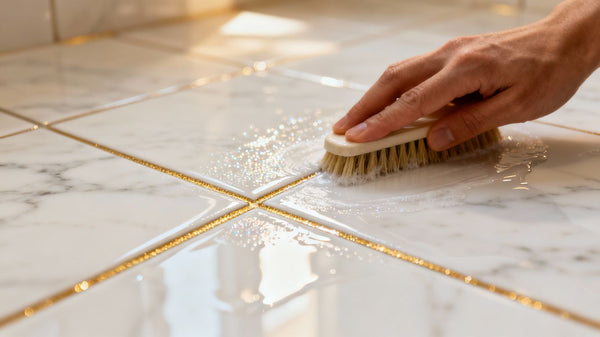
Step 6: Apply Grout
-
Choose sanded grout for wider joints and unsanded grout for thinner lines.
-
Use a grout float to spread grout diagonally across tiles.
-
Wipe off excess grout with a damp sponge before it dries.
Step 7: Seal the Surface
-
Apply a penetrating sealer to protect against moisture and stains.
-
Allow at least 24 hours for the sealer to cure before use.
4. Common Mistakes to Avoid
❌ Using too much water when mixing mortar (weakens adhesion). ❌ Skipping back buttering, which leads to tile detachment. ❌ Not sealing travertine before grouting (causes grout haze). ❌ Forgetting expansion joints (leads to cracking over time). ❌ Using acidic cleaners on marble or travertine (causes etching and dullness).
5. Frequently Asked Questions (FAQs)
Q1: Can I install marble and travertine tiles myself?
A: Yes, but it requires precision, proper tools, and patience. For large projects, hiring a professional is recommended.
Q2: What’s the best way to cut marble tiles?
A: Use a wet saw with a diamond blade to ensure clean and precise cuts.
Q3: How long does it take to install marble flooring?
A: The installation process, including drying time, can take 3-4 days, depending on the space size.
Q4: Do marble and travertine tiles need to be sealed?
A: Yes! Sealing prevents stains, moisture penetration, and wear.
Q5: Can I use travertine for outdoor installations?
A: Yes, Silver Travertine and Scabos Travertine are great for patios, walkways, and pool areas.
Q6: What size grout line should I use for marble tiles?
A: A 1/16 to 1/8-inch grout line is ideal for a seamless look.
Q7: Should I use sanded or unsanded grout for marble?
A: Unsanded grout is recommended for polished marble to prevent scratching.
Q8: What causes marble tiles to crack after installation?
A: Improper subfloor preparation, lack of expansion joints, or excessive pressure.
Q9: Can I install marble or travertine over existing tile?
A: It’s not recommended unless the existing tile is completely level and properly prepped.
Q10: How can I prevent lippage when installing marble tiles?
A: Use a leveling system and ensure the subfloor is even before starting.
6. Conclusion
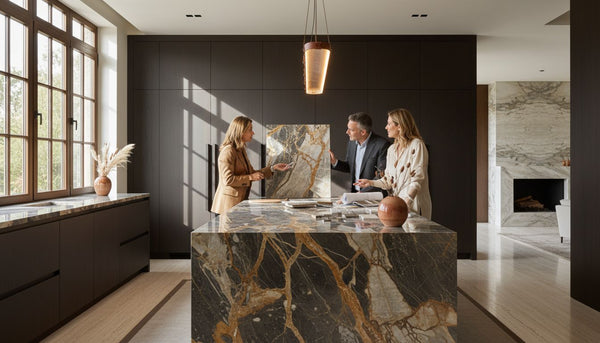
Installing marble and travertine tiles requires careful planning, precision, and the right materials. By following the proper steps—preparing the surface, using the correct adhesive, applying grout, and sealing the tiles—you can achieve a professional and long-lasting result. Whether you’re installing Calacatta Gold Marble for a luxurious look or Ivory Light Travertine for a rustic appeal, proper installation techniques ensure the beauty and durability of your investment.
If you're ready to start your marble or travertine tile project, follow this guide step by step, and enjoy the timeless elegance of natural stone in your home.

Leave a comment