
Master stone mosaic installation for luxury projects

Cracking tiles and uneven surfaces can destroy the elegance of luxury stone mosaic installations, costing contractors thousands in remediation. Most failures trace back to rushed substrate preparation and improper adhesive application. This guide delivers a proven workflow that ensures durable, flawless installations for high-end residential and commercial projects, helping you deliver exceptional results every time.
Table of Contents
- Substrate Preparation And Tools Needed
- Adhesive Selection, Application, And Installation Workflow
- Grouting, Sealing, And Finishing Techniques
- Common Mistakes, Troubleshooting, And Safety Considerations
- Alternative Installation Methods And Tradeoffs
- Expected Results And Success Metrics
- Explore Premium Natural Stone Solutions At Surfaces Galore
- Frequently Asked Questions About Stone Mosaic Installation Workflow
Key takeaways
| Point | Details |
|---|---|
| Substrate preparation is critical | Flatness within 1/4 inch over 10 feet and moisture levels below 3-5 lbs per 1000 sq ft prevent tile failures. |
| Use polymer-modified thin-set mortar | This adhesive type provides superior bond strength and flexibility for stone mosaics compared to standard mortar. |
| Cure adhesive and grout properly | Allow 24-72 hours curing time to prevent cracking, loosening, and premature staining of your installation. |
| Seal mosaics after grouting | Sealing increases stain resistance and extends surface life by up to 40%, protecting your investment long term. |
| Avoid common installation mistakes | Never install directly on plywood without proper underlayment, as this increases failure risk by over 50%. |
Introduction and project prerequisites
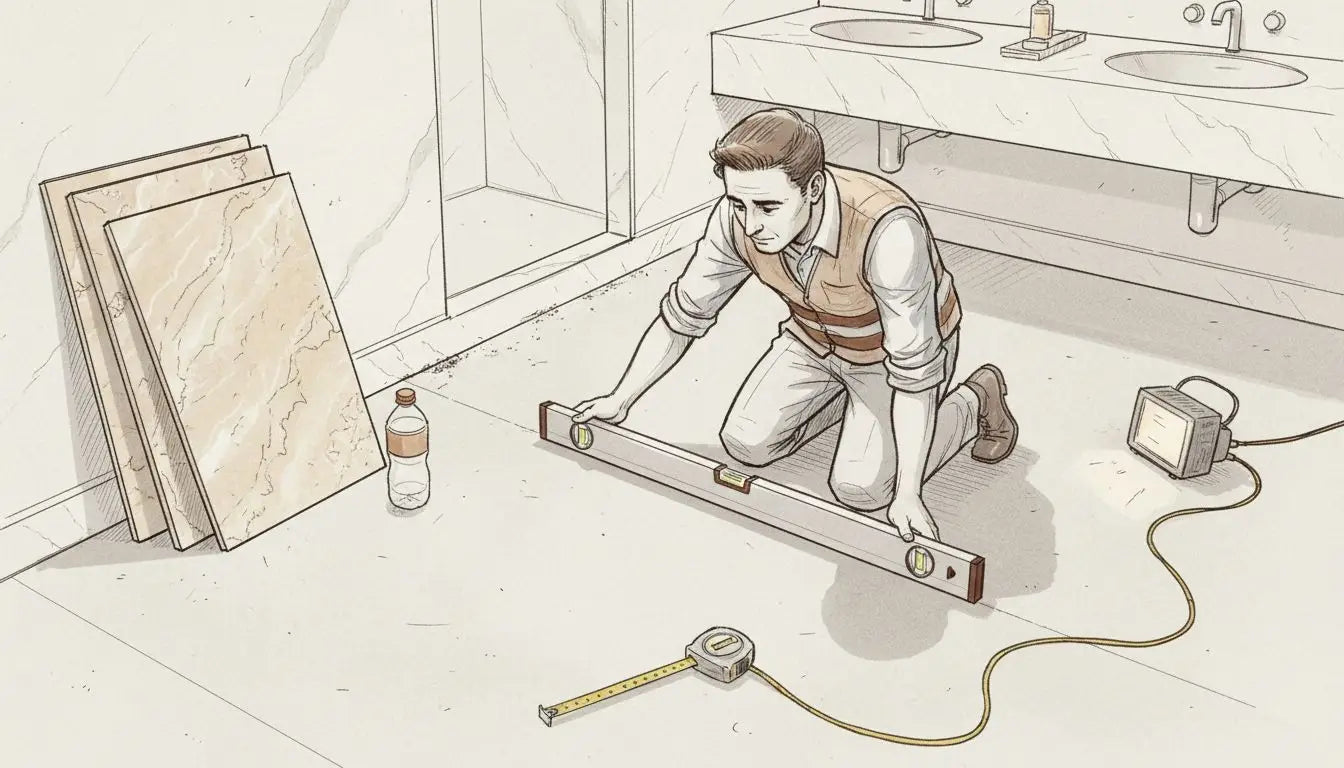
Successful stone mosaic installation starts long before you mix adhesive. Preparing your workspace, assembling the right tools, and understanding material requirements set the stage for a smooth, efficient project that meets luxury standards.
You need a comprehensive toolkit to handle every phase. A notched trowel ensures even adhesive application, while a wet saw cuts stone precisely without chipping edges. Tile spacers maintain consistent grout lines, and a grout float packs grout into joints effectively. Sealant applicators deliver even coating, and a level verifies substrate flatness and tile alignment. Safety equipment including respirators, gloves, and eye protection guards against silica dust exposure and chemical contact.
Site conditions must be stable, dry, and within required temperature ranges for successful installation. Temperature extremes compromise adhesive performance, while moisture trapped beneath tiles causes bond failure and efflorescence. Check manufacturer specifications for optimal conditions, typically 50-100°F with relative humidity below 75%.
Material selection requires careful matching. Different stone types absorb moisture at varying rates, affecting adhesive choice. Marble and travertine demand polymer-modified adhesives that accommodate their porosity. Verify your adhesive type matches stone characteristics and project demands before starting.
Pro Tip: Keep all materials and tools organized in dedicated zones, creating an efficient workflow that reduces installation time by 15-20% on larger projects.
Here is a quick reference for essential tools and their functions:
| Tool | Primary Function |
|---|---|
| Notched trowel | Spreads adhesive evenly, creates ridges for proper bond |
| Wet saw | Cuts stone cleanly without damaging edges |
| Tile spacers | Maintains consistent grout joint width |
| Grout float | Packs grout into joints, removes excess |
| Level | Verifies flatness and alignment |
| Respirator | Protects lungs from silica dust |
| Moisture meter | Tests substrate moisture levels |
Following installation best practices at Projul ensures you address all prerequisites systematically before tile placement begins.
Substrate preparation and tools needed
Your substrate forms the foundation that determines installation longevity. Poor preparation accounts for the majority of premature failures in stone mosaic projects, making this phase non-negotiable for quality work.
Substrate must be flat within 1/4 inch over 10 feet for tiles under 15 inches and 1/8 inch for larger formats. Use a straightedge and level to identify low spots, humps, or slopes. Grind down high areas and fill depressions with self-leveling compound to achieve required flatness.
Concrete substrates need proper curing before installation. Fresh concrete must cure for at least 28 days to reach adequate strength and reduce moisture content. Even after visible drying, concrete retains internal moisture that migrates upward. Test with a moisture meter to verify levels stay below 3-5 lbs per 1000 sq ft per 24 hours, the threshold for safe tile installation.
Pro Tip: Always perform moisture testing even if the surface appears dry visually to avoid costly remediation months after project completion.
Installing stone mosaics directly on plywood without proper underlayment invites disaster. Wood flexes and expands with humidity changes, stressing rigid tile and causing cracks. Plywood also lacks the dimensional stability required for permanent installations. Install cement board or an uncoupling membrane over wood substrates to create a stable, crack-resistant base.
Critical preparation tools include:
- Moisture meter for accurate substrate testing
- 6-foot and 10-foot levels for flatness verification
- Self-leveling compound to correct substrate irregularities
- Cement board or uncoupling membranes for wood substrates
- Grinding tools to remove high spots
- Vacuum to remove dust before adhesive application
For comprehensive planning strategies, review our tile project planning guide which covers layout design and material estimation. The ProJul installation guide provides additional substrate preparation techniques for challenging conditions.
Adhesive selection, application, and installation workflow
Choosing the right adhesive and applying it correctly creates the chemical and mechanical bond that keeps your stone mosaics secure for decades. Rushing this phase undermines all your preparation work.
Polymer-modified thin-set mortar provides superior bond strength for stone mosaics compared to standard cement-based adhesives. The polymer additives increase flexibility, water resistance, and tensile strength. This flexibility accommodates minor substrate movement without cracking tiles, while enhanced water resistance prevents bond degradation in wet areas like showers and pool surrounds.
Follow this numbered workflow for consistent results:
- Mark reference lines on your substrate using a chalk line, establishing straight guidelines for tile placement and ensuring pattern alignment.
- Mix thin-set mortar to manufacturer specifications, achieving a smooth, lump-free consistency that holds trowel ridges without slumping.
- Apply mortar in small sections (2-3 square feet) using a notched trowel held at 45 degrees, creating uniform ridges that collapse when tiles are pressed.
- Place mosaic sheets firmly into mortar, pressing evenly to collapse ridges and achieve full contact without voids.
- Insert tile spacers between sheets to maintain consistent grout joint width throughout the installation.
- Check alignment with a level after every 3-4 sheets, making corrections before mortar begins to set.
- Use a rubber mallet with gentle taps to seat tiles evenly, avoiding excessive force that cracks stone.
Pro Tip: Use a rubber mallet gently and tile spacers consistently to maintain stone alignment and prevent damage, especially with delicate marble varieties.
Key considerations during placement include:
- Working time: Most thin-sets allow 20-30 minutes before skinning over, requiring small batch application
- Spacing: Maintain consistent joint width (typically 1/8 to 1/4 inch) for visual uniformity
- Alignment: Check plumb and level continuously rather than waiting until a large area is set
- Coverage: Ensure 95% mortar coverage on tile backs to prevent hollow spots that crack under load
Typical installation timelines span 3-7 days depending on project scale. A standard bathroom backsplash takes 1-2 days, while a large commercial lobby floor requires 5-7 days including curing time between phases.
Our custom tile mosaic workflow explains pattern layout strategies that complement these installation techniques. For more detailed application methods, consult installation best practices at Projul.
Grouting, sealing, and finishing techniques
Proper finishing protects your stone mosaics and brings out their natural beauty. Skipping or rushing these final steps wastes all the careful work invested in preparation and installation.
Select grout compatible with stone mosaics and joint width. Unsanded grout works for joints narrower than 1/8 inch, while sanded grout fills wider joints without shrinking. Match grout color to stone tones or choose contrasting colors for dramatic definition. Test color on a sample area first, as grout appears darker when wet.
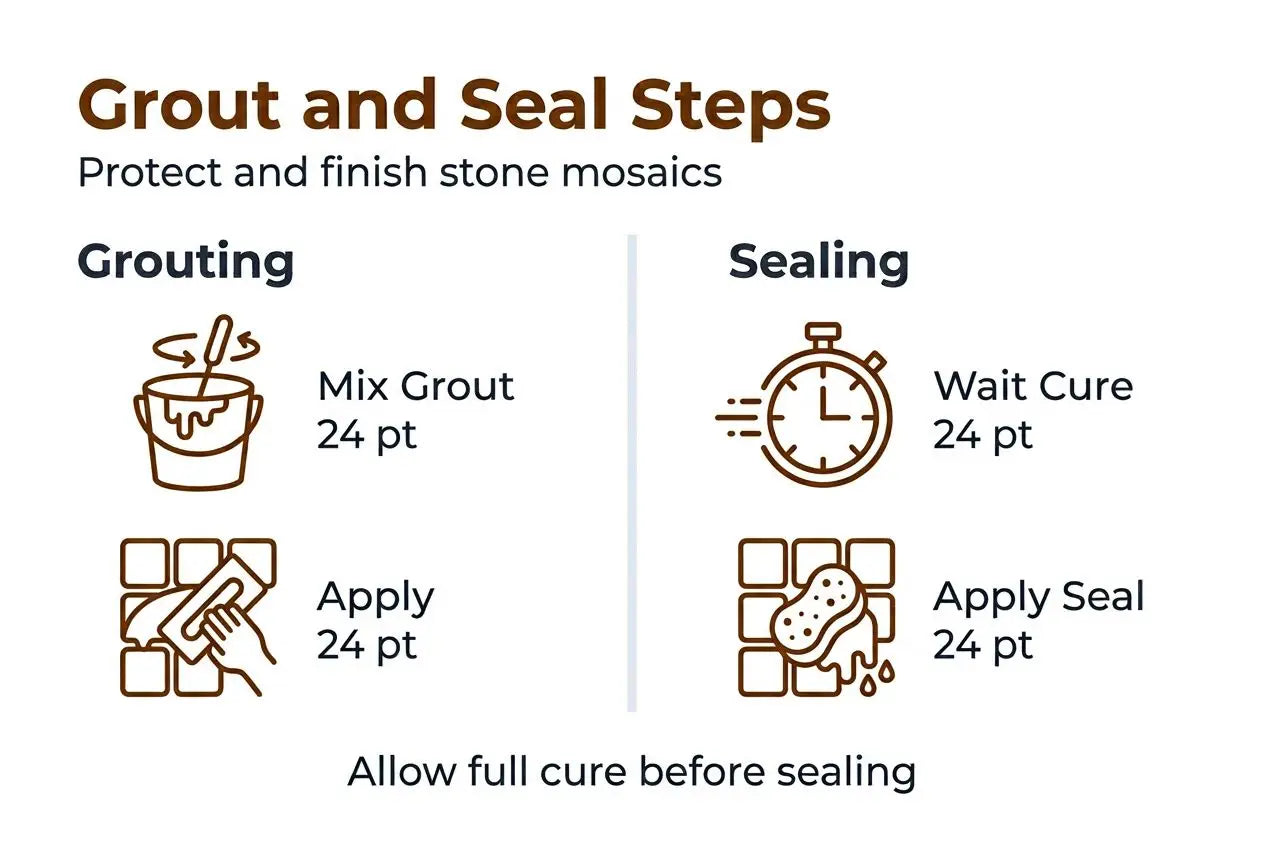
Allow minimum 24-48 hours for proper grout curing to prevent cracking and staining. Rushing this step leaves grout vulnerable to moisture penetration and structural weakness. Keep grouted areas dry during curing, avoiding foot traffic or water exposure. In humid conditions, extend curing time to 72 hours for complete hydration.
Sealing stone mosaics after grout curing improves stain resistance and durability by approximately 40%. Natural stone is porous, absorbing liquids that cause permanent discoloration. Penetrating sealers fill these pores, creating a barrier against water, oils, and acids without changing stone appearance.
Apply sealer 48-72 hours after grouting once both adhesive and grout fully cure. Clean the surface thoroughly, removing all haze and residue. Use a foam brush or sprayer to apply sealer in thin, even coats. Allow the first coat to penetrate for 10-15 minutes, then apply a second coat. Buff away excess sealer before it dries to prevent hazing.
Finishing tips for professional results:
- Choose sealer based on stone type: denser stones like polished marble need less frequent sealing than porous travertine
- Apply sealer in well-ventilated areas to avoid fume buildup
- Reapply sealer annually in high-traffic areas, every 2-3 years in low-traffic spaces
- Test sealer on a hidden area first to verify it does not darken or alter stone appearance
- Remove grout haze immediately after initial set using a damp sponge and diagonal wiping motion
Our guide on sealing travertine benefits provides detailed information on protection strategies. For technical sealing specifications, review Natural Stone Institute sealing guidelines and TCNA grout curing standards.
Common mistakes, troubleshooting, and safety considerations
Even experienced installers encounter challenges. Recognizing common errors and knowing how to correct them separates successful projects from costly failures.
Frequent installation mistakes include:
- Installing on plywood without membrane, causing flex cracks within months
- Inadequate waterproofing in wet areas, leading to substrate rot and mold
- Insufficient substrate flatness, creating lippage where tile edges do not align
- Rushing curing times to meet deadlines, resulting in weak bonds that fail prematurely
- Skipping sealing, leaving stone vulnerable to stains that become permanent
Skipping waterproofing and substrate preparation increases installation failure risk by over 50%. These foundational steps cannot be shortcut without consequences.
Pro Tip: Always verify underlayment compliance and waterproofing measures early to avoid costly rework that delays project completion and damages client relationships.
Troubleshooting common issues:
- Lippage correction: Remove affected tiles before adhesive fully cures, add or remove mortar as needed, and reset tiles level with surrounding surface
- Grout cracking: Usually indicates inadequate substrate stability or premature grout application before adhesive cured. Remove cracked grout, verify substrate, and regrout after proper curing
- Tile loosening: Caused by insufficient mortar coverage or substrate movement. Remove loose tiles, clean backs thoroughly, and reinstall with fresh mortar ensuring 95% coverage
Safety precautions protect your health during installation. Silica dust exposure during installation can cause silicosis without proper respiratory protection. Cutting and grinding stone releases microscopic particles that lodge in lungs, causing permanent scarring and breathing difficulties.
Silica dust is a serious occupational hazard that affects thousands of construction workers annually. Always use NIOSH-approved respirators rated N95 or higher when cutting, grinding, or mixing materials. Wet cutting methods reduce airborne dust by 90% compared to dry cutting.
Additional safety measures include:
- Wear cut-resistant gloves when handling sharp tile edges
- Use eye protection to prevent chips and dust from entering eyes
- Ensure adequate ventilation when working with adhesives and sealers containing volatile organic compounds
- Set up dust collection systems or wet cutting stations to minimize airborne particles
Our backsplash mosaic workflow includes safety checklists for smaller projects. For comprehensive best practices, consult the Projul best practices guide and silica safety guidance from industry authorities.
Alternative installation methods and tradeoffs
Different installation approaches suit different project requirements. Understanding method tradeoffs helps you select the optimal technique for your specific conditions.
Wet installation offers stronger bond and longer curing time (24-72 hours); dry installation is faster but less durable, cutting project time by approximately 30%. Each method serves distinct purposes in professional installations.
| Method | Bond Strength | Curing Time | Durability | Best Applications | Cost Considerations |
|---|---|---|---|---|---|
| Wet installation | Excellent | 24-72 hours | High (decades) | Permanent luxury projects, wet areas | Higher material cost, longer timeline |
| Dry installation | Moderate | Immediate | Moderate (5-10 years) | Temporary displays, vertical dry areas | Lower cost, faster completion |
| Mechanical anchoring | Varies | Immediate | High with proper support | Exterior facades, heavy stone | Highest cost, requires structural support |
Situational factors influencing method choice:
- Weather conditions: Wet installation requires controlled temperature and humidity, while mechanical methods tolerate wider ranges
- Substrate type: Concrete accepts wet installation readily, while steel frames require mechanical anchoring
- Project timeline: Tight deadlines favor dry or mechanical methods despite durability tradeoffs
- Moisture exposure: Showers, pools, and exterior applications demand wet installation for water resistance
- Load requirements: Floor installations need wet method bond strength, while wall mosaics may use dry methods in protected areas
- Budget constraints: Dry installation reduces labor hours but may require earlier replacement
Wet installation remains the gold standard for luxury residential and commercial projects where longevity justifies the investment. The polymer-modified adhesive creates chemical bonds that resist moisture, temperature fluctuations, and mechanical stress. This method suits bathrooms, kitchens, pool surrounds, and any area expecting water exposure.
Dry installation using adhesive sheets or clips works for temporary installations, trade show displays, or accent walls in climate-controlled spaces. The reduced bond strength makes removal easier when designs change, but limits applications to low-stress environments.
Mechanical anchoring with clips, rails, or pins suits large-format stone panels on exterior facades. This method transfers stone weight to structural supports rather than relying solely on adhesive bonds. It requires engineering calculations and specialized hardware, increasing costs but enabling applications impossible with adhesive alone.
For design inspiration using various stone types, explore our marble mosaics types guide. Compare detailed installation methods to understand technical requirements for each approach.
Expected results and success metrics
Defining clear quality standards helps you verify installation success and identify issues before they become major problems. Measure your work against industry benchmarks to ensure luxury project requirements are met.
Key success metrics include:
- Substrate flatness tolerances: Within specified limits of 1/4 inch over 10 feet for standard formats, 1/8 inch for large formats
- Moisture compliance: Readings below 3-5 lbs per 1000 sq ft per 24 hours before and after installation
- Zero lippage: Tile edges align within 1/32 inch across joints, creating smooth transitions
- Grout integrity: No cracking, discoloration, or deterioration for minimum 12 months under normal use
- Stain resistance: Sealed surfaces repel water and oils, with liquids beading rather than absorbing
- Adhesive coverage: Minimum 95% contact verified by removing sample tiles before full cure
Expected installation timeline spans 3-7 days for typical projects. A 50 sq ft bathroom backsplash takes 1-2 days including prep, while a 500 sq ft commercial floor requires 5-7 days allowing proper curing between phases. Complex patterns, difficult access, or challenging substrates extend timelines by 20-40%.
| Metric | Acceptable Range | Testing Method |
|---|---|---|
| Substrate flatness | 1/4 inch per 10 feet (small tiles) | Straightedge and level |
| Moisture content | Below 3-5 lbs/1000 sq ft/24 hrs | Calcium chloride test |
| Lippage | Maximum 1/32 inch | Straightedge across joints |
| Grout width consistency | Within 1/16 inch of specification | Visual inspection and spacer verification |
| Adhesive coverage | Minimum 95% | Remove sample tiles before cure |
| Sealer performance | Water beading for 30+ seconds | Water drop test |
Visual and functional quality indicators to inspect post-installation:
- Pattern alignment: Designs flow continuously without interruptions or misalignments
- Color consistency: Stone tones match across the installation without jarring variations
- Joint uniformity: Grout lines maintain consistent width and depth throughout
- Surface plane: Entire installation sits in one plane without dips, humps, or waviness
- Edge finish: Transitions to adjacent surfaces appear clean and professional
- Cleaning response: Surface cleans easily without residue buildup or staining
Common quality pitfalls to watch during final inspection include adhesive bleed-through in grout joints, grout haze not fully removed, inconsistent sheen from uneven sealer application, and hollow-sounding tiles indicating inadequate mortar coverage.
For advanced design techniques, review our custom mosaic design guide and backsplash mosaic workflow for detailed quality checkpoints.
Explore premium natural stone solutions at Surfaces Galore
Mastering installation techniques means nothing without quality materials that showcase your craftsmanship. Surfaces Galore provides the premium natural stone that transforms expert installation into stunning luxury projects.
We import marble, travertine, and stone mosaics directly, eliminating middlemen to deliver exceptional quality at competitive prices. Our Anaheim showroom displays hundreds of options, while nationwide shipping brings premium stone to your project site regardless of location. Designers, architects, and contractors trust us for authentic, durable materials that meet the highest standards.
Explore our comprehensive natural stone guide for designers to understand material properties and selection criteria. Our types of natural stone guide compares characteristics across marble, travertine, limestone, and granite. For creative applications, our custom tile mosaic workflow shows how to design and execute unique patterns that elevate any space.
Partner with Surfaces Galore to source materials that complement your expert installation workflow, ensuring every project delivers the timeless beauty and lasting durability that define luxury natural stone installations.
Frequently asked questions about stone mosaic installation workflow
How long does a typical stone mosaic installation take?
A standard residential installation takes 3-5 days including substrate prep, tile setting, grout curing, and sealing. Larger commercial projects require 5-7 days depending on square footage and pattern complexity. Always allow full curing time between phases to ensure quality results.
What safety gear is essential during stone mosaic installation?
NIOSH-approved N95 or higher respirators protect against silica dust, which causes permanent lung damage with prolonged exposure. Cut-resistant gloves, safety glasses, and knee pads prevent injuries during extended installation work. Use dust collection systems or wet cutting methods to minimize airborne particles.
Can stone mosaics be installed directly on plywood?
No, plywood flexes and expands with humidity changes, causing tiles to crack within months. Always install cement board or an uncoupling membrane over wood substrates to create a stable, crack-resistant base. This extra step prevents costly failures and ensures installation longevity.
What is the importance of sealing after installation?
Sealing improves stain resistance and extends surface life by approximately 40% by filling stone pores that absorb liquids. Apply penetrating sealer 48-72 hours after grouting once both adhesive and grout fully cure. Reapply annually in high-traffic areas to maintain protection.
How to prevent grout cracking in stone mosaics?
Allow adhesive to cure fully (24-48 hours minimum) before grouting to ensure tiles are firmly bonded. Use grout formulated for your joint width and stone type. Maintain proper moisture levels during curing by misting grouted areas in dry conditions. Substrate movement from inadequate preparation is the primary cause of grout failure.
Leave a comment